
Start Installation
When you boot your computer from the USB drive, you will see this black screen (GRUB menu). Select "Try or Install Ubuntu" using your arrow keys and press Enter.
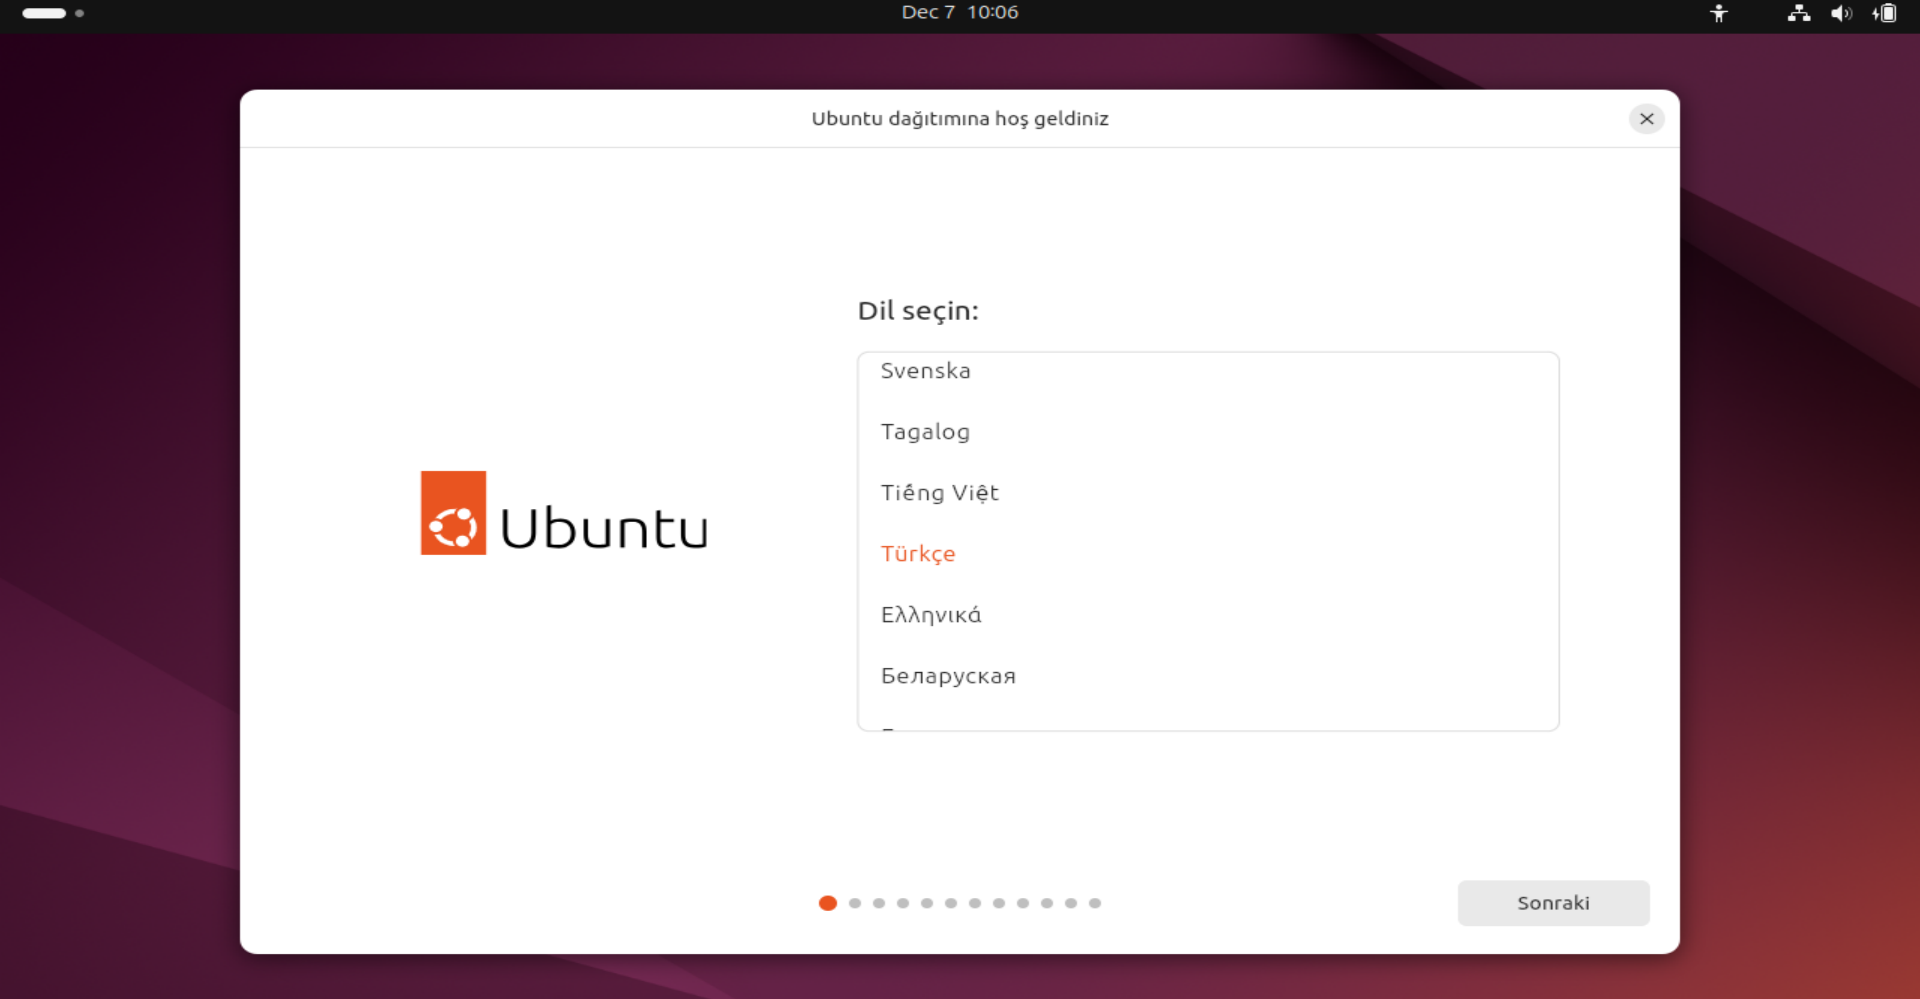
Language Selection
When the installer loads, the first step is to choose your language. Find "English" (or your preferred language) from the list and select it.
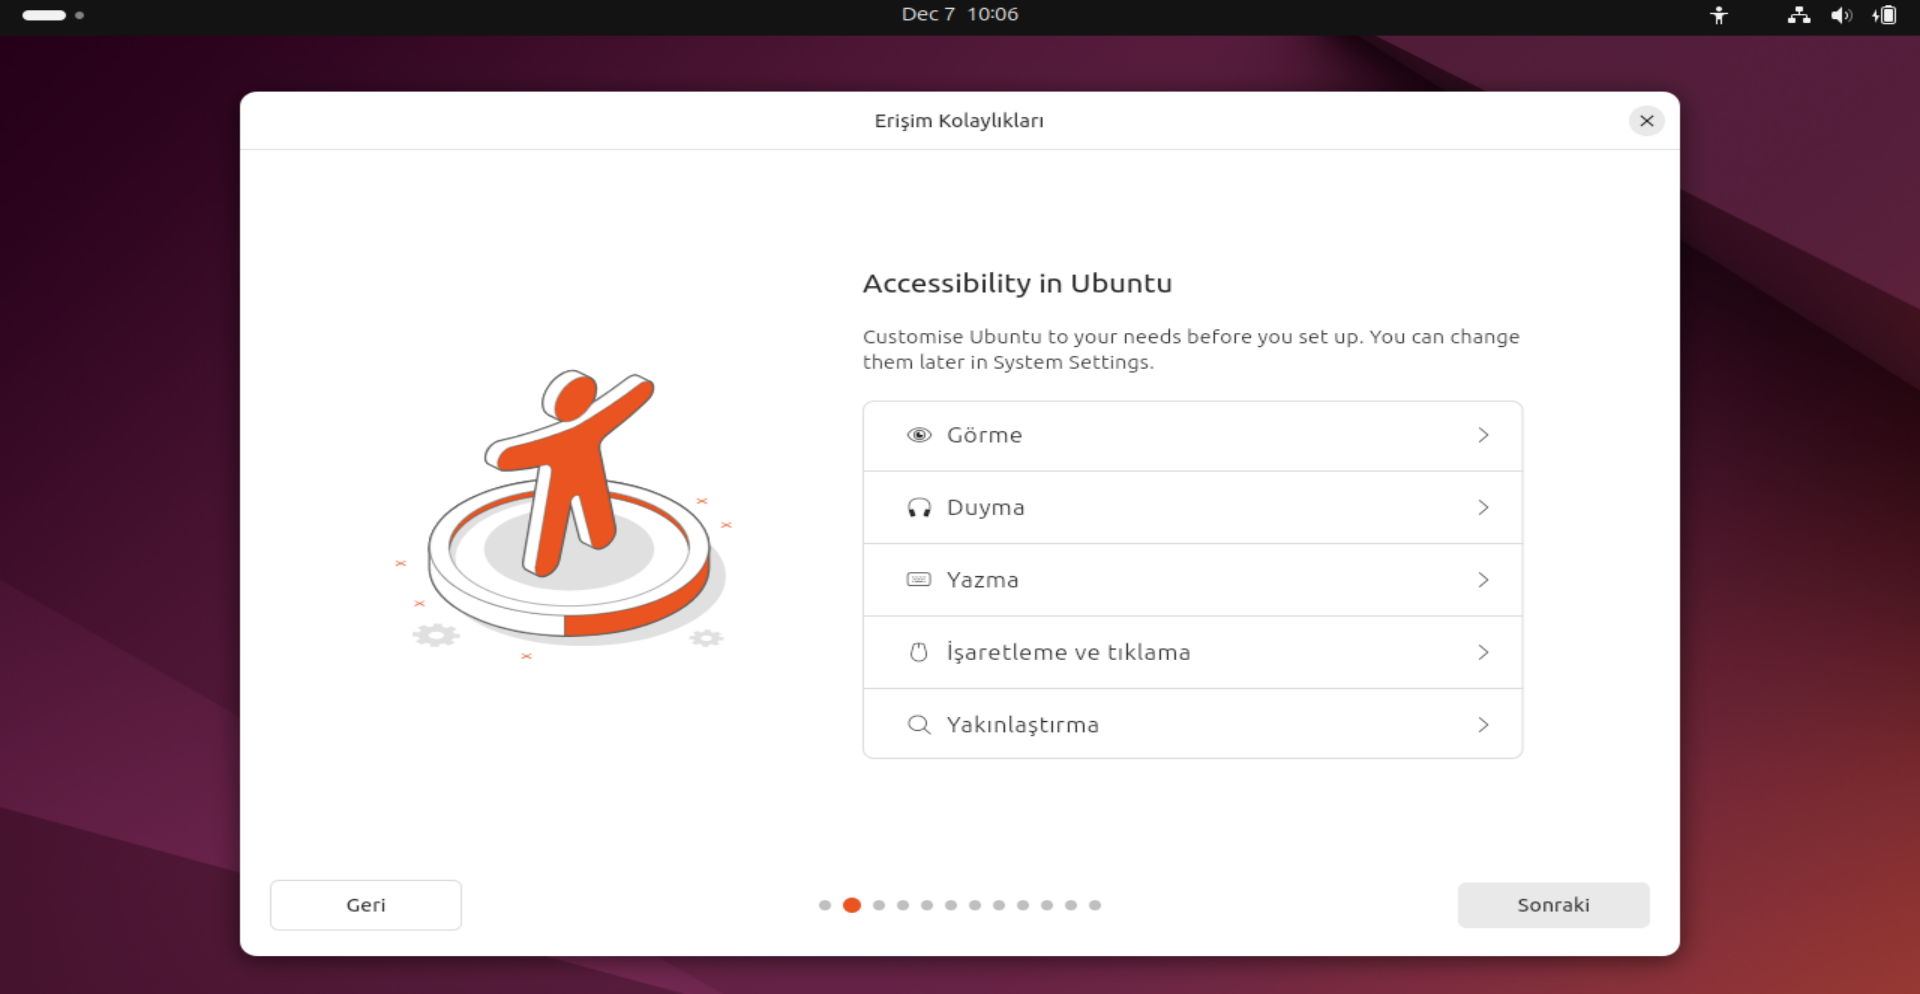
Accessibility (Optional)
Ubuntu is designed for everyone. Special settings are available here for users with vision or hearing impairments. If you don't have any specific needs, simply click "Next" to skip.
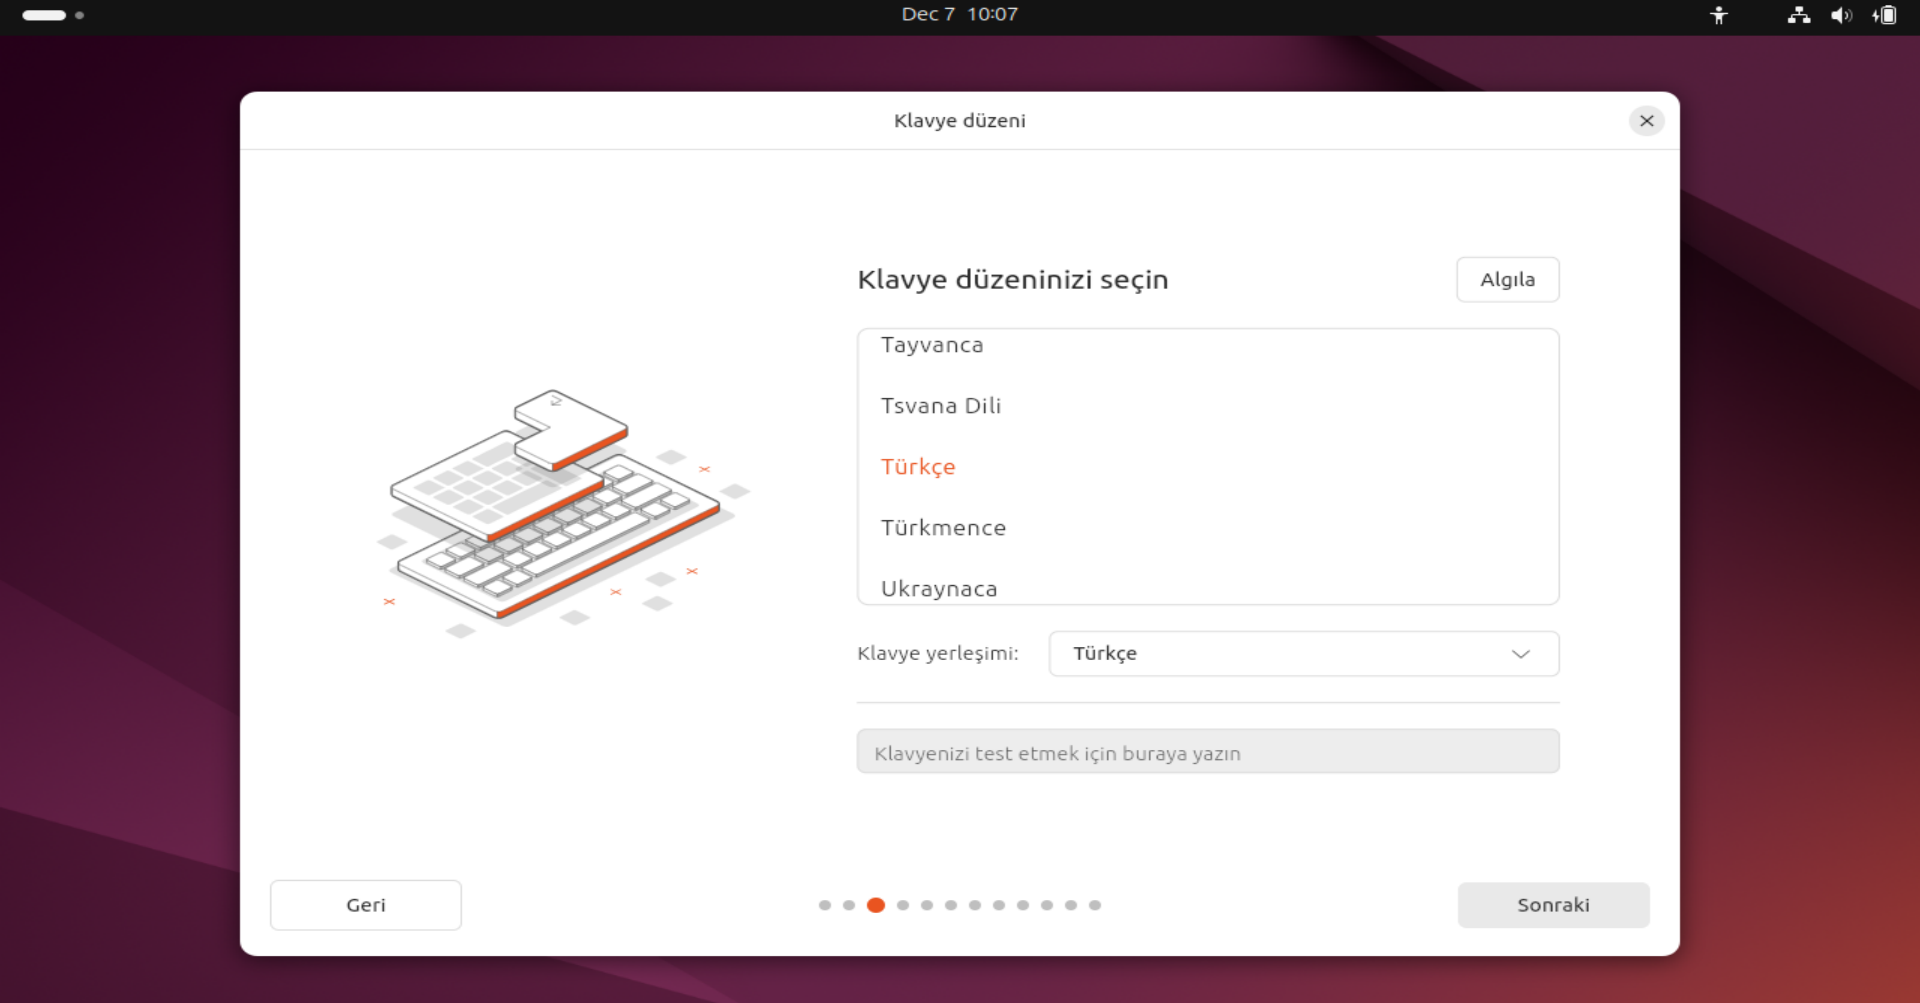
Keyboard Layout
The system usually detects your keyboard automatically. Ensure your layout (e.g., English US or Turkish Q) is correct. You can test it by typing in the text box below.
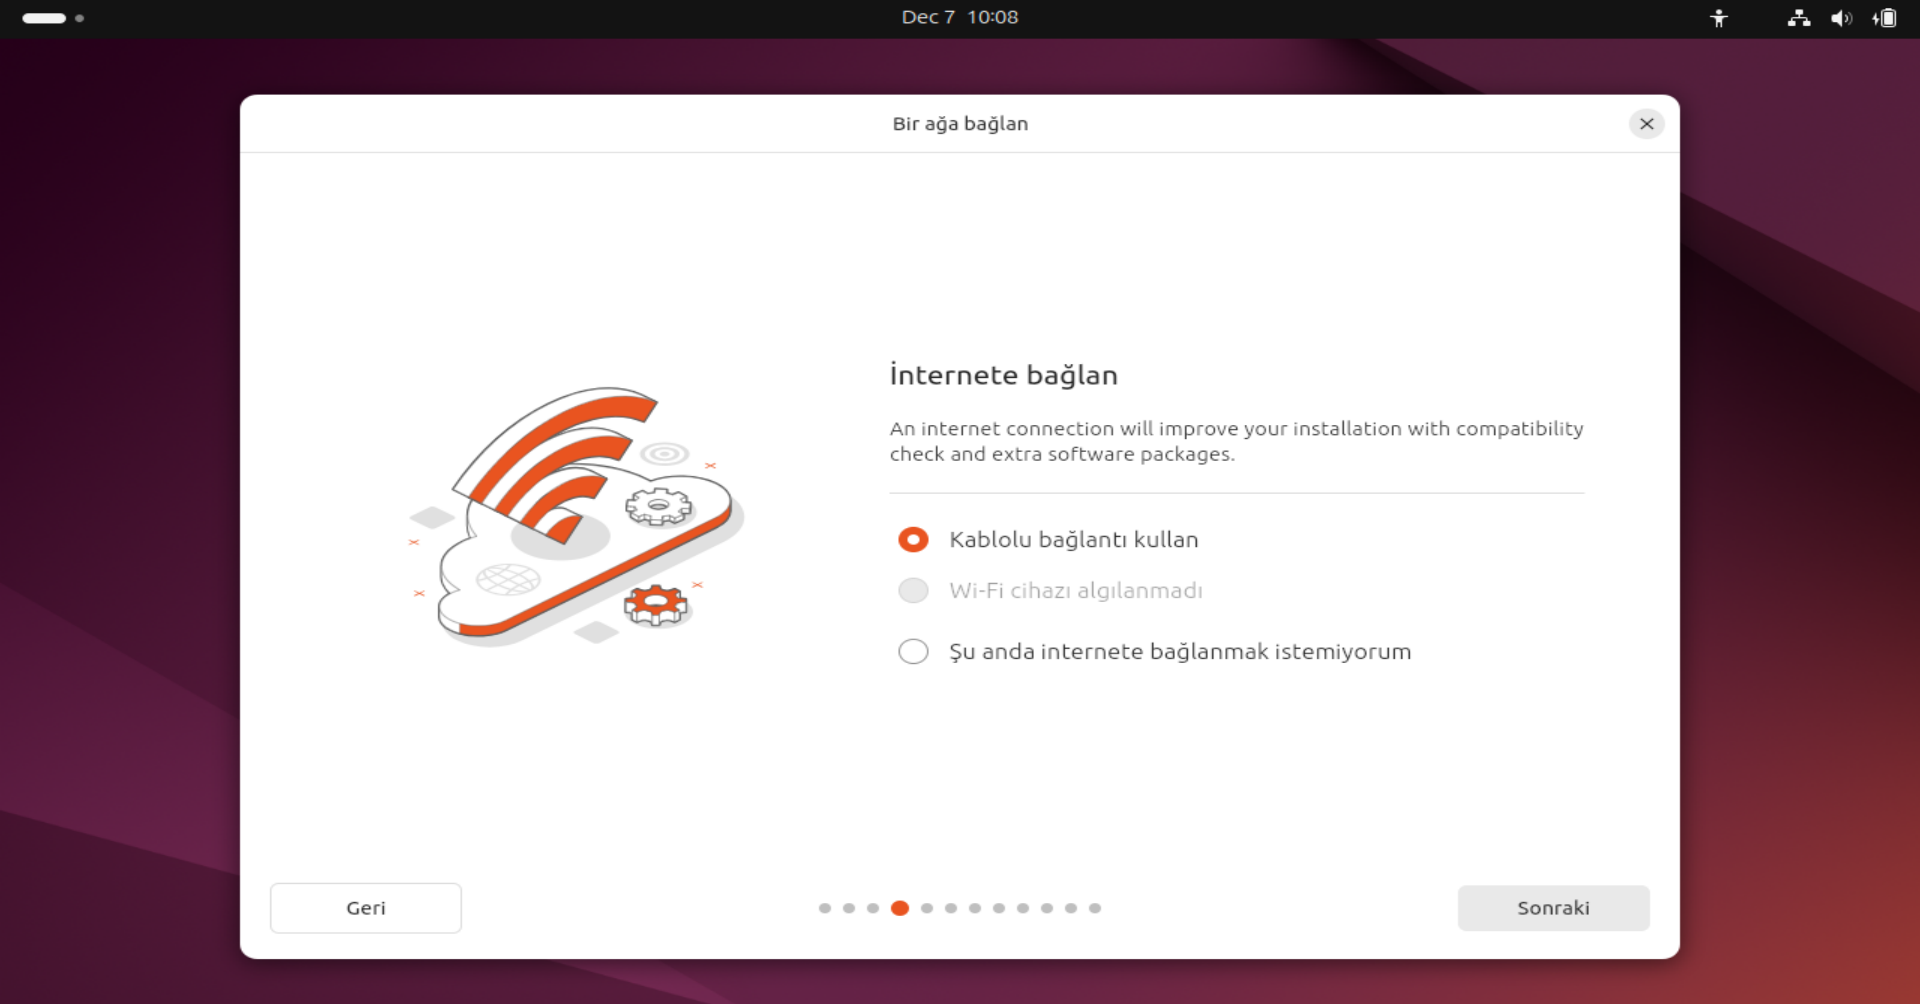
Internet Connection
Connecting to the internet is highly recommended to download updates and necessary drivers during installation. Select your Wi-Fi network and enter the password, or use a wired connection.
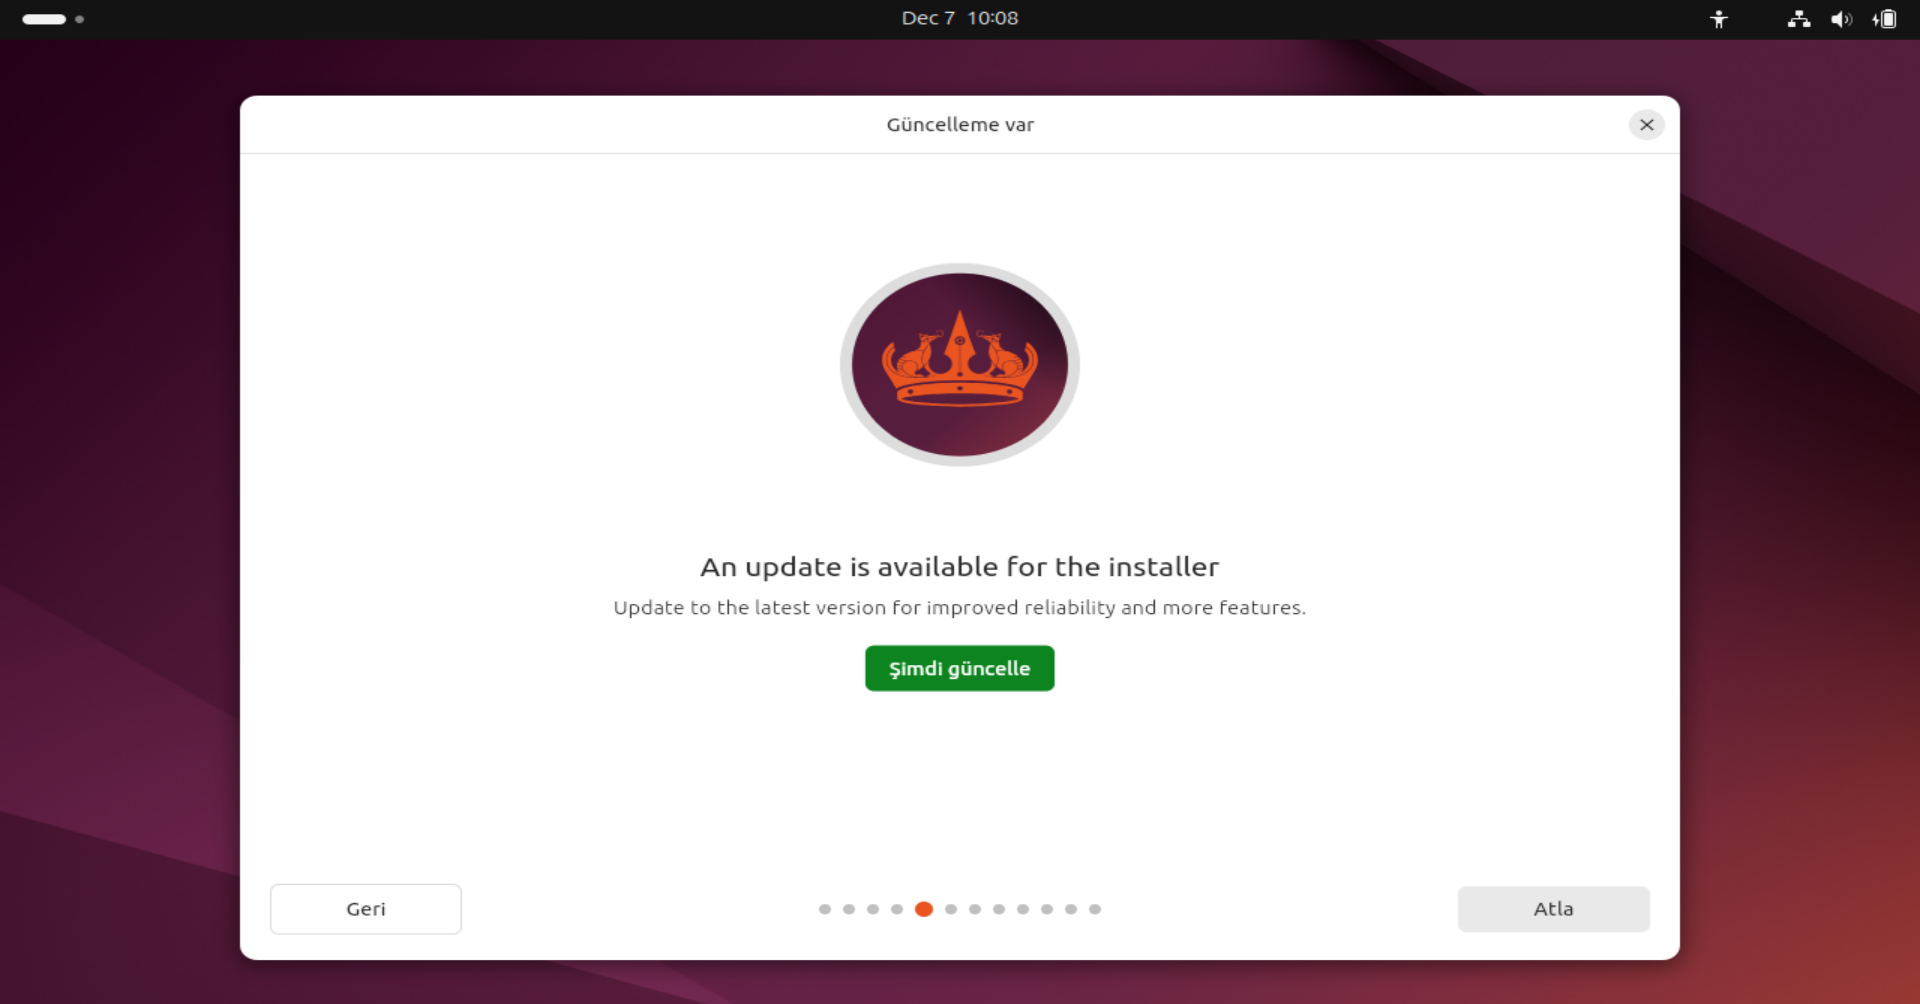
Installer Update
If you are connected to the internet and there is a newer version of the Ubuntu installer, this screen will appear. It is recommended to click "Update Now" for the smoothest experience.
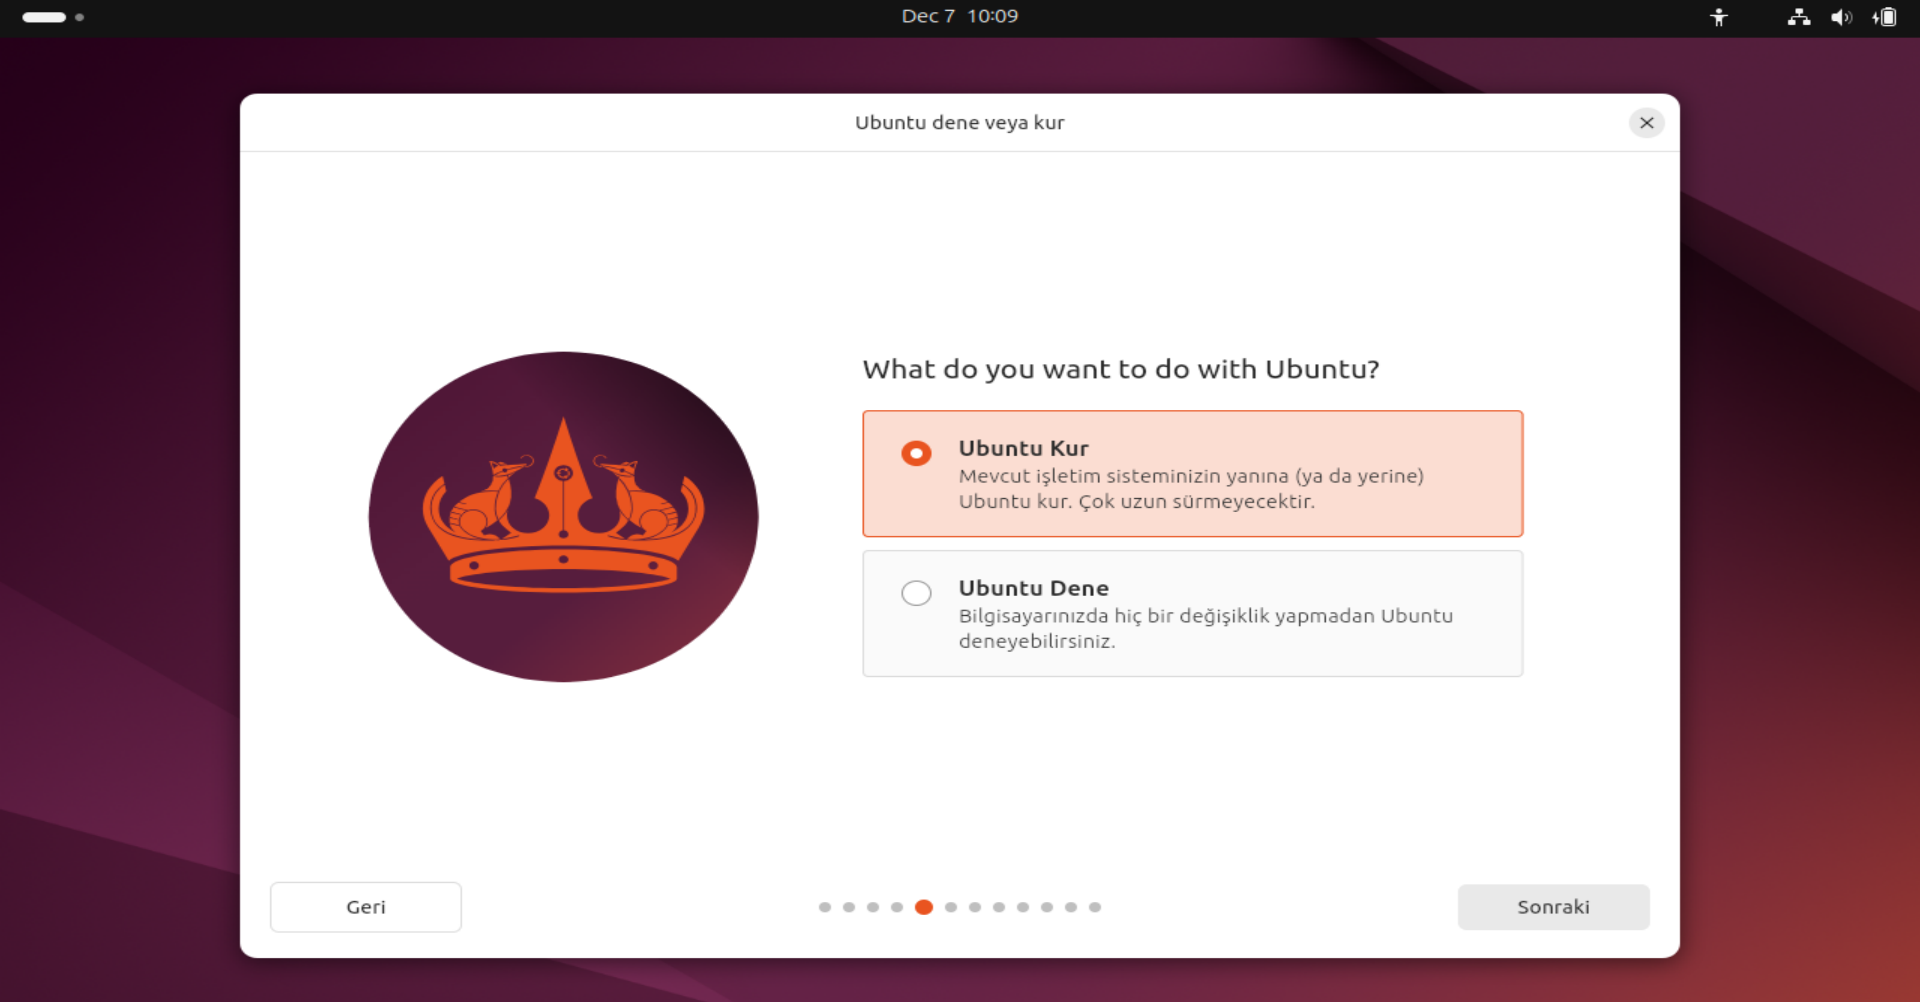
What would you like to do?
You have two options here. Since we want to install the system on our computer, select "Install Ubuntu". (If you just wanted to test it without installing, you would choose the other option.)
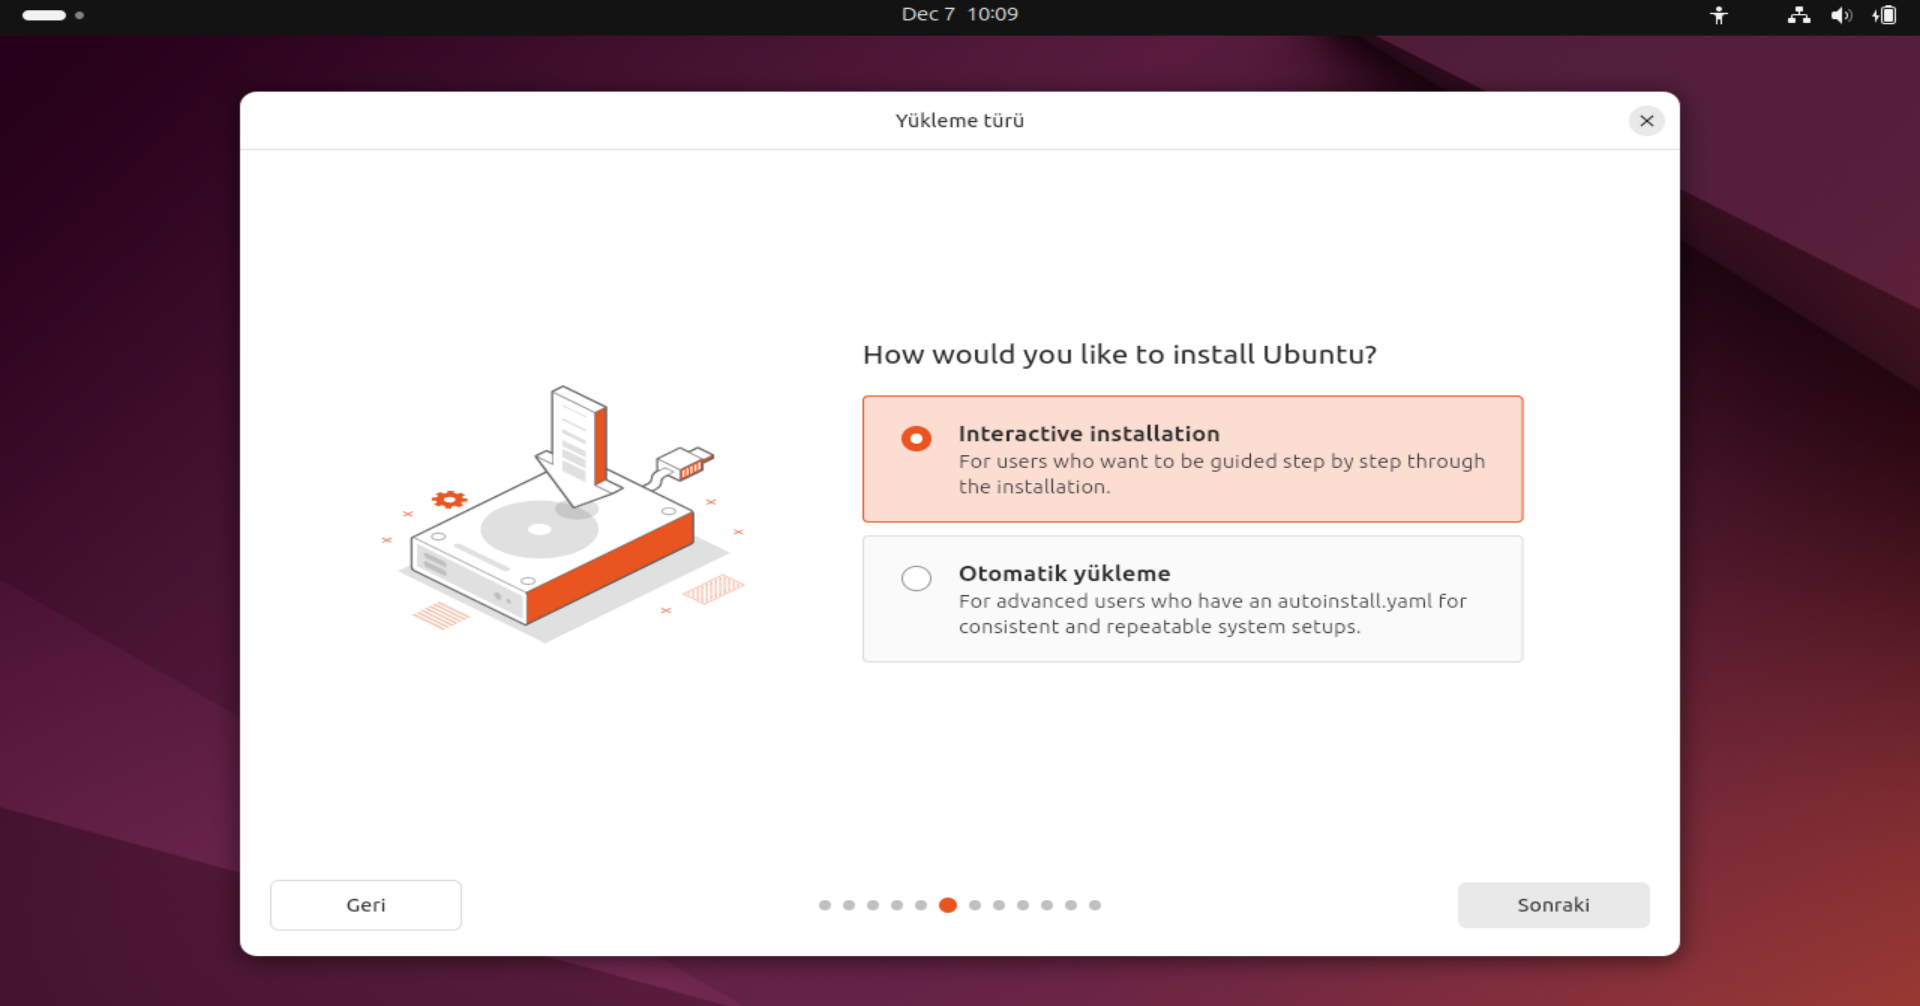
Installation Method
Choose "Interactive installation" to proceed step-by-step and customize your settings manually.
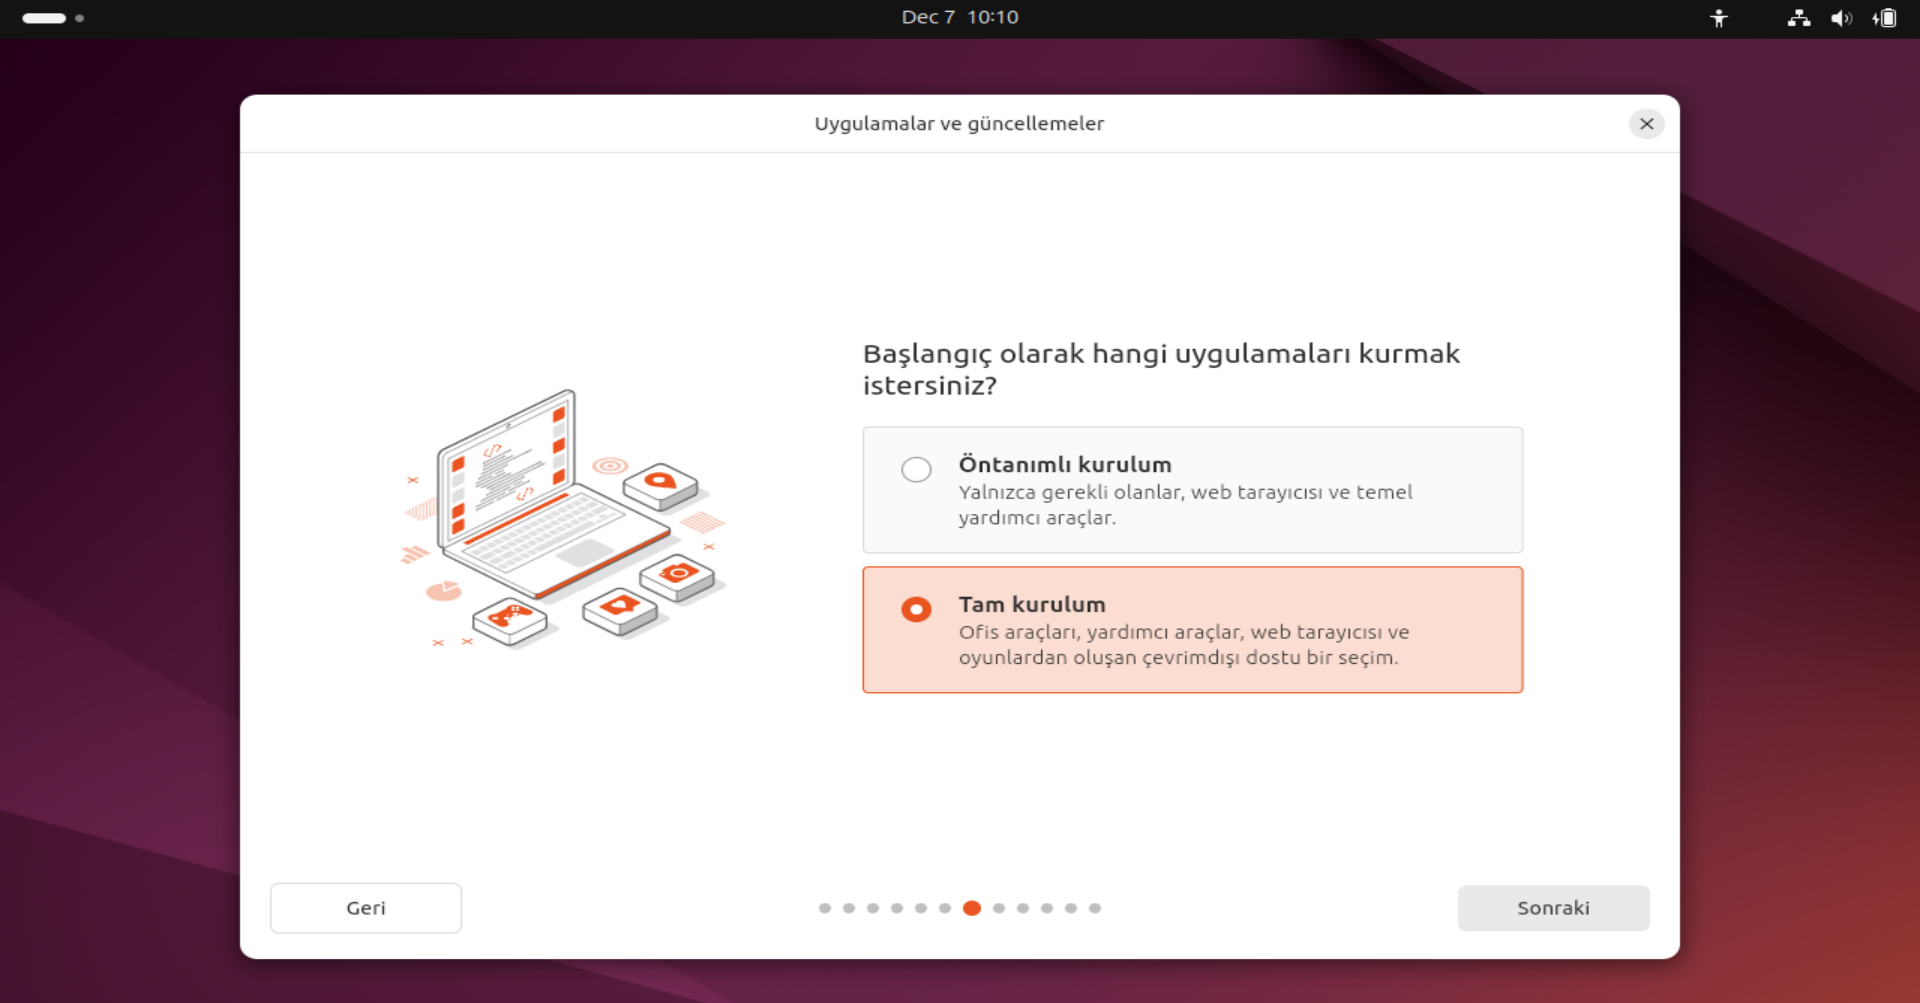
Application Selection
The "Extended selection" (Full Installation) option comes with office software, media players, and games. This is the best choice for daily users.
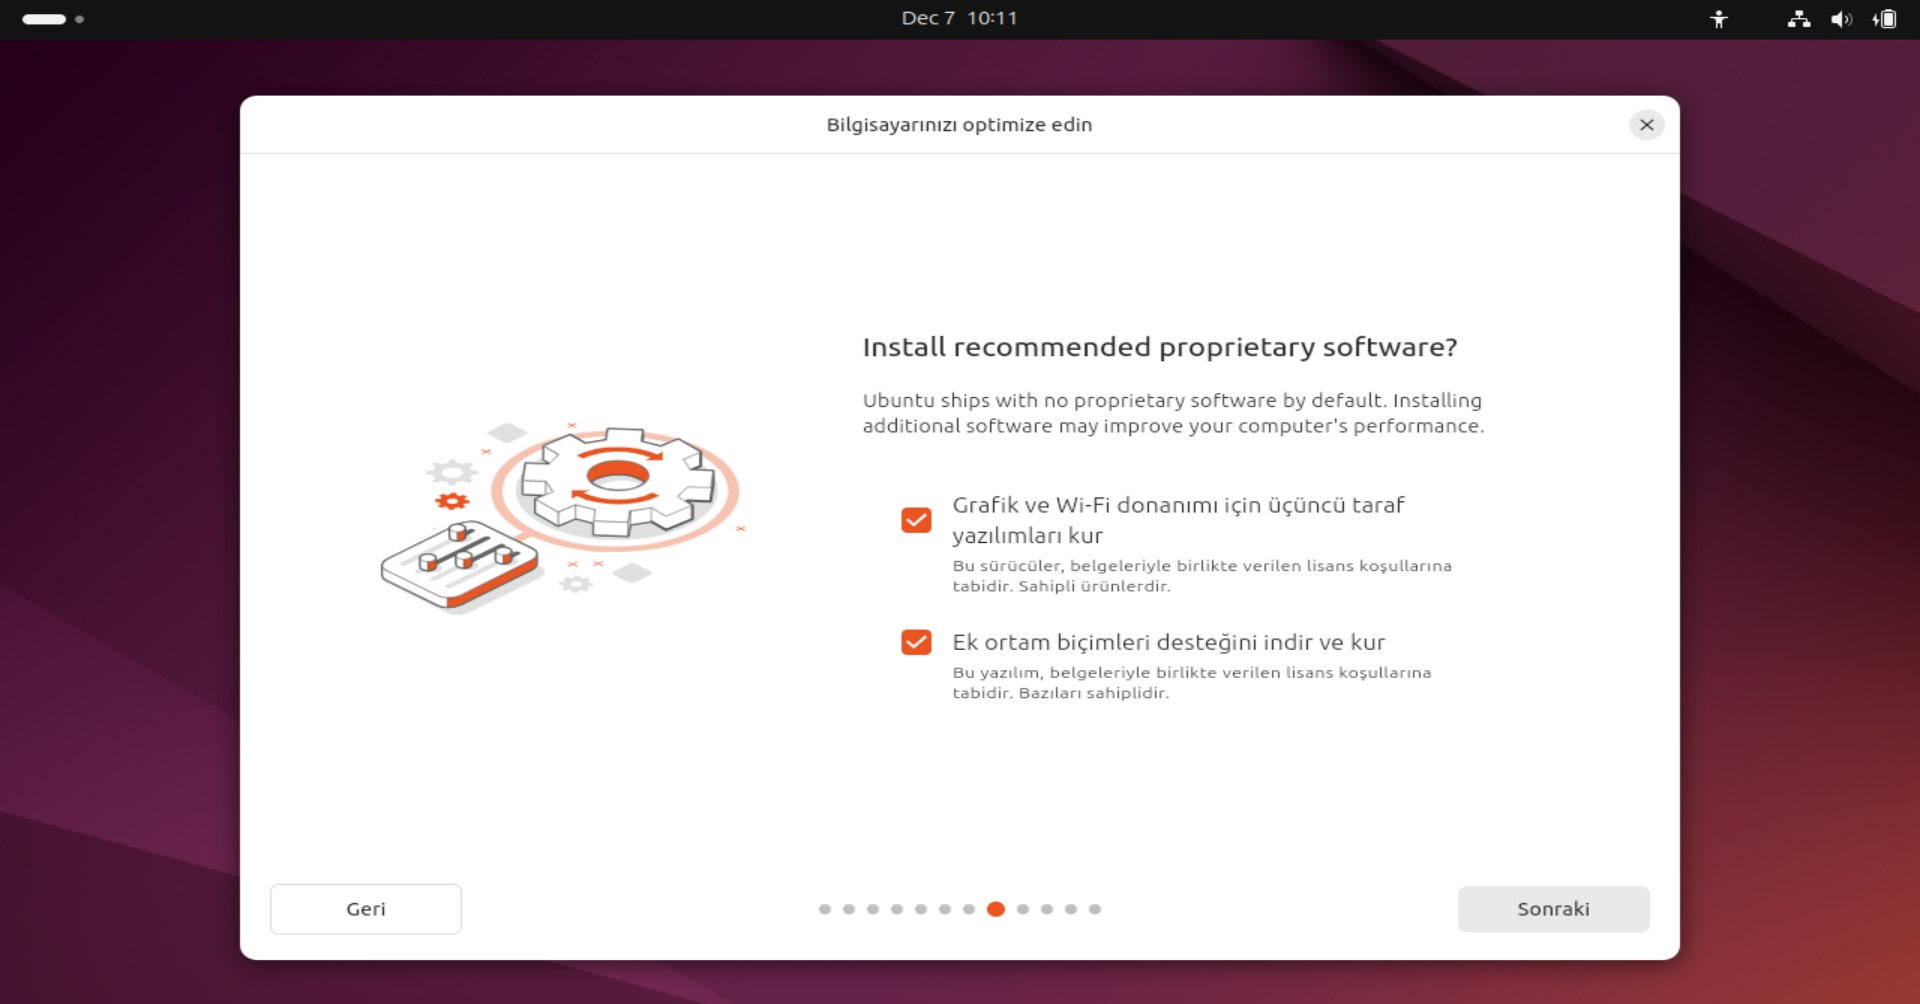
Drivers and Codecs
It is very important to check both boxes in this step. This ensures that your Wi-Fi card, graphics card drivers, and media formats (MP3/Video) are installed automatically.
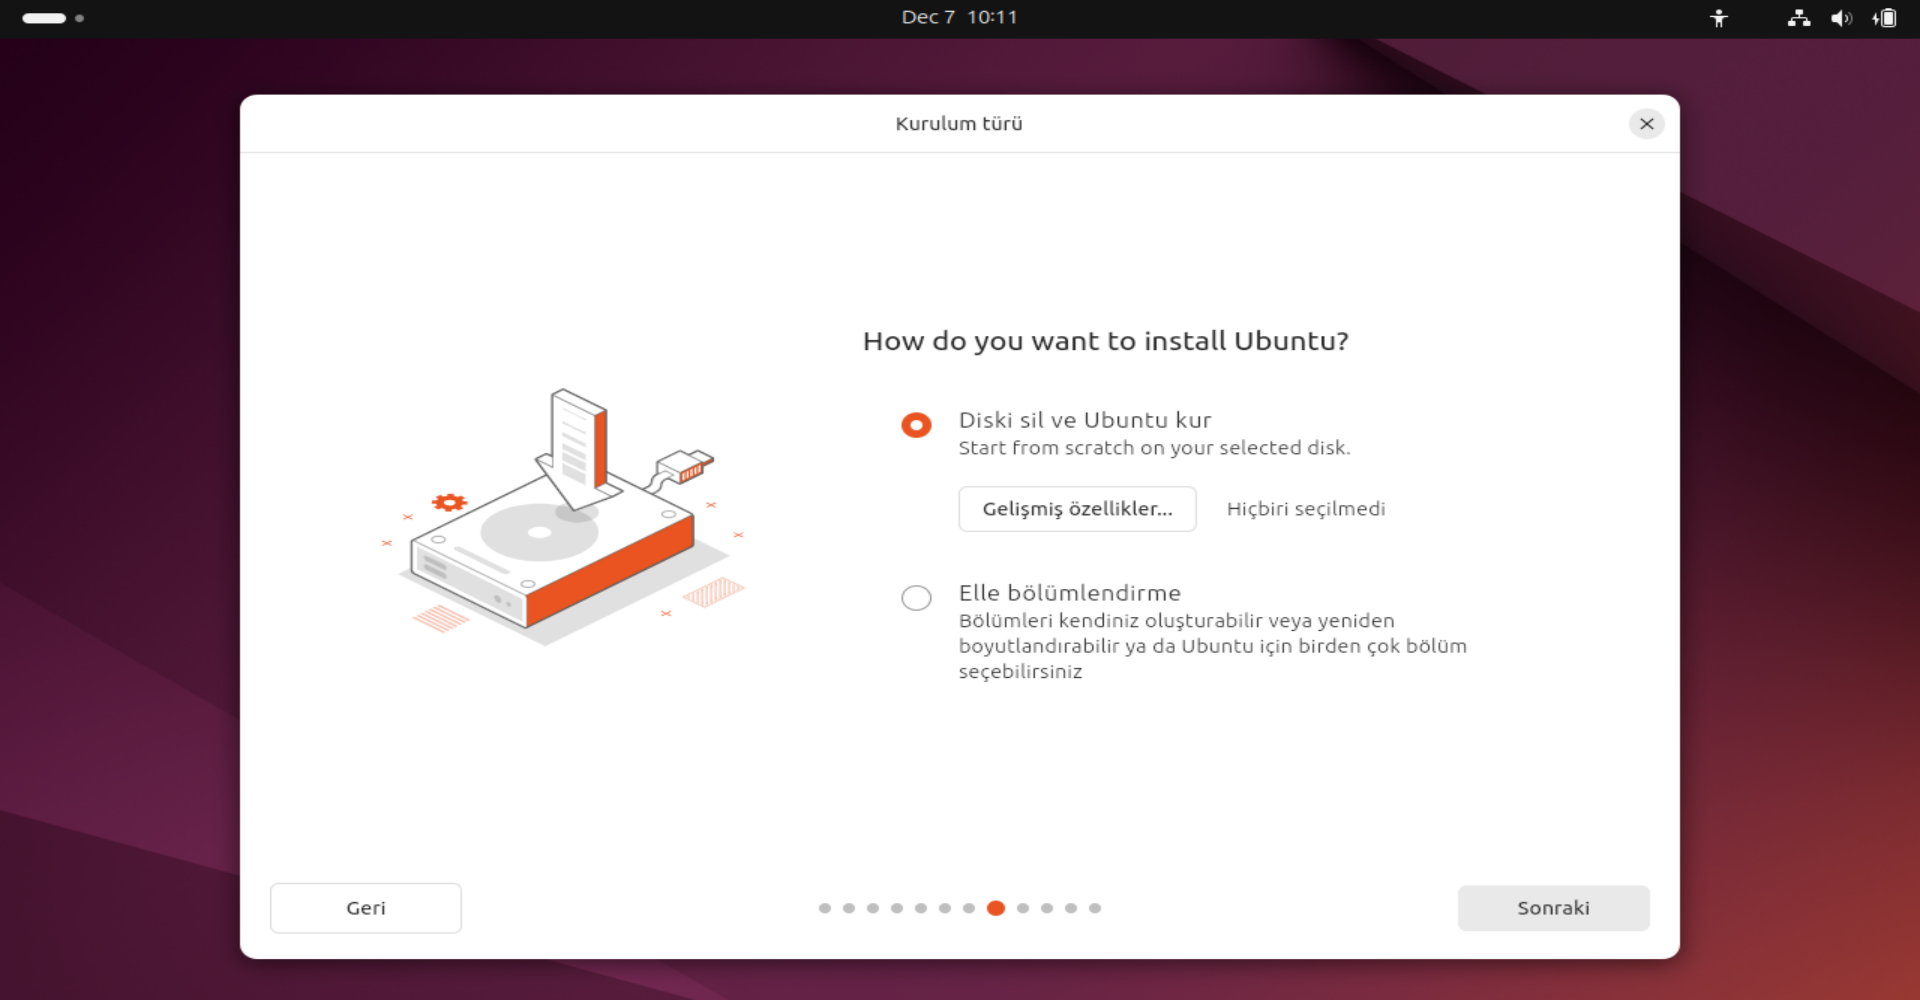
Disk Setup
For a clean installation, select "Erase disk and install Ubuntu". Warning: This will delete all data on the selected disk. Make sure you have backed up your files.
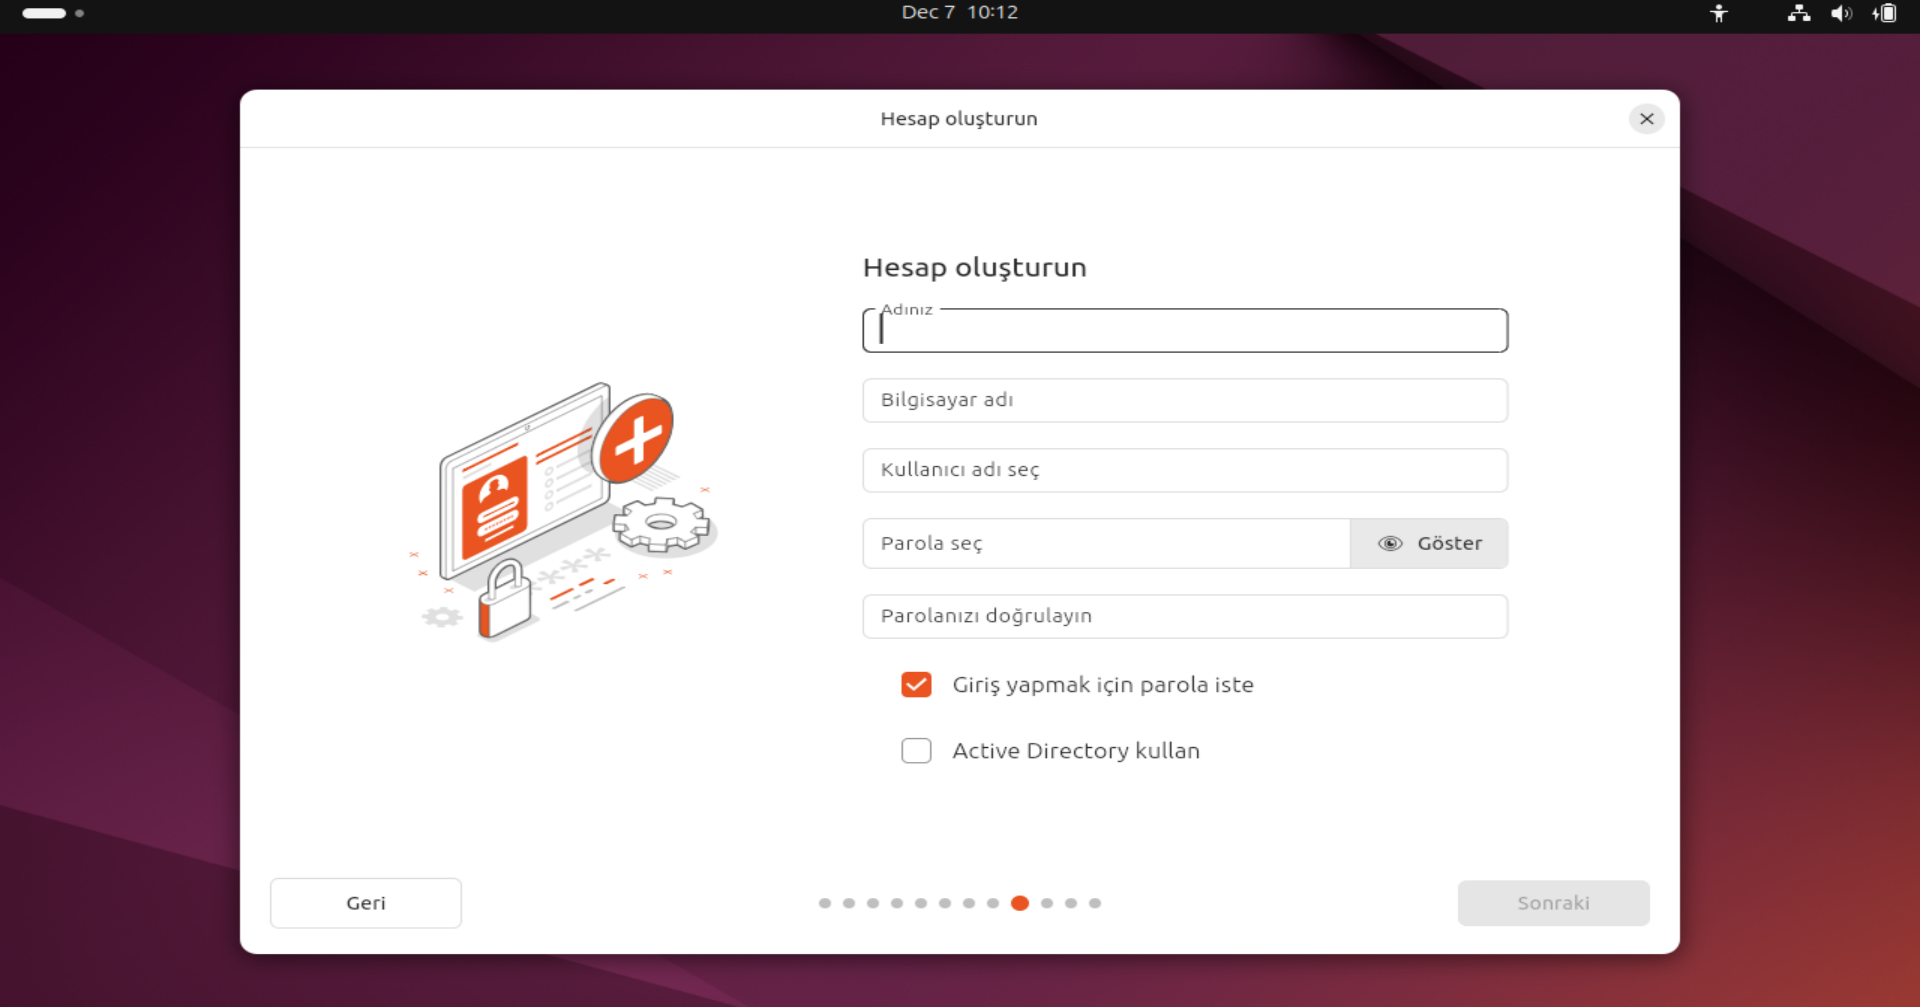
Create Your Account
Enter your name, computer name, username, and a strong password. You will need this password to log in and install programs, so don't forget it.
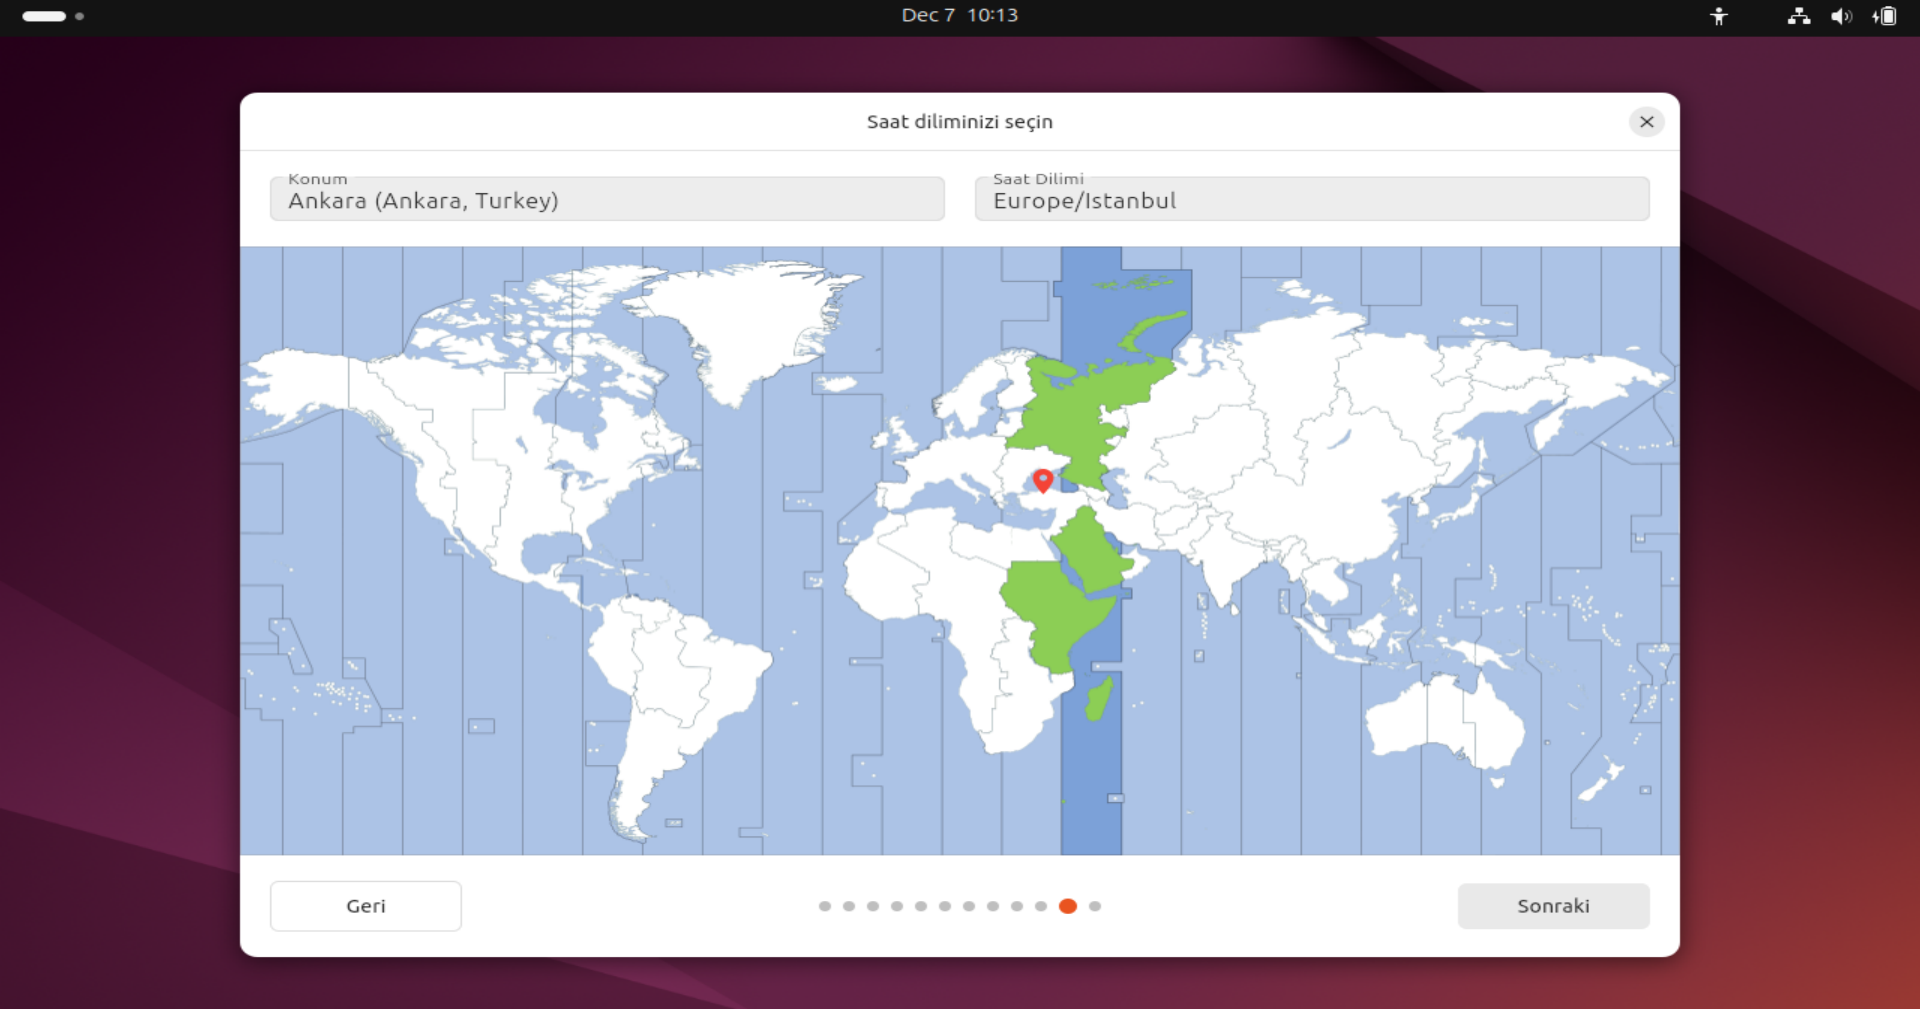
Select Timezone
Select your location on the map. This ensures your system time and date are set correctly.
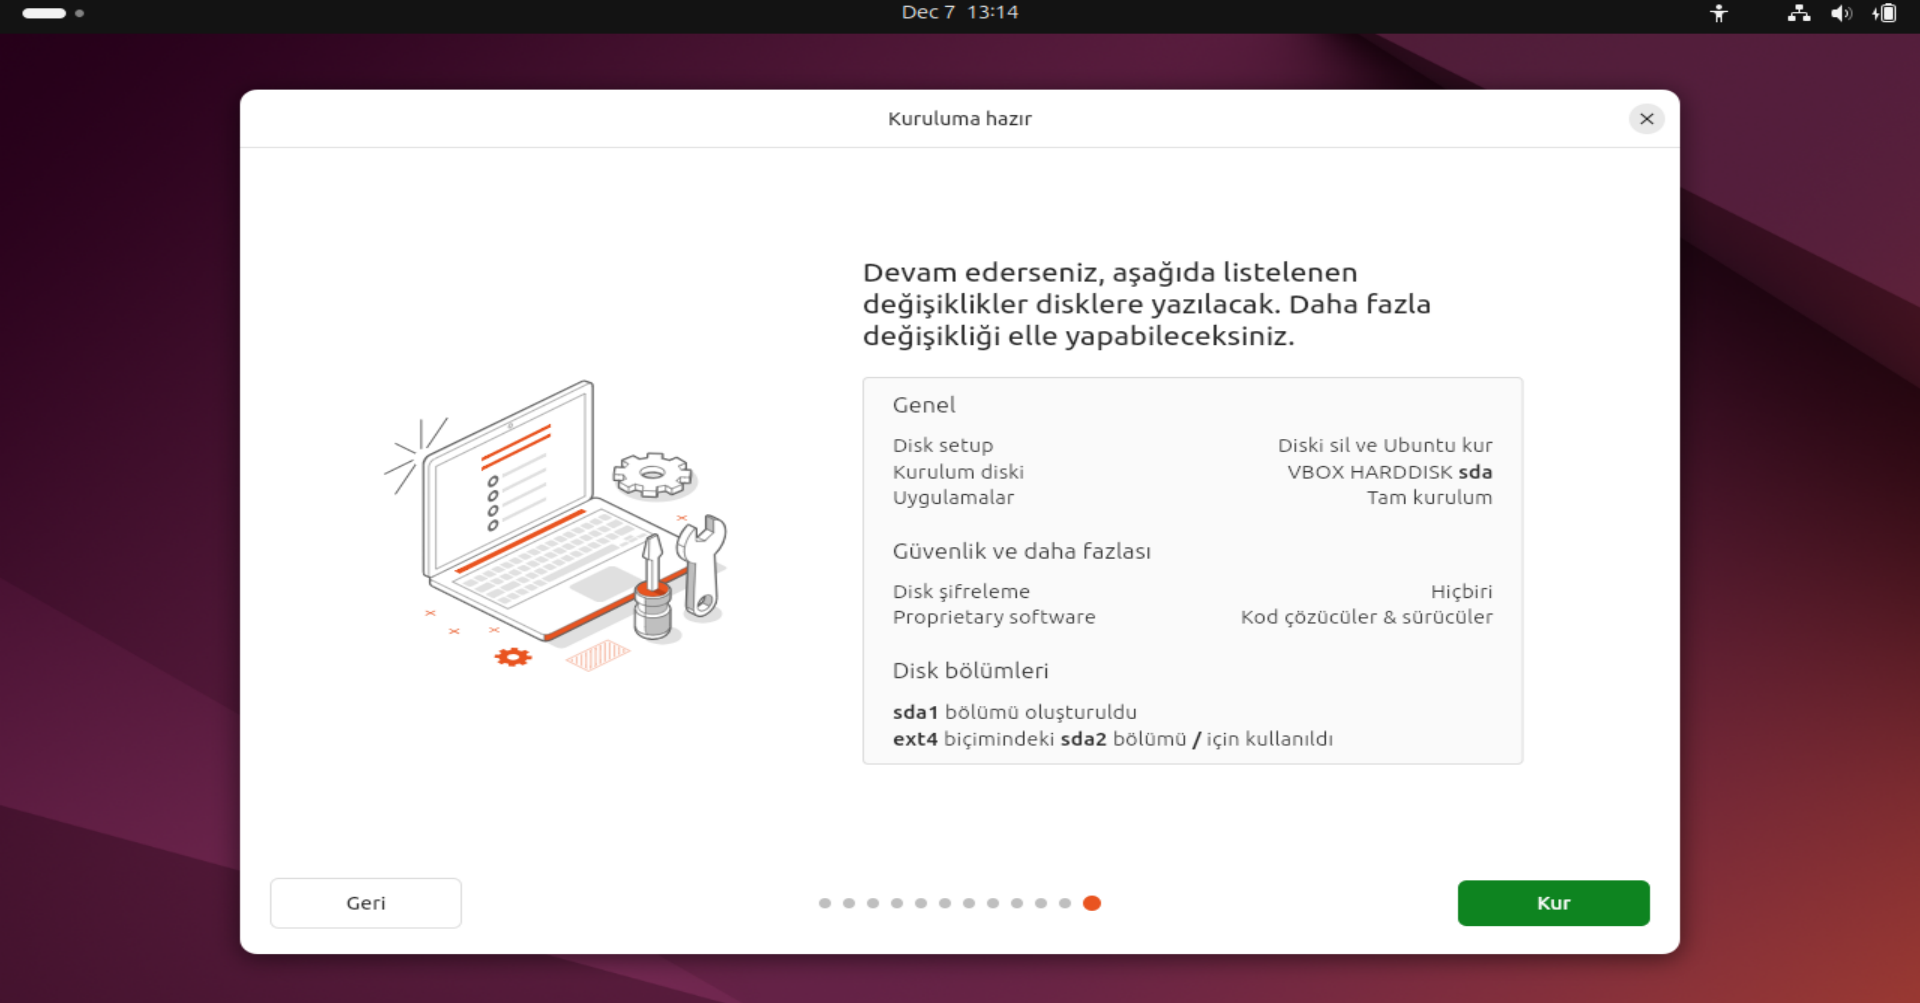
Ready to Install
The system shows a summary of the changes. If everything looks correct, click the "Install" button to begin. There is no turning back after this point.
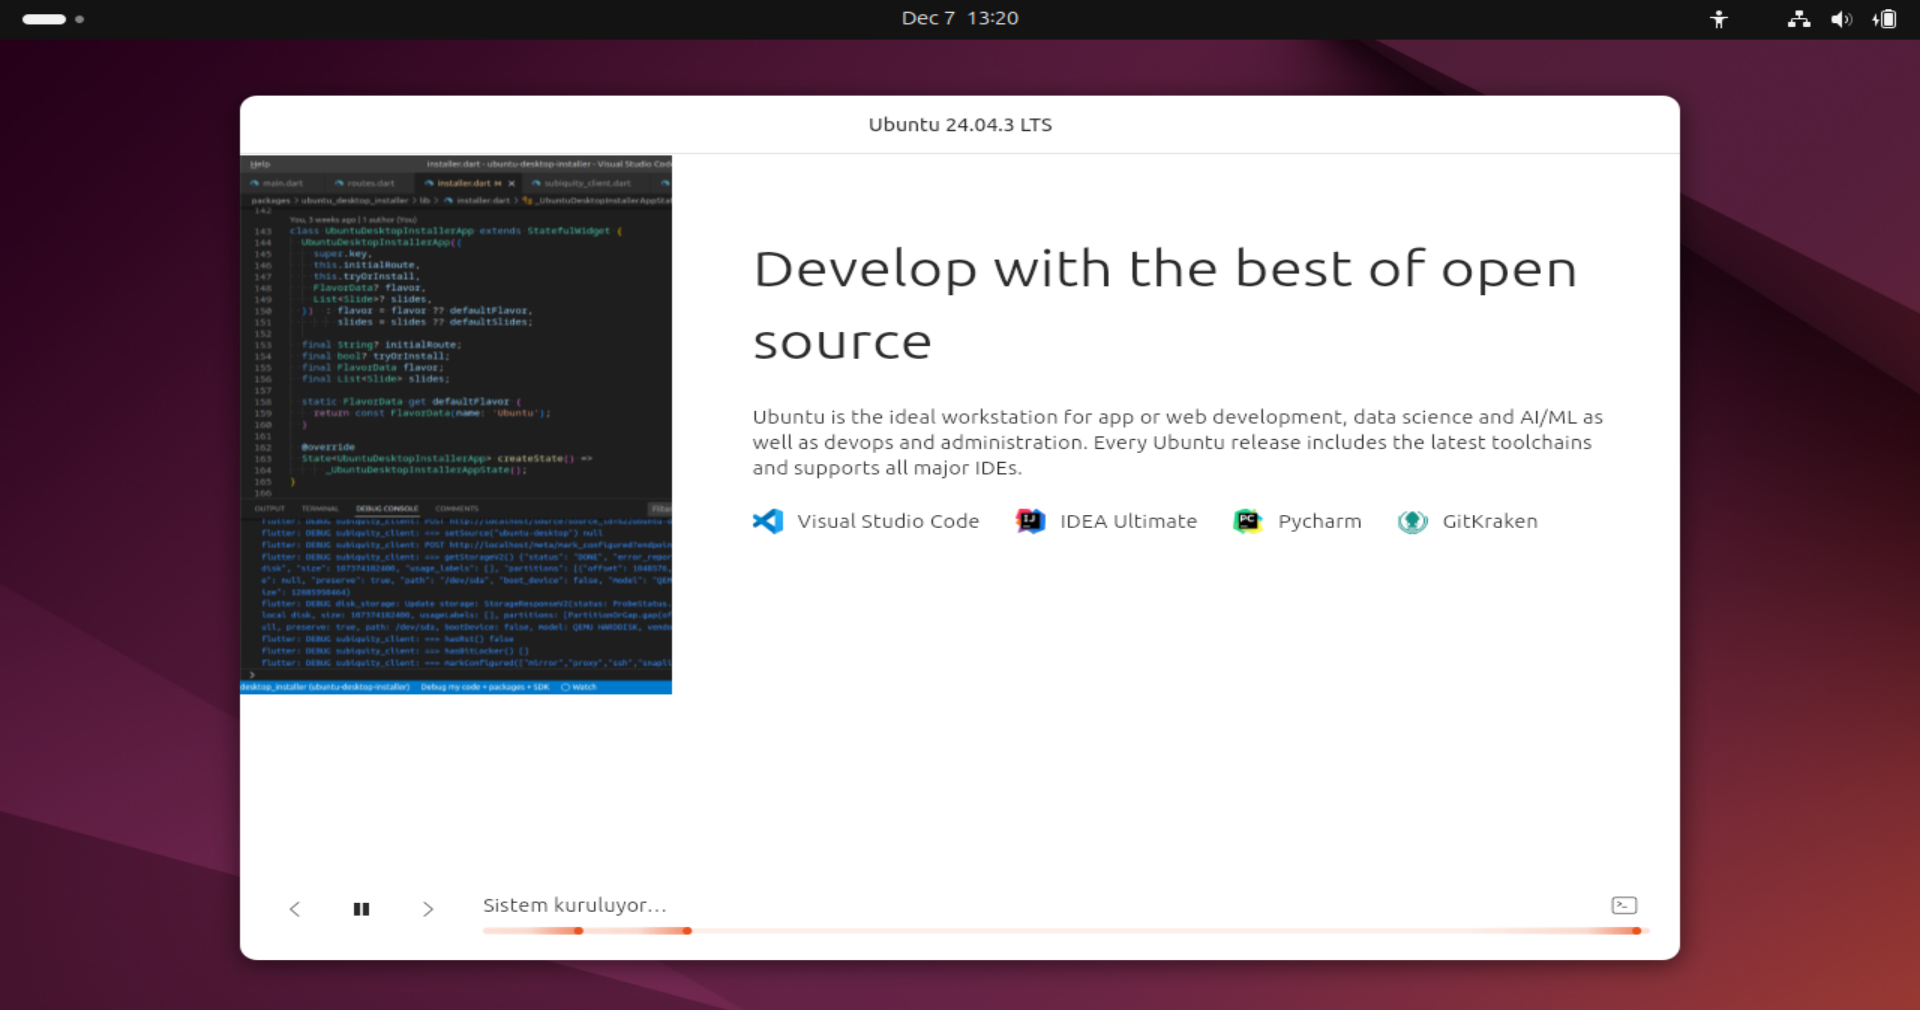
Sit Back and Relax
You can watch the slideshow while Ubuntu copies files and installs the system. This process may take 10-20 minutes depending on your computer's speed.

Installation Complete
Congratulations! The installation is finished. Click "Restart Now" and remove your USB drive when prompted.
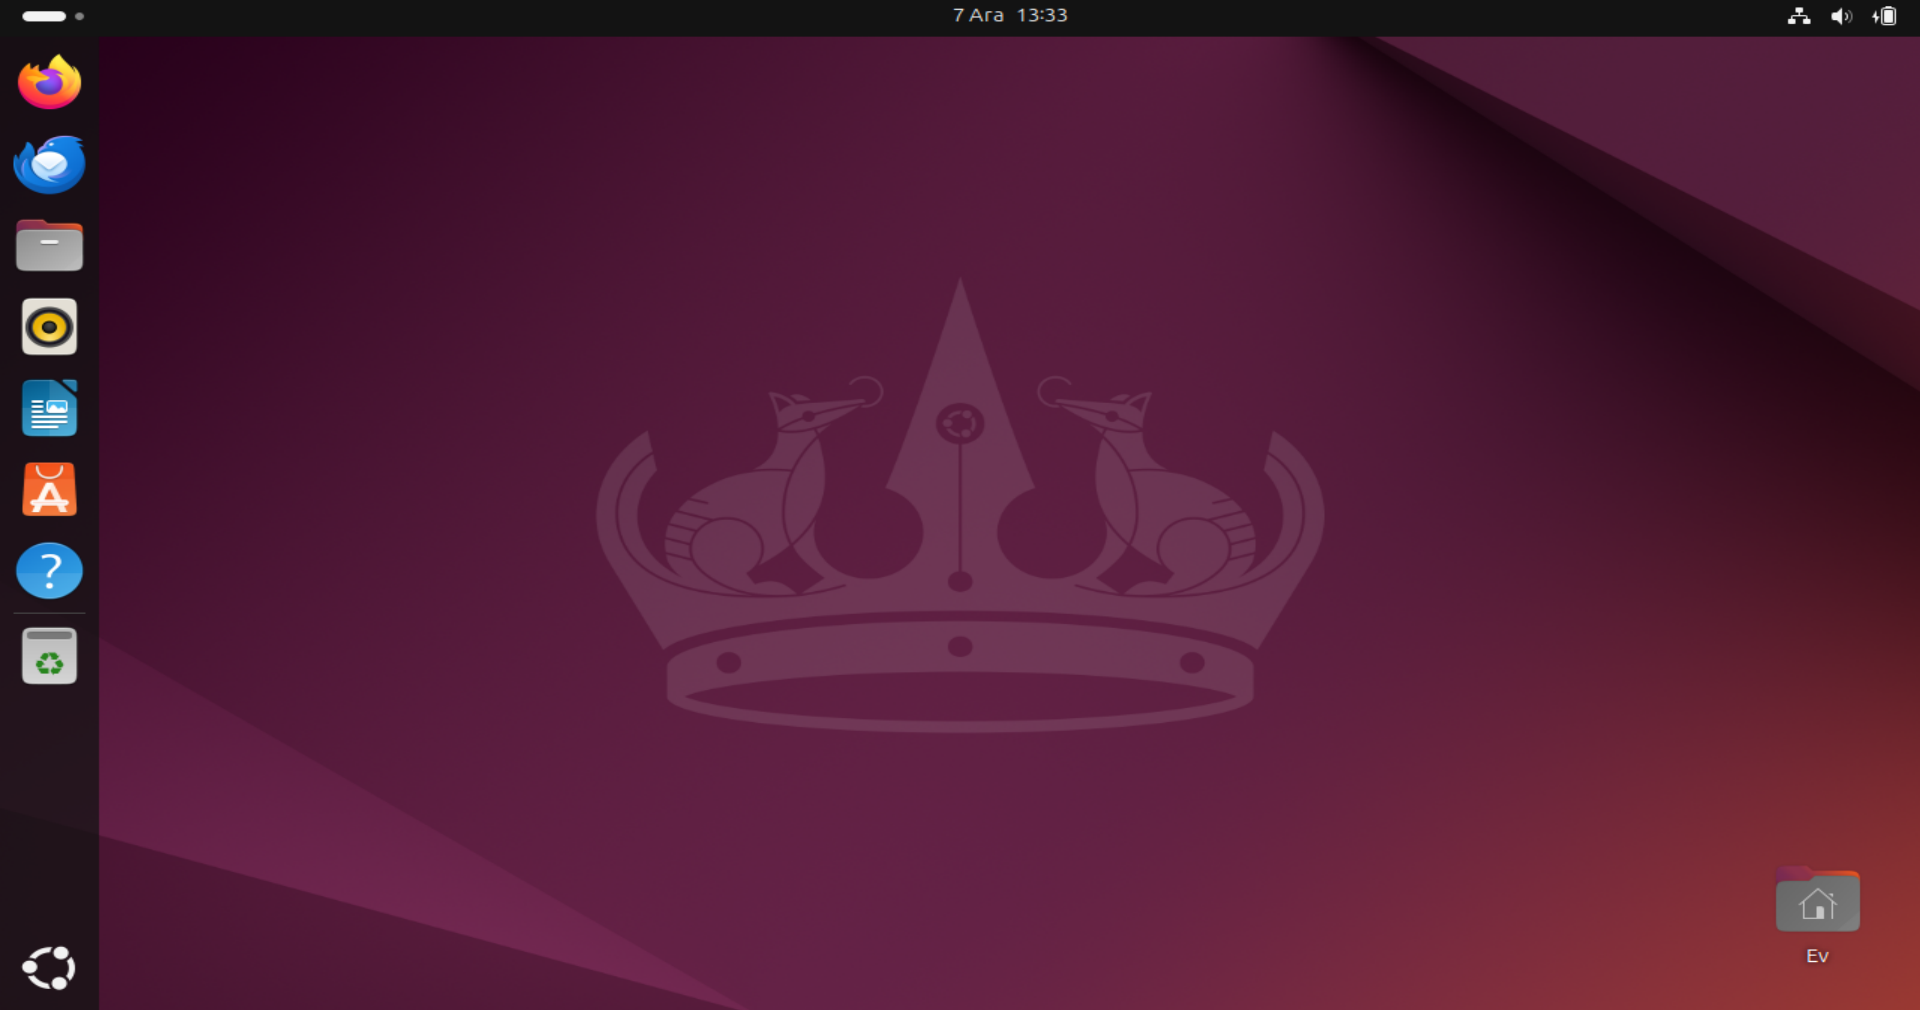
Welcome
And here is your brand new Ubuntu desktop! You can access your applications from the "Activities" menu in the top left corner. Enjoy!