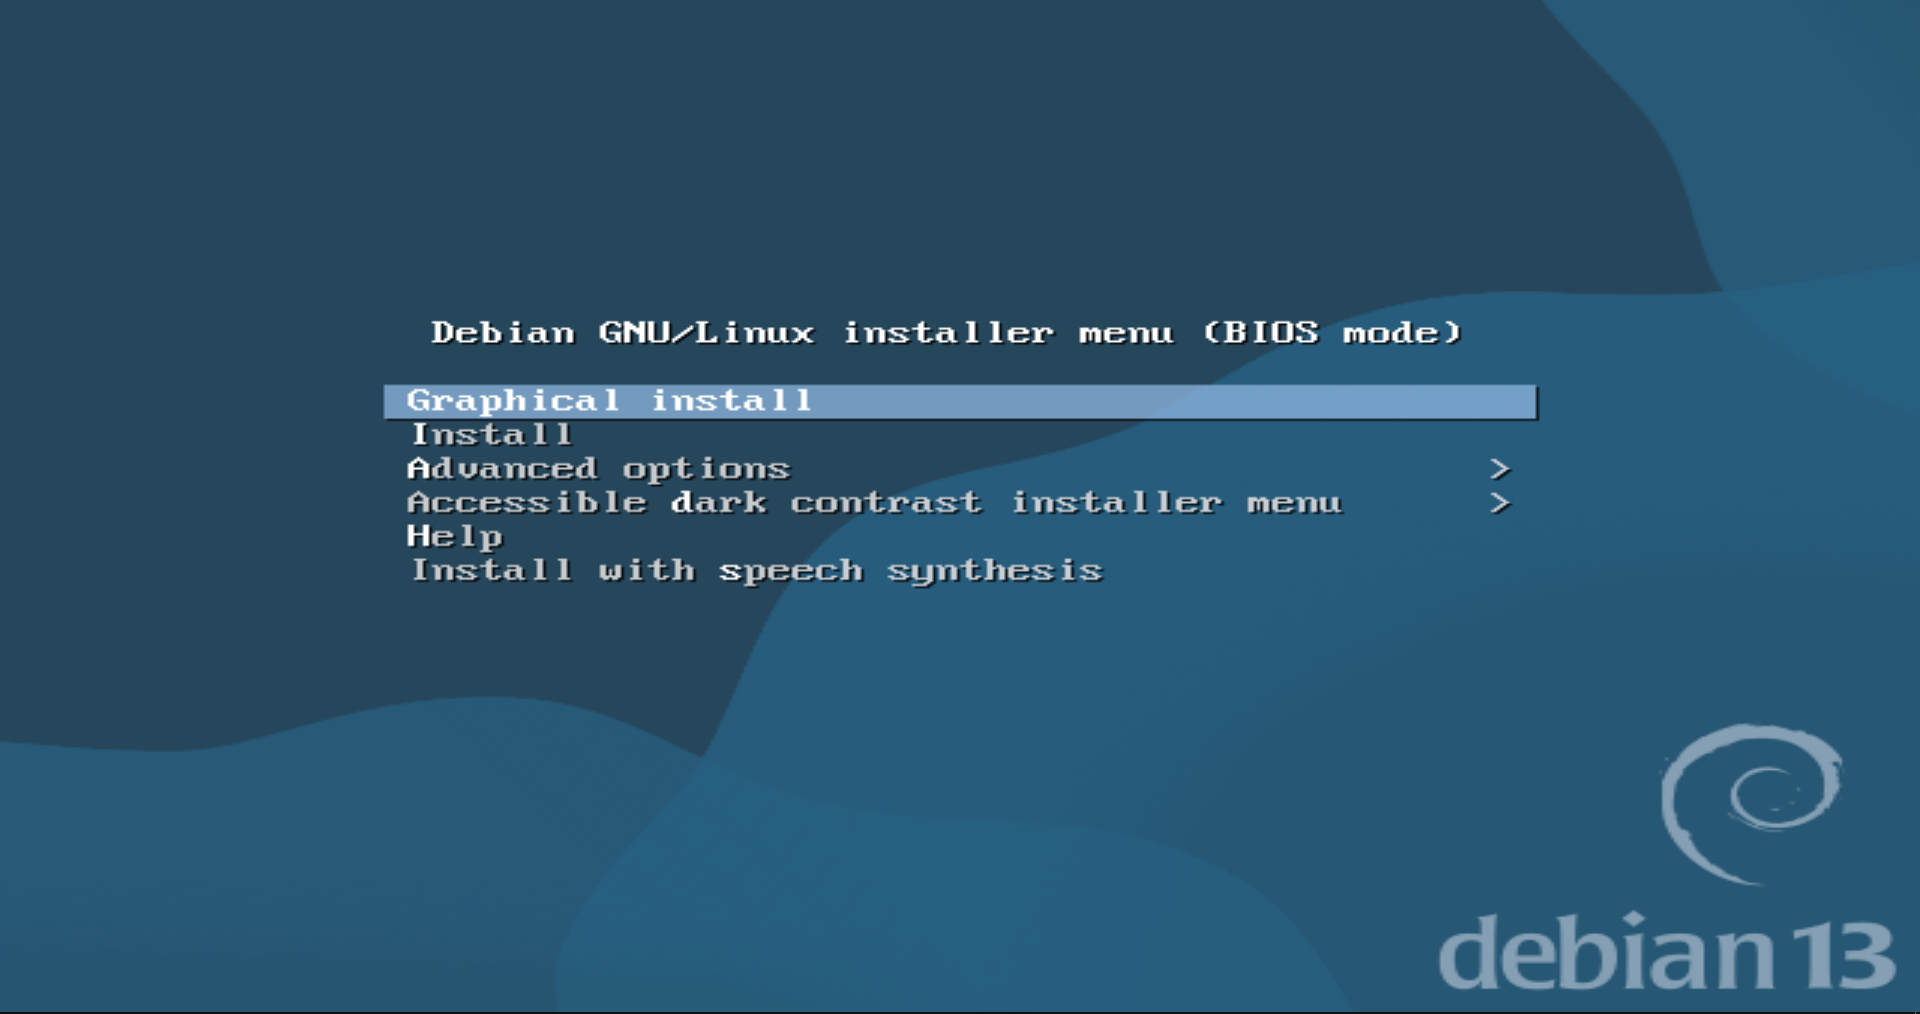
Graphical Install
When you boot from the USB, you will see this menu. For the easiest and most visual experience, select "Graphical install" and press Enter.
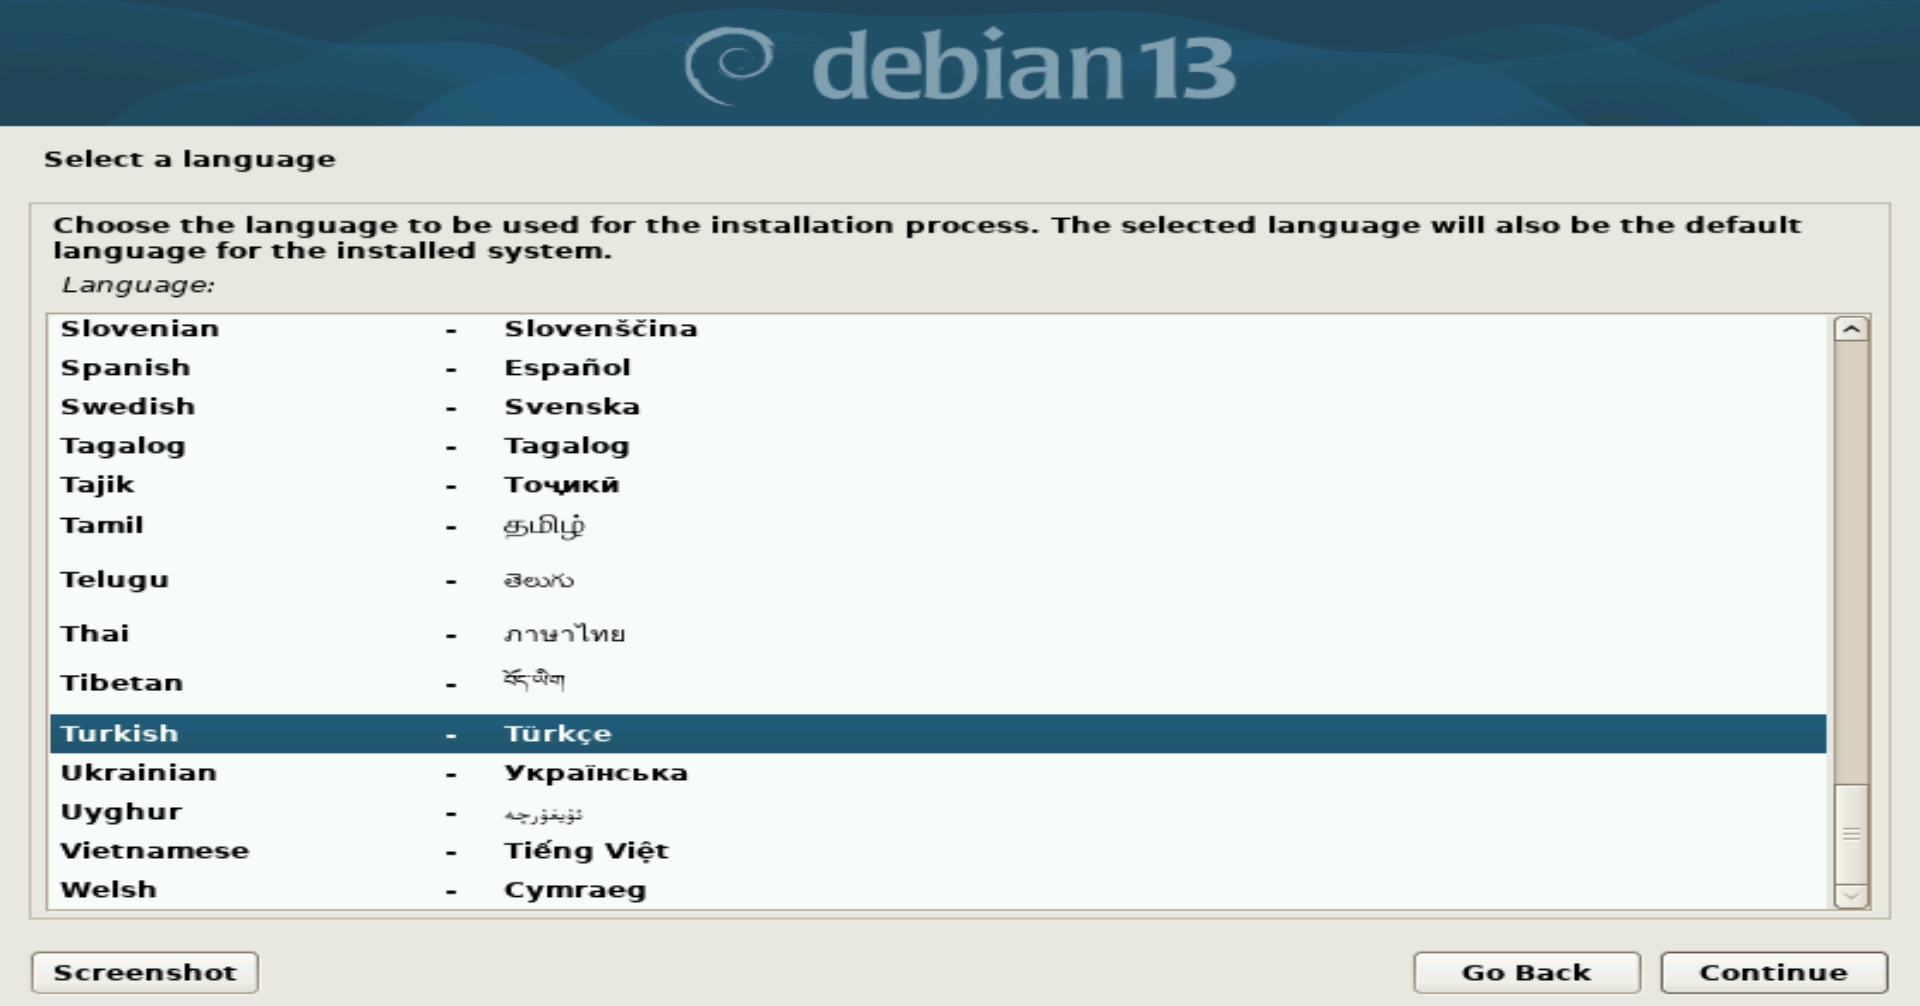
Select Language
Select your preferred language from the list. This will determine the language of the installation process and the final system.
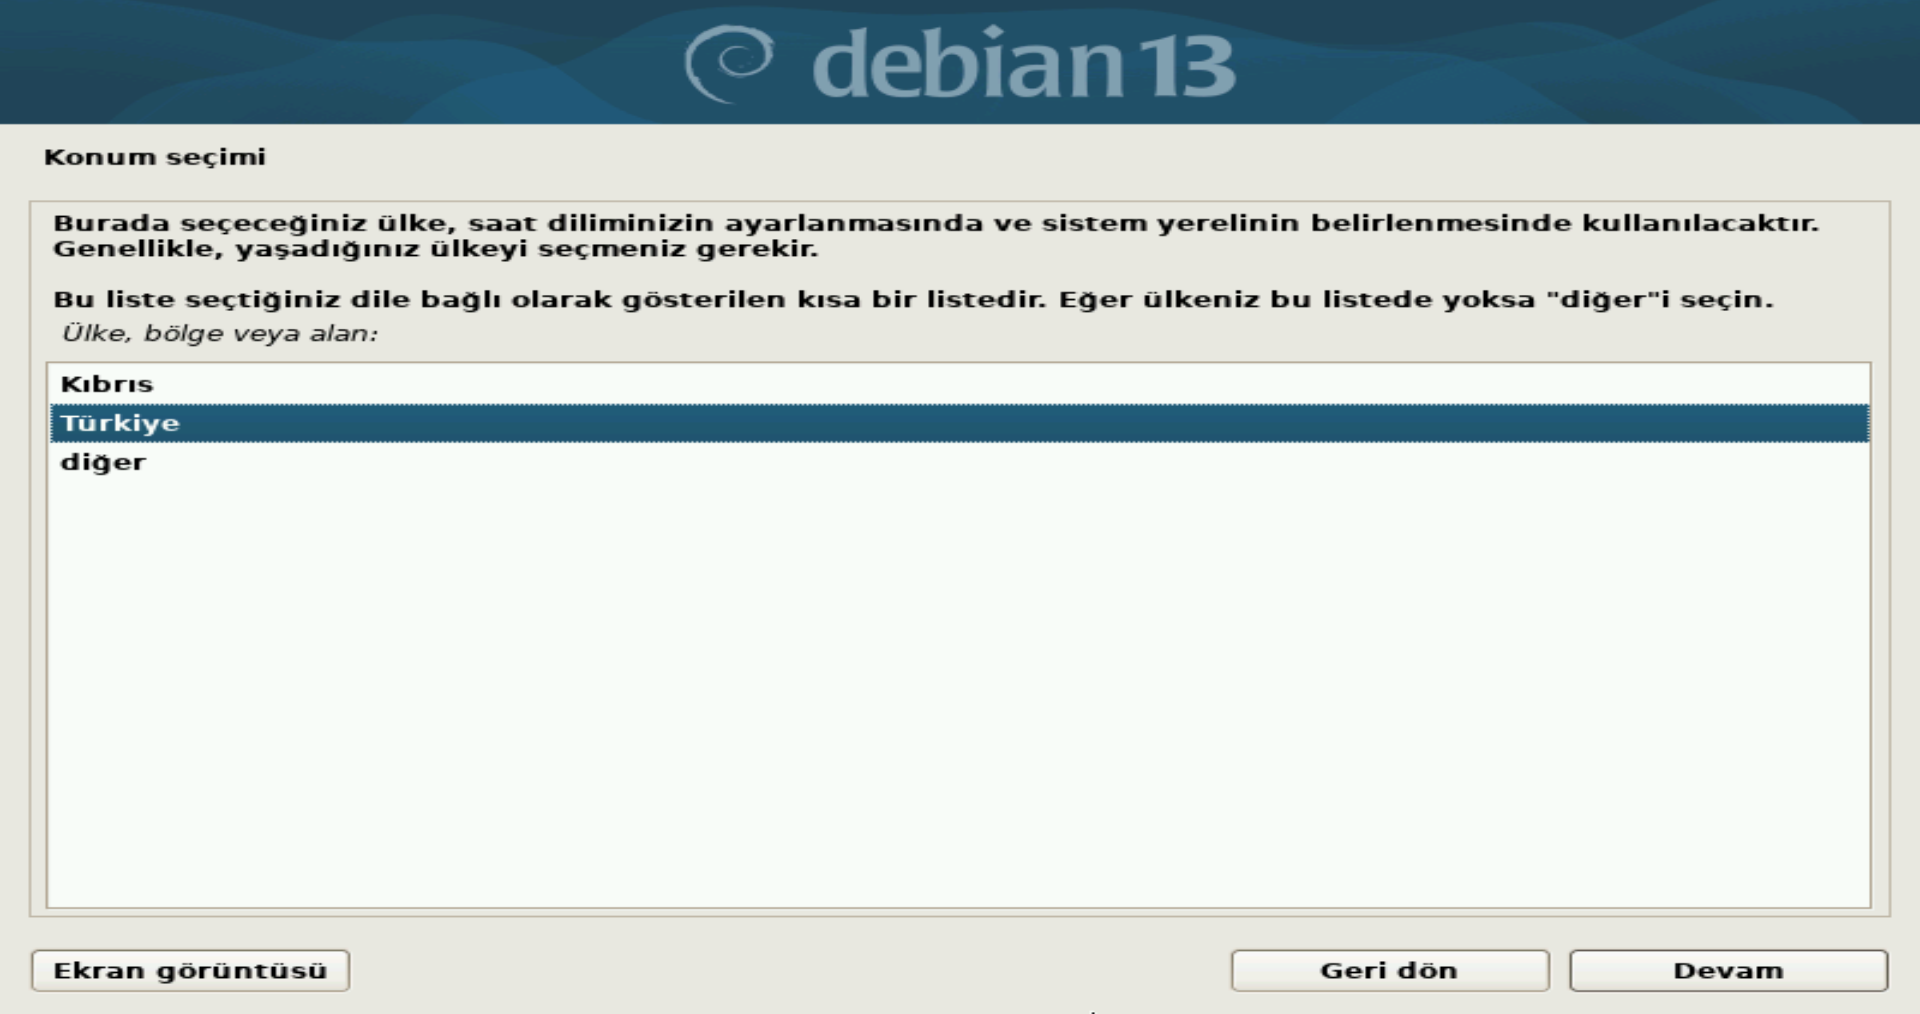
Select Location
Choose your country (e.g., Turkey) to configure your time zone and system locale settings correctly.
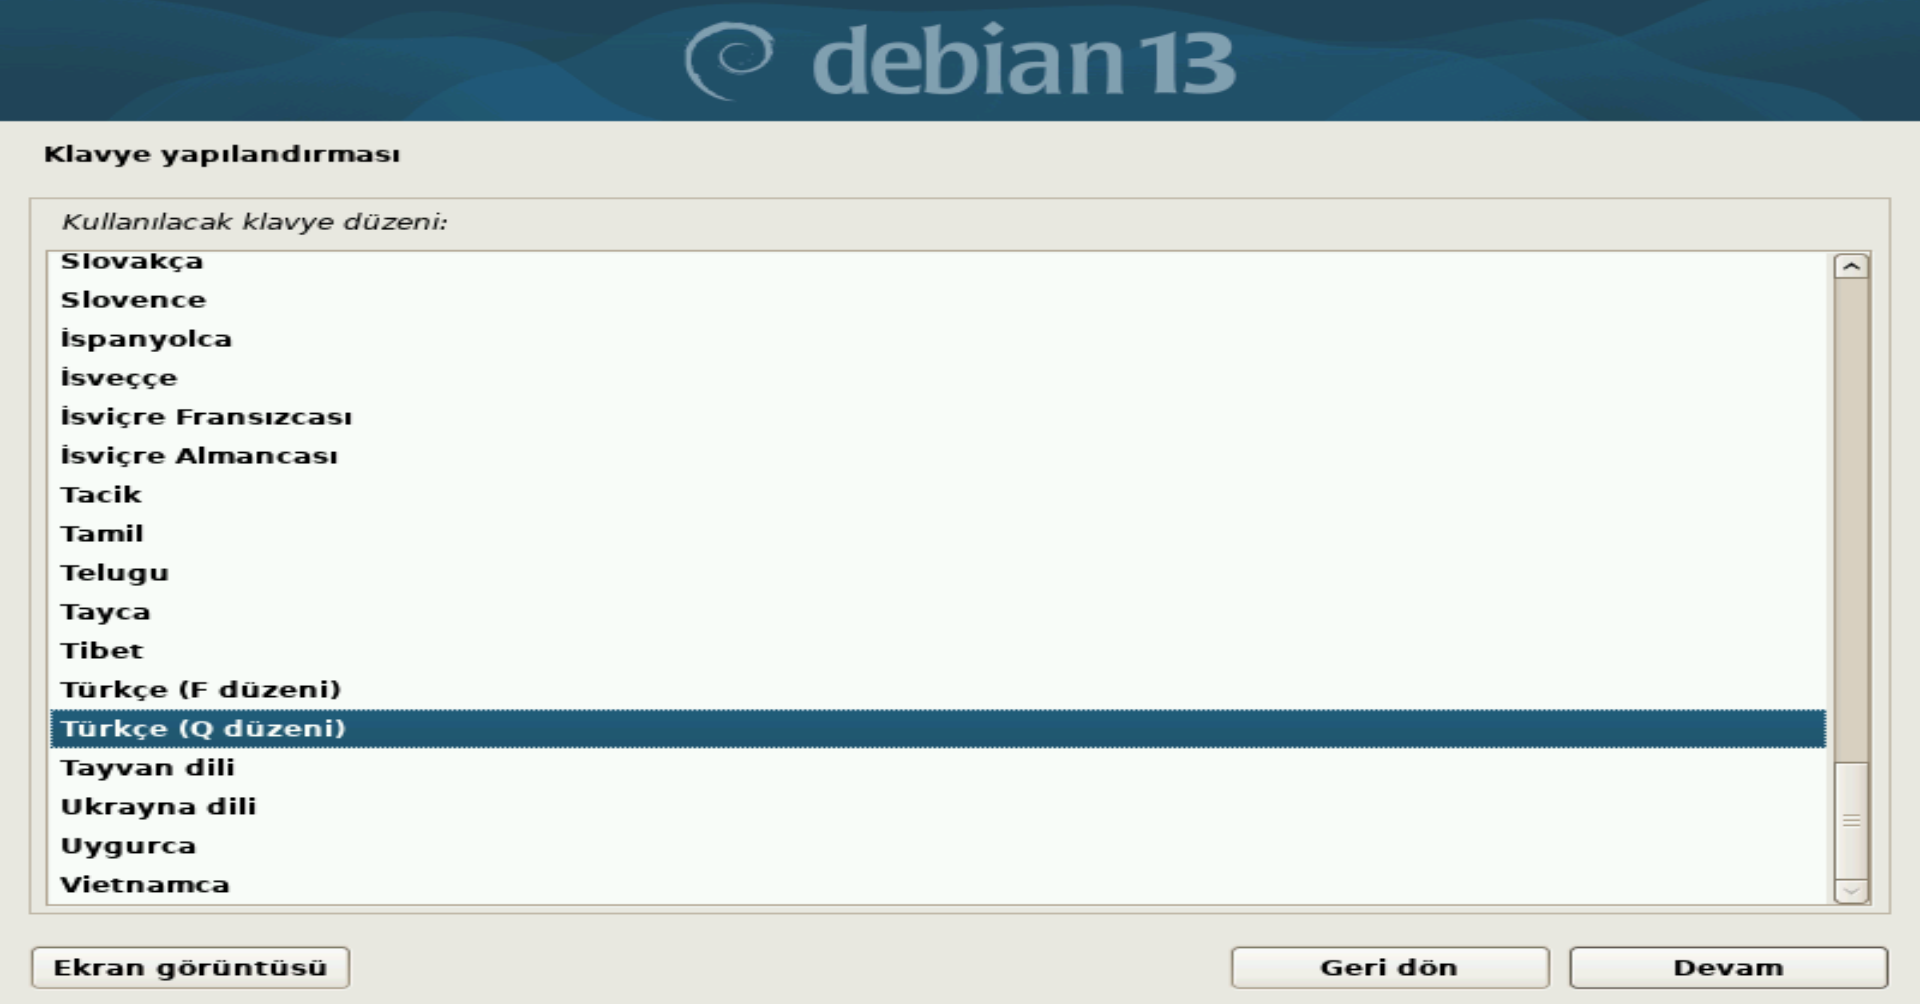
Configure Keyboard
Select the keyboard layout that matches your physical keyboard. For most users in Turkey, this is "Turkish (Q layout)".
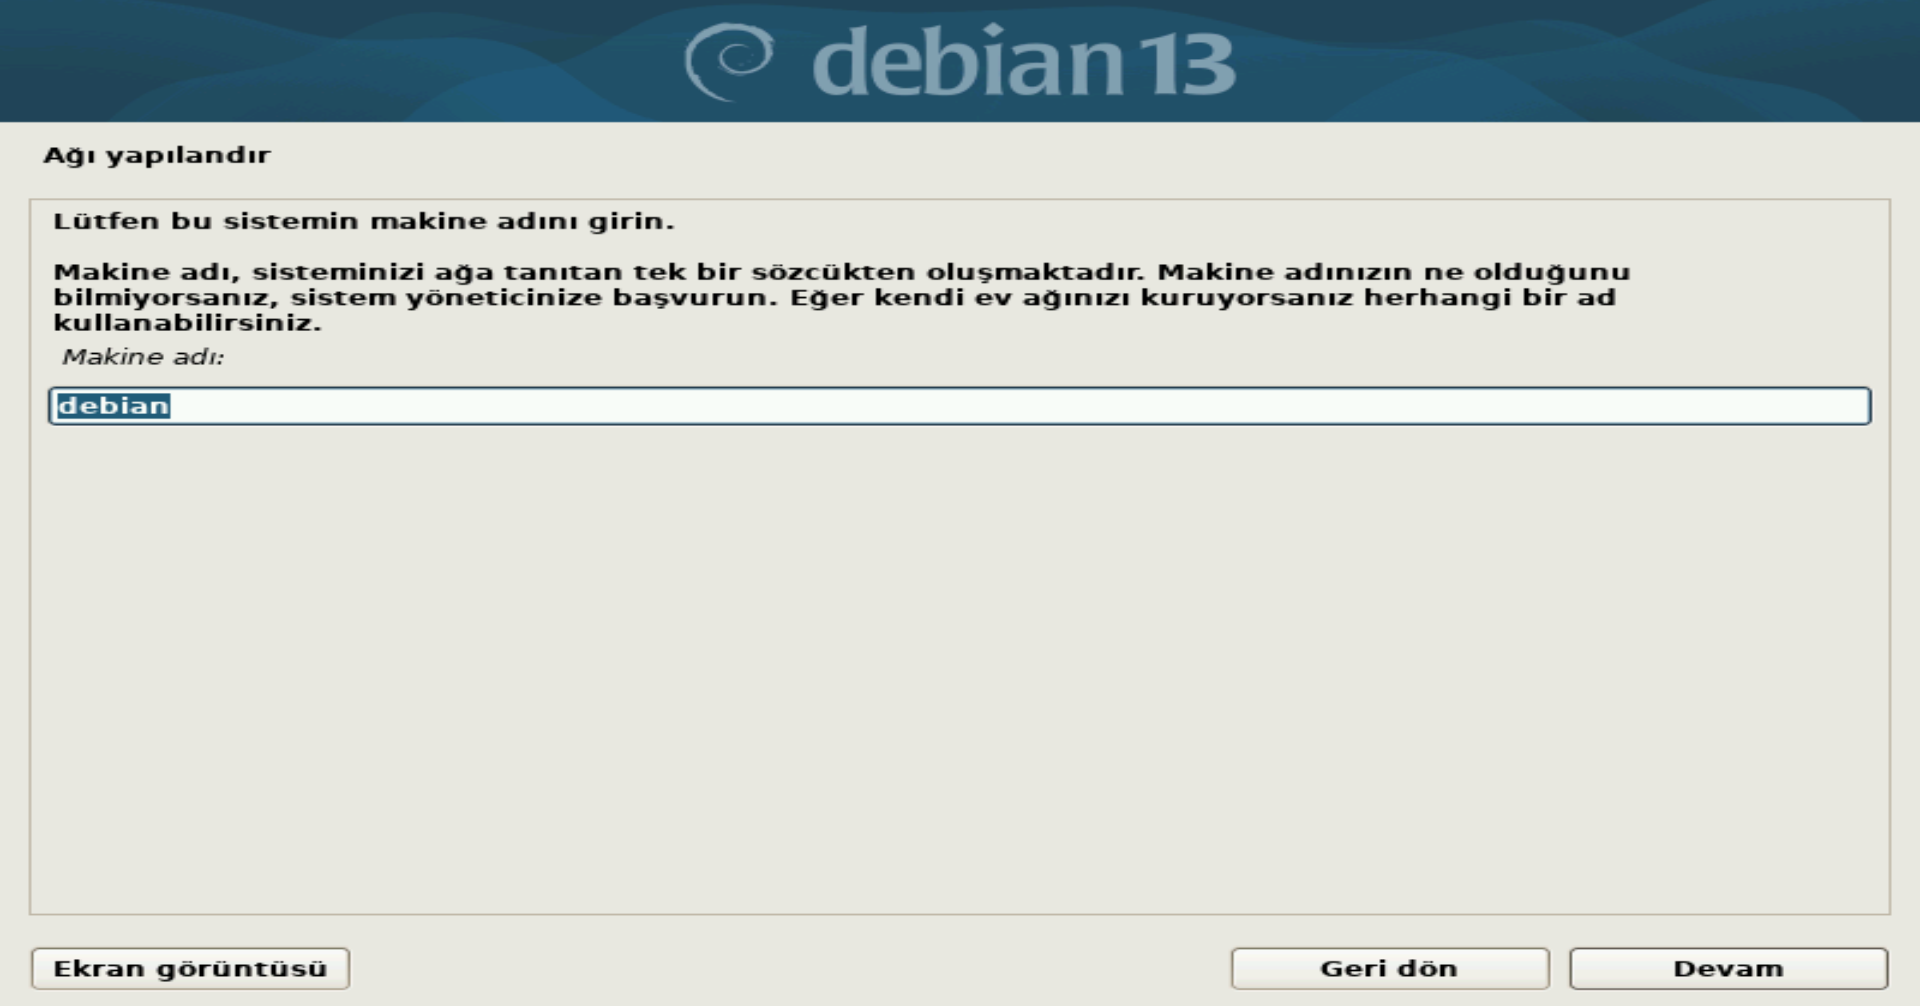
Hostname
Enter a name for your computer to identify it on the network (e.g., debian). Do not use spaces or special characters.
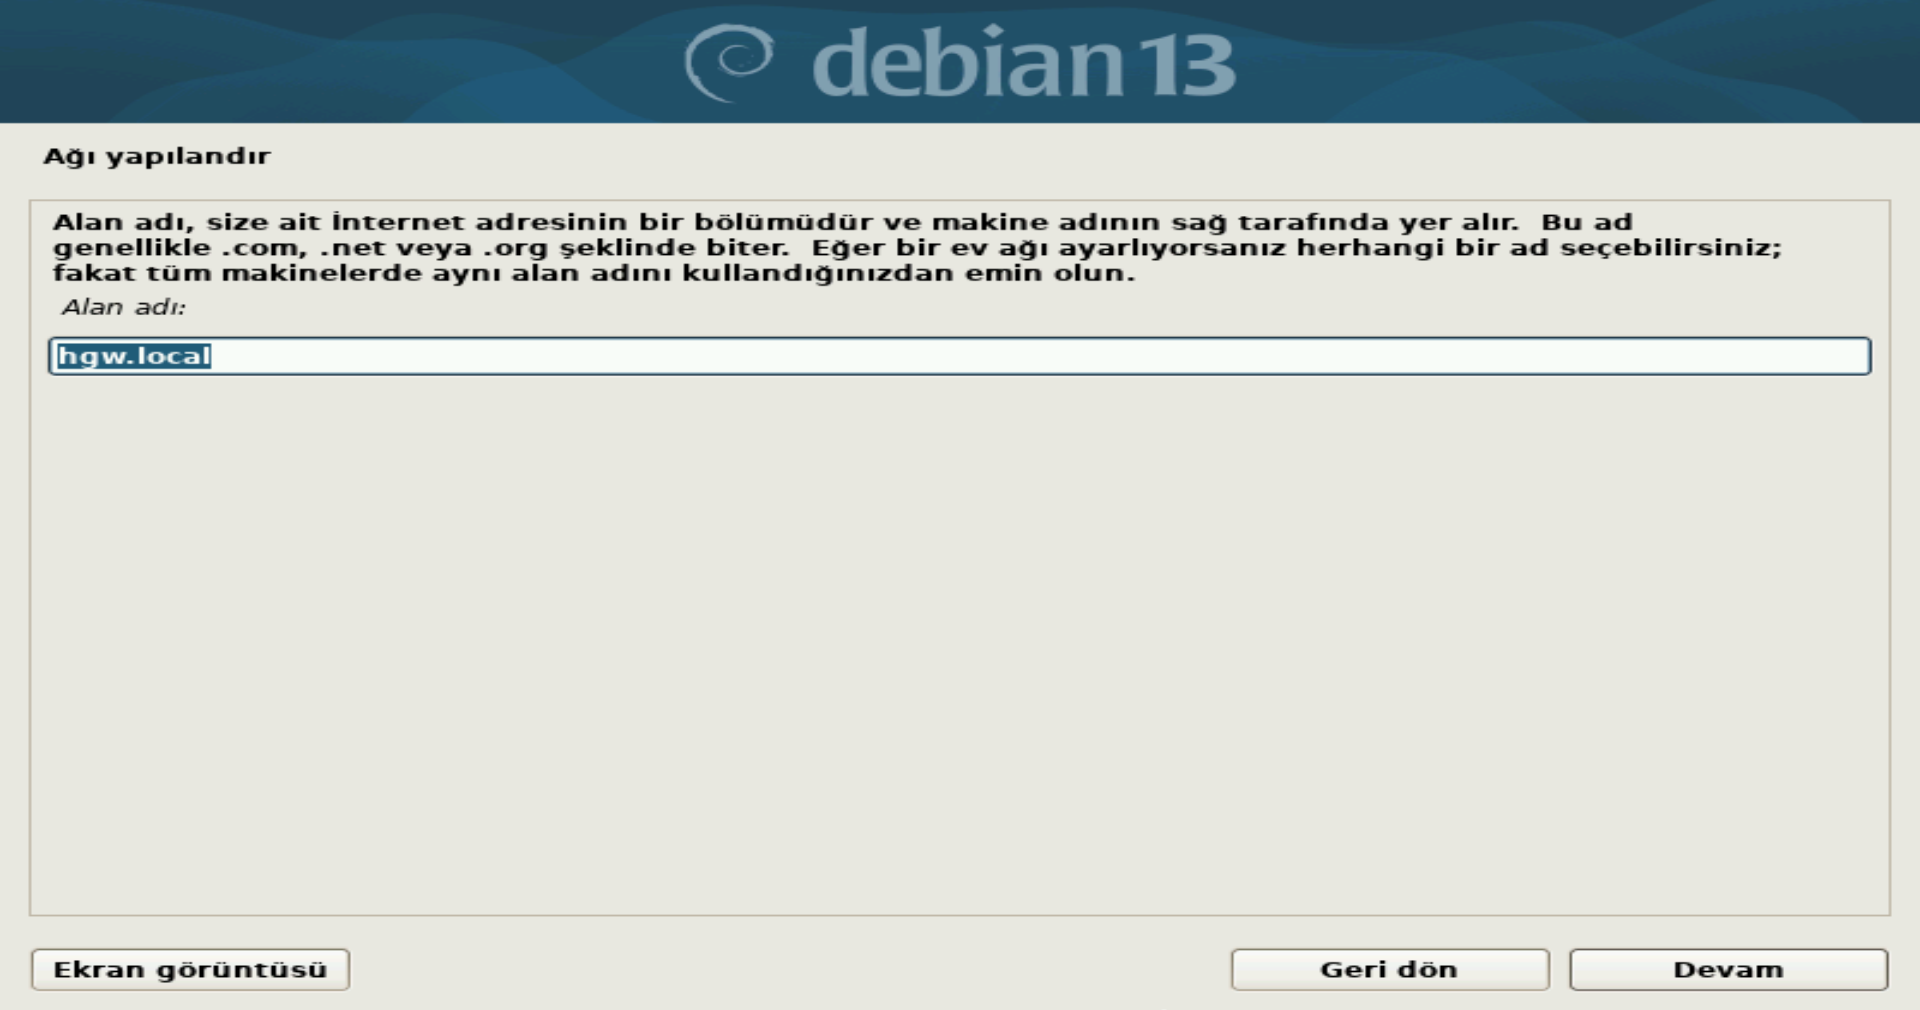
Domain Name
If you are a home user, you can leave this blank or type "local". If you are not part of a specific network domain, skipping this is fine.
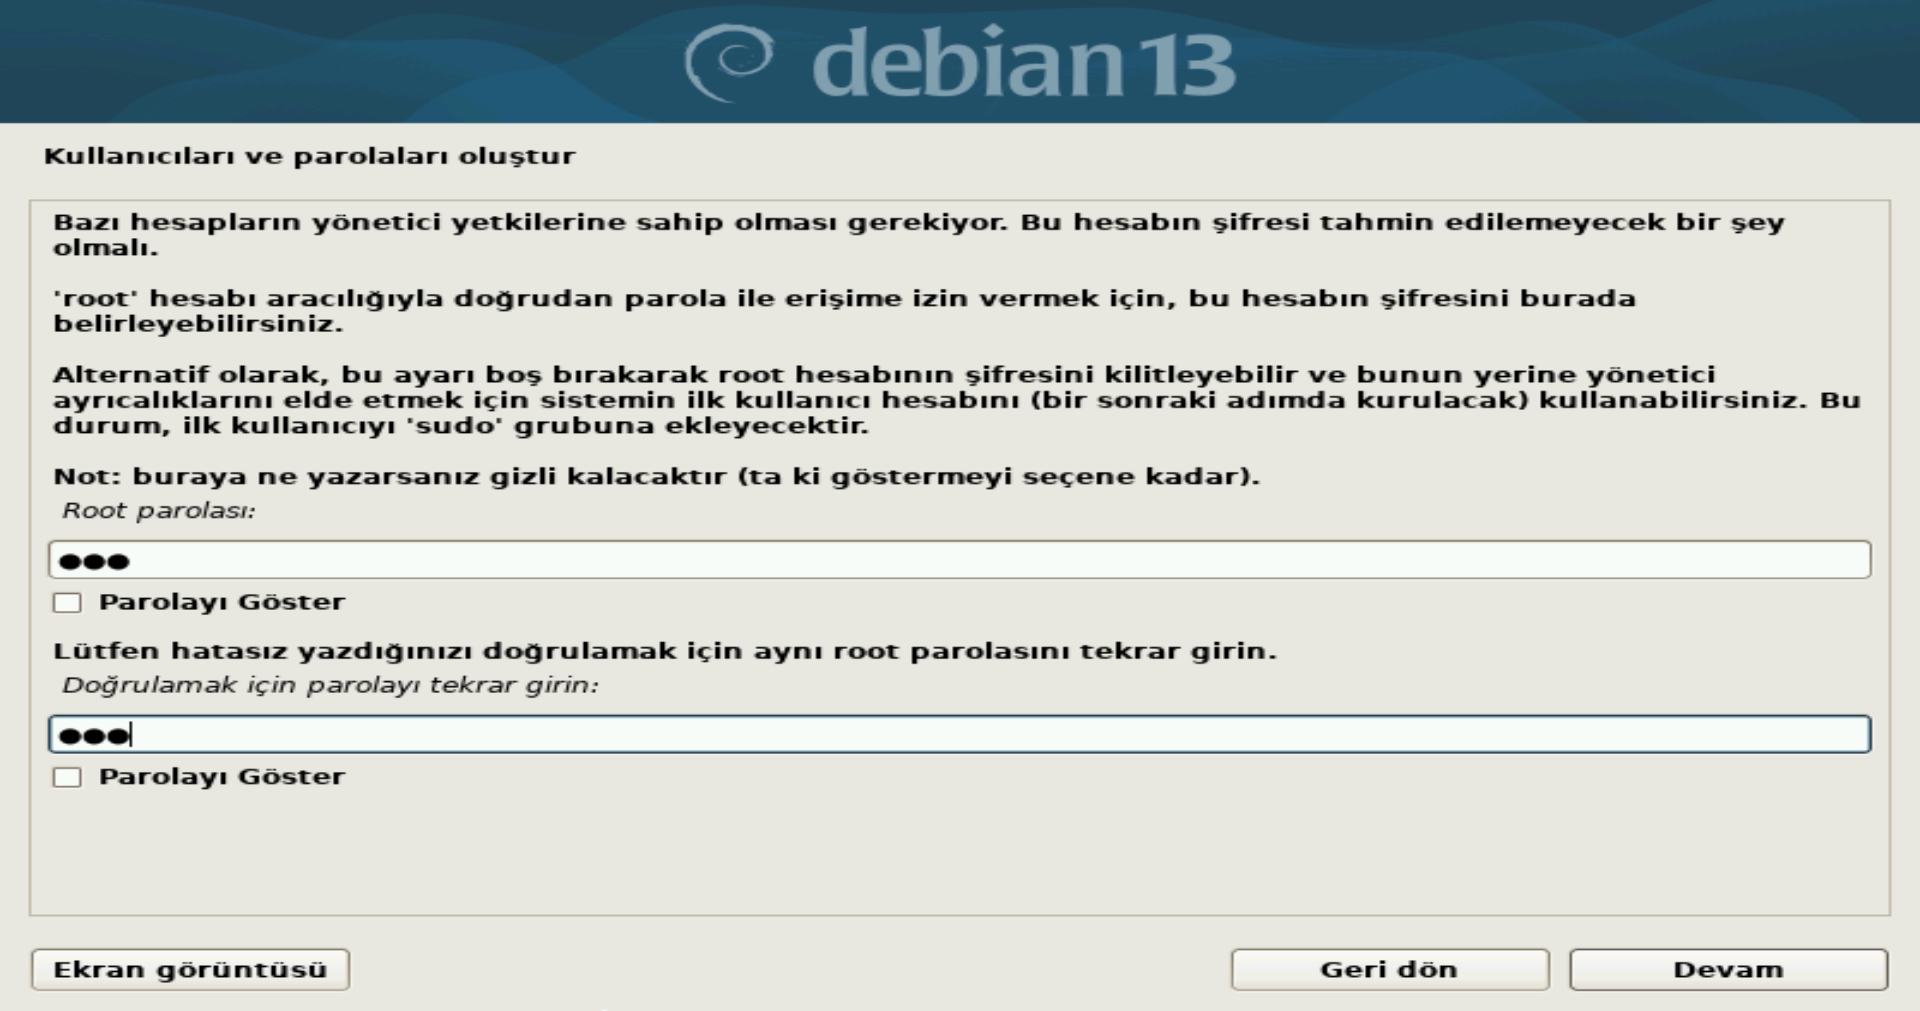
Root Password
Set a strong password for the "Root" (Administrator) account. Do not forget this password, as it is required for system administration.
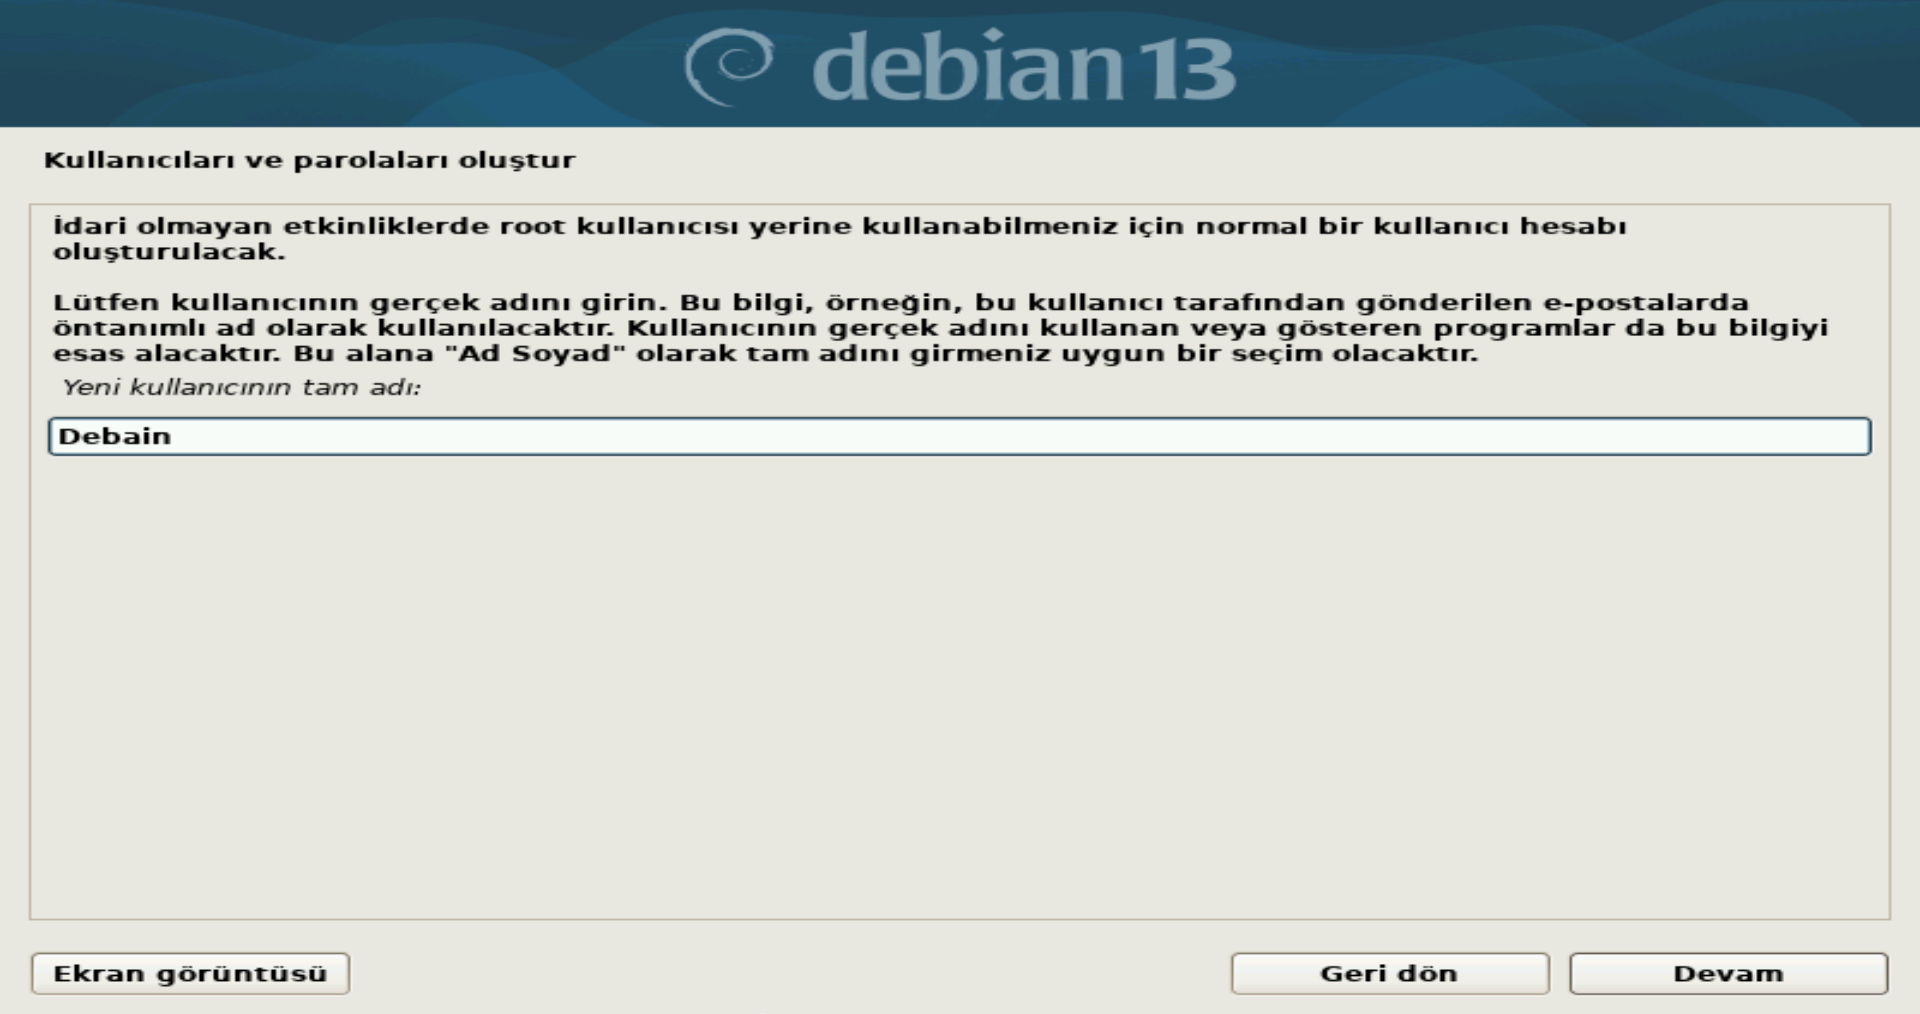
User Account
We are creating a standard user account for daily use. Enter your full real name here.

Username
Choose a short username for logging in. It should consist of lowercase letters and start with a letter.
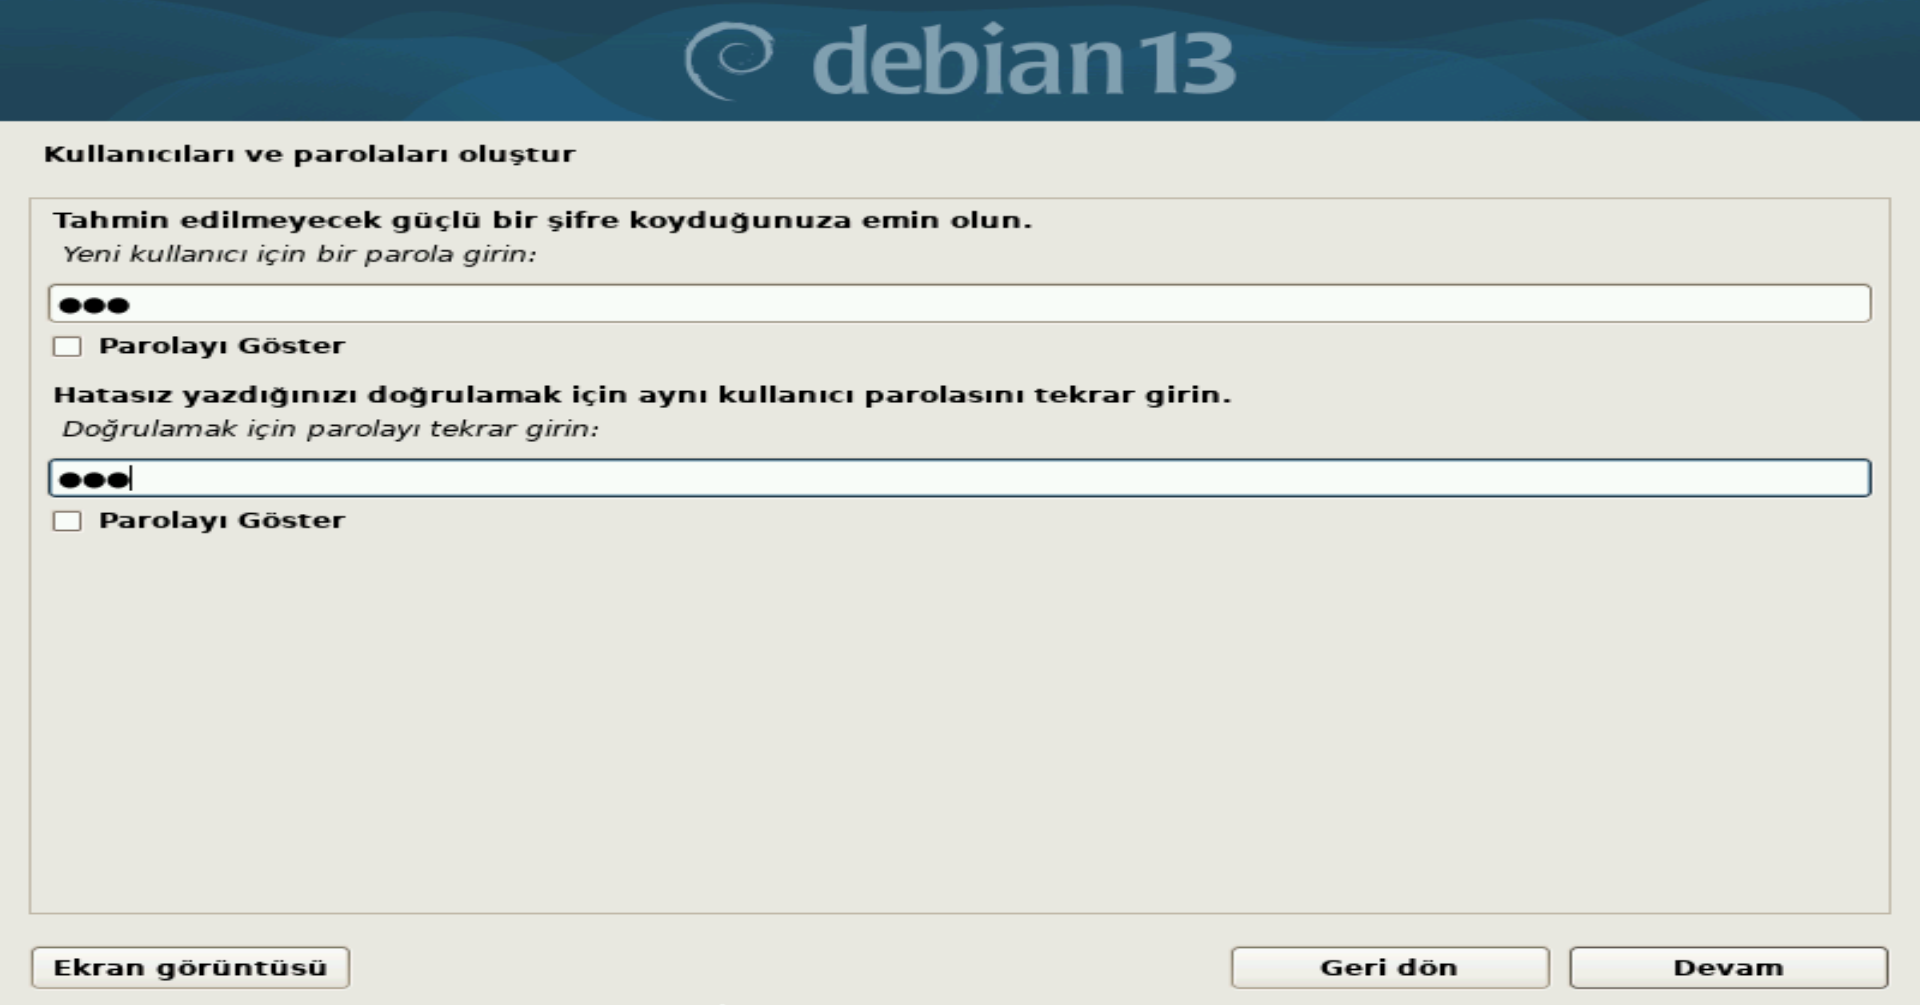
User Password
Set a password for your new user account. You will use this to log in to the desktop.
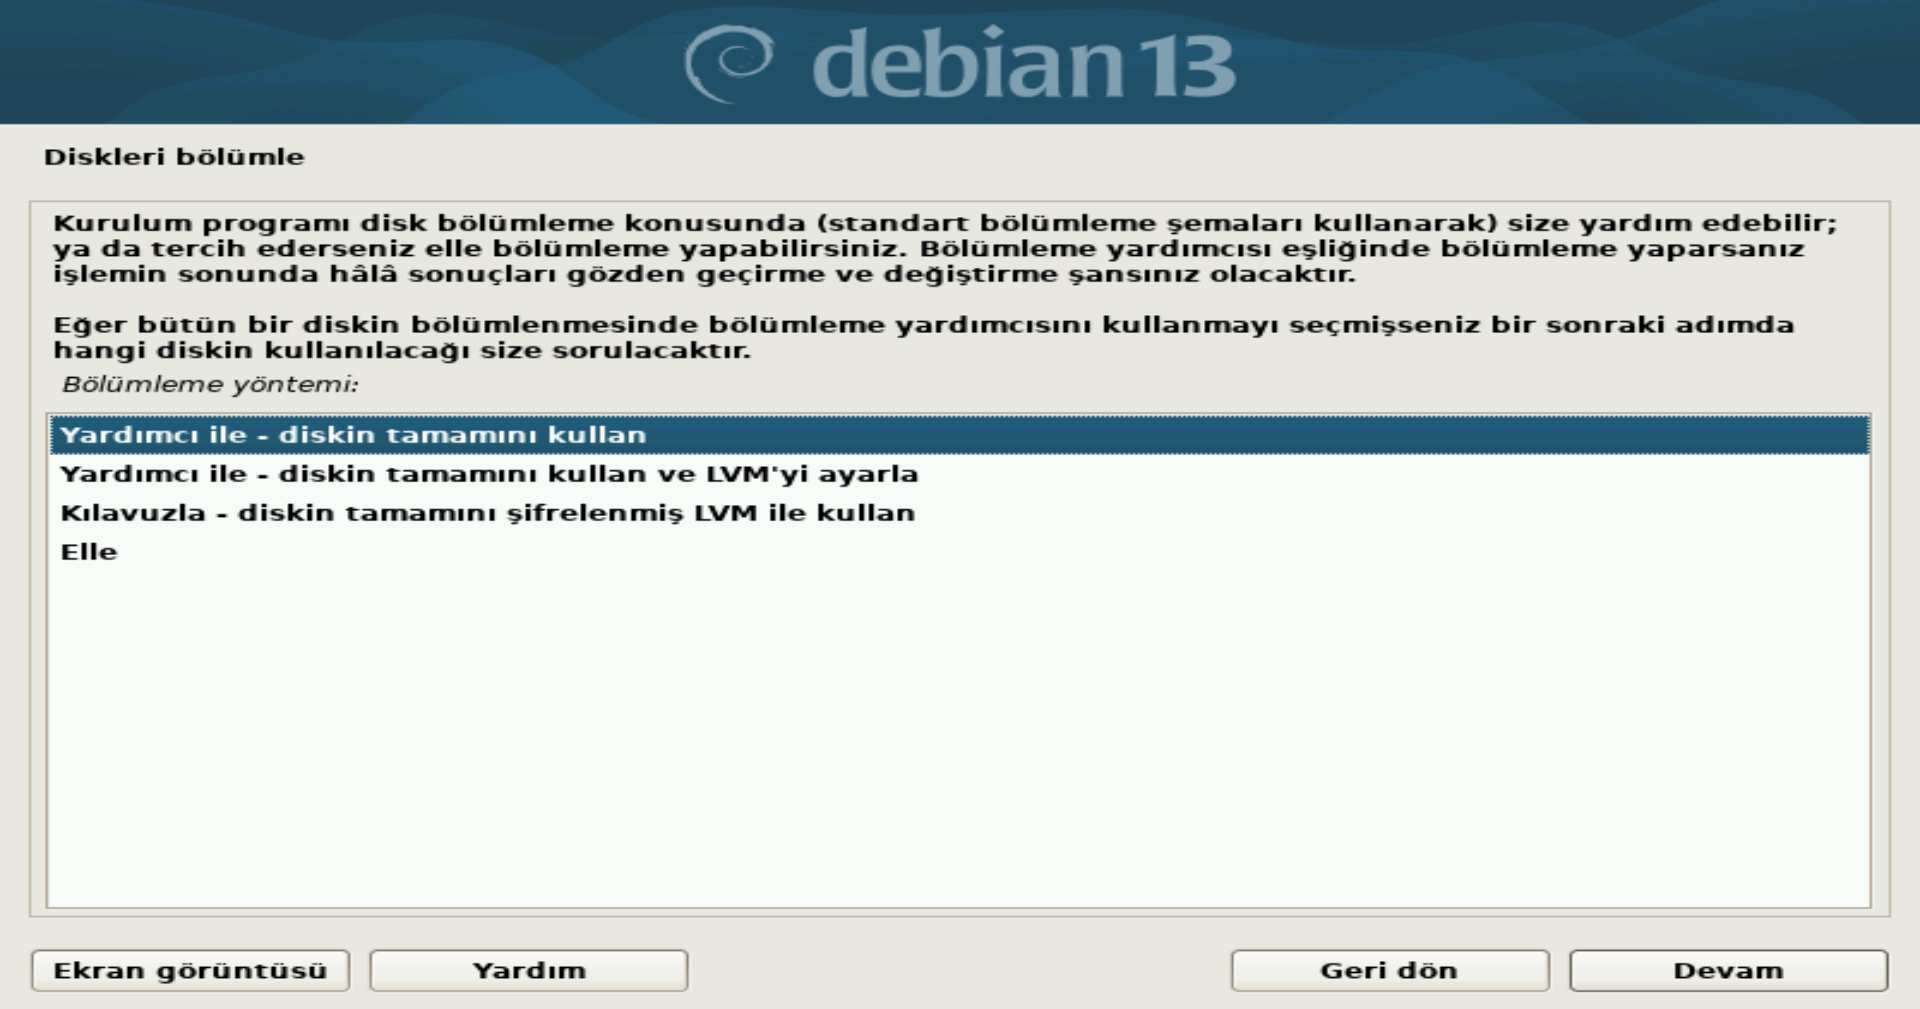
Partition Disks
For beginners, the easiest method is "Guided - use entire disk". This will automatically set up partitions for you.
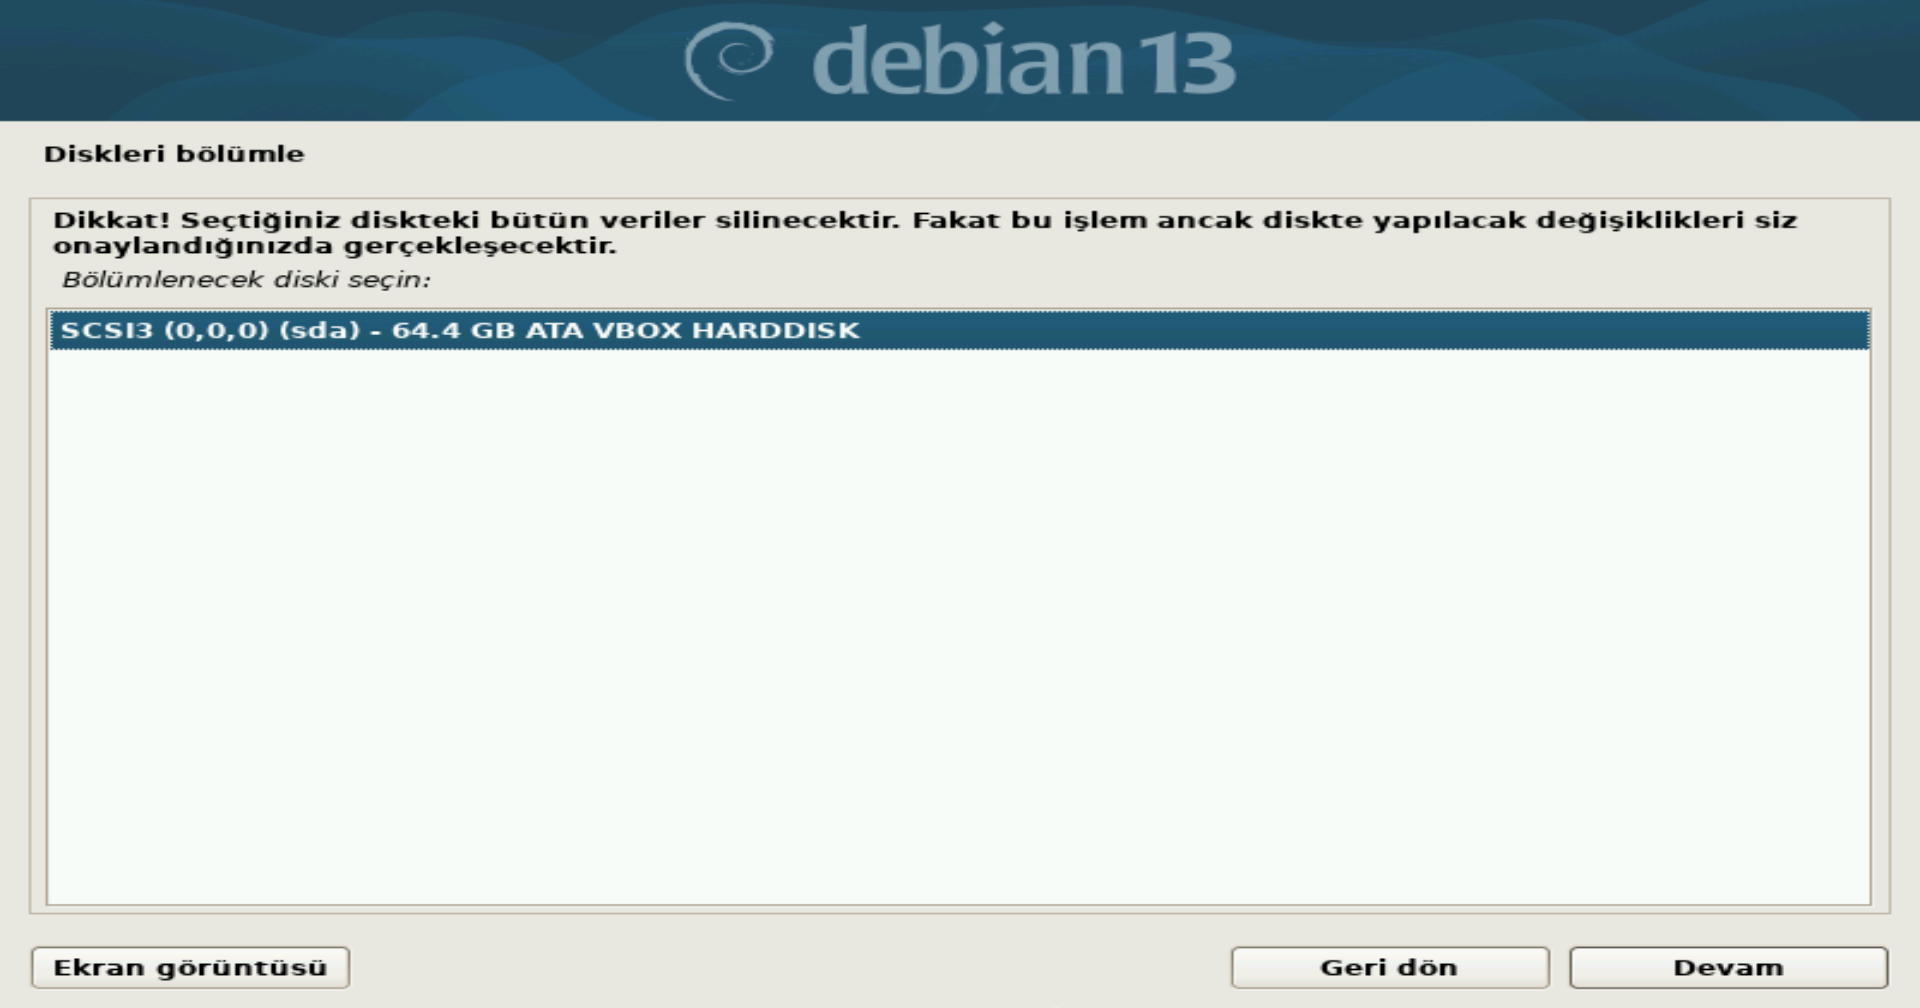
Select Disk
Select the disk where you want to install Debian. Warning: All data on the selected disk will be erased.
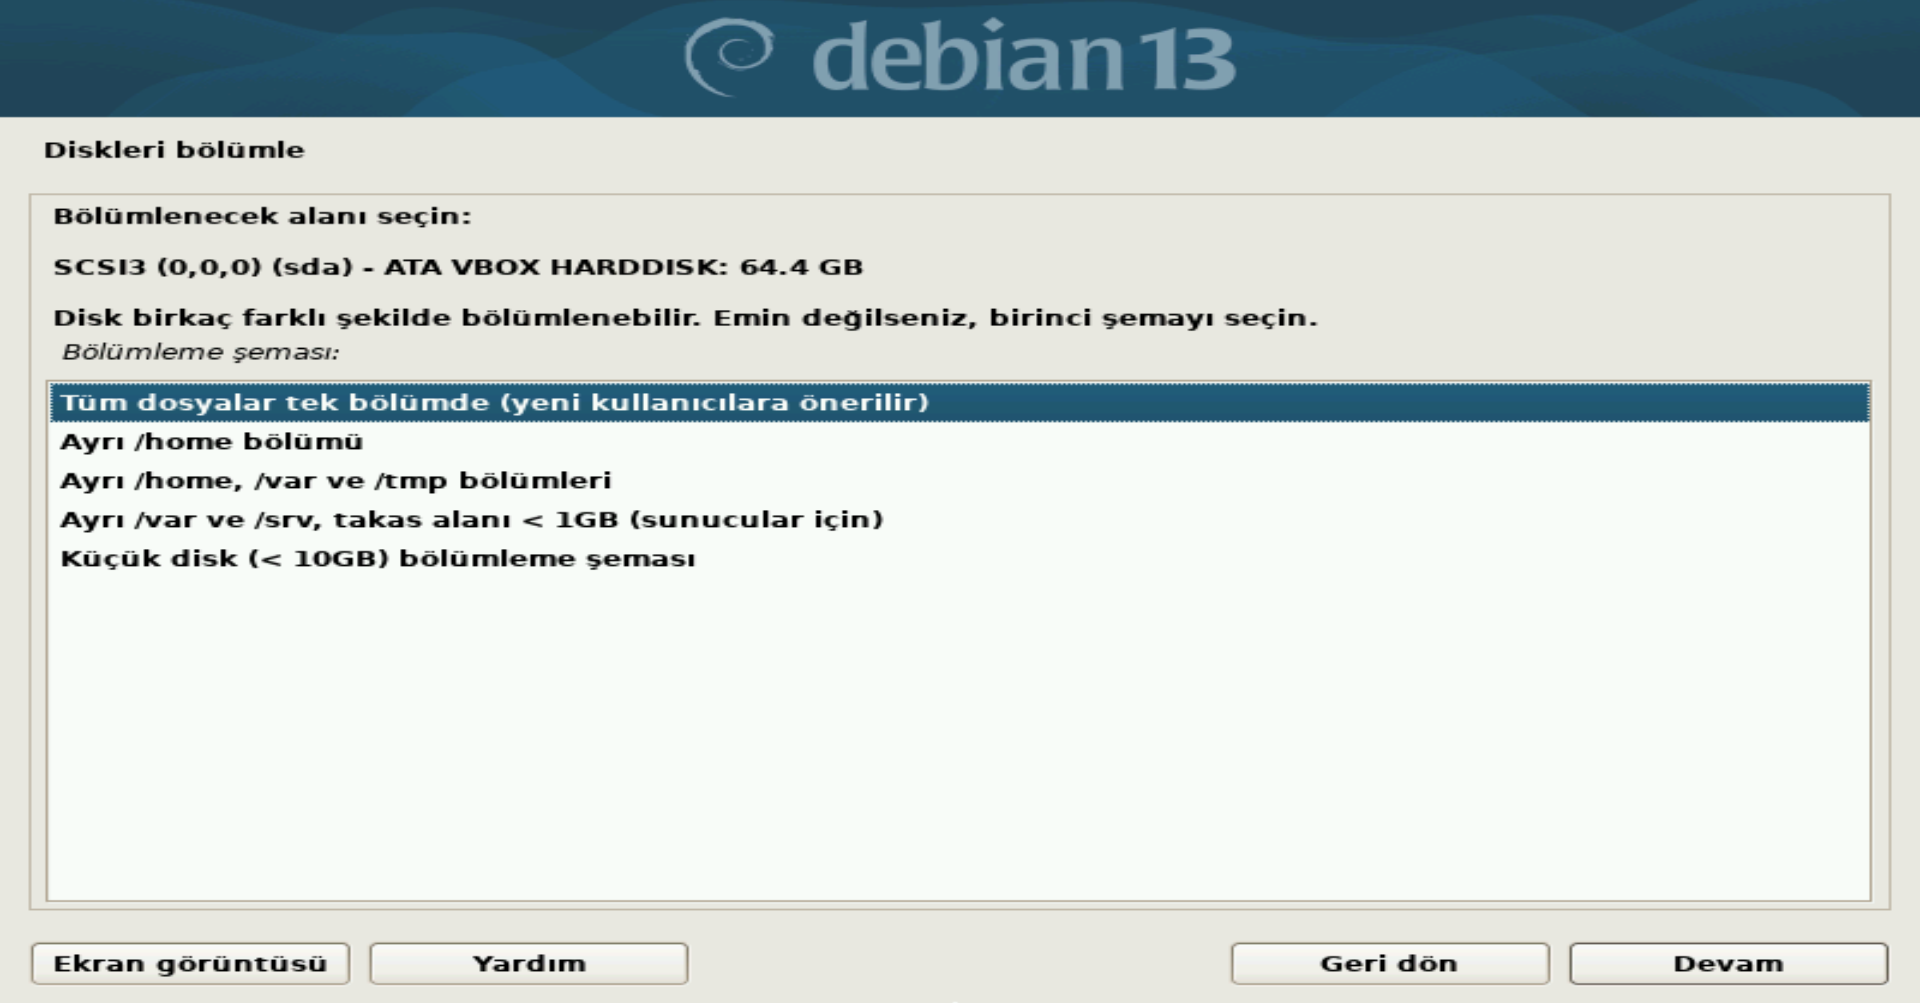
Partitioning Scheme
Choose "All files in one partition" (recommended for new users) for a simple and hassle-free structure.
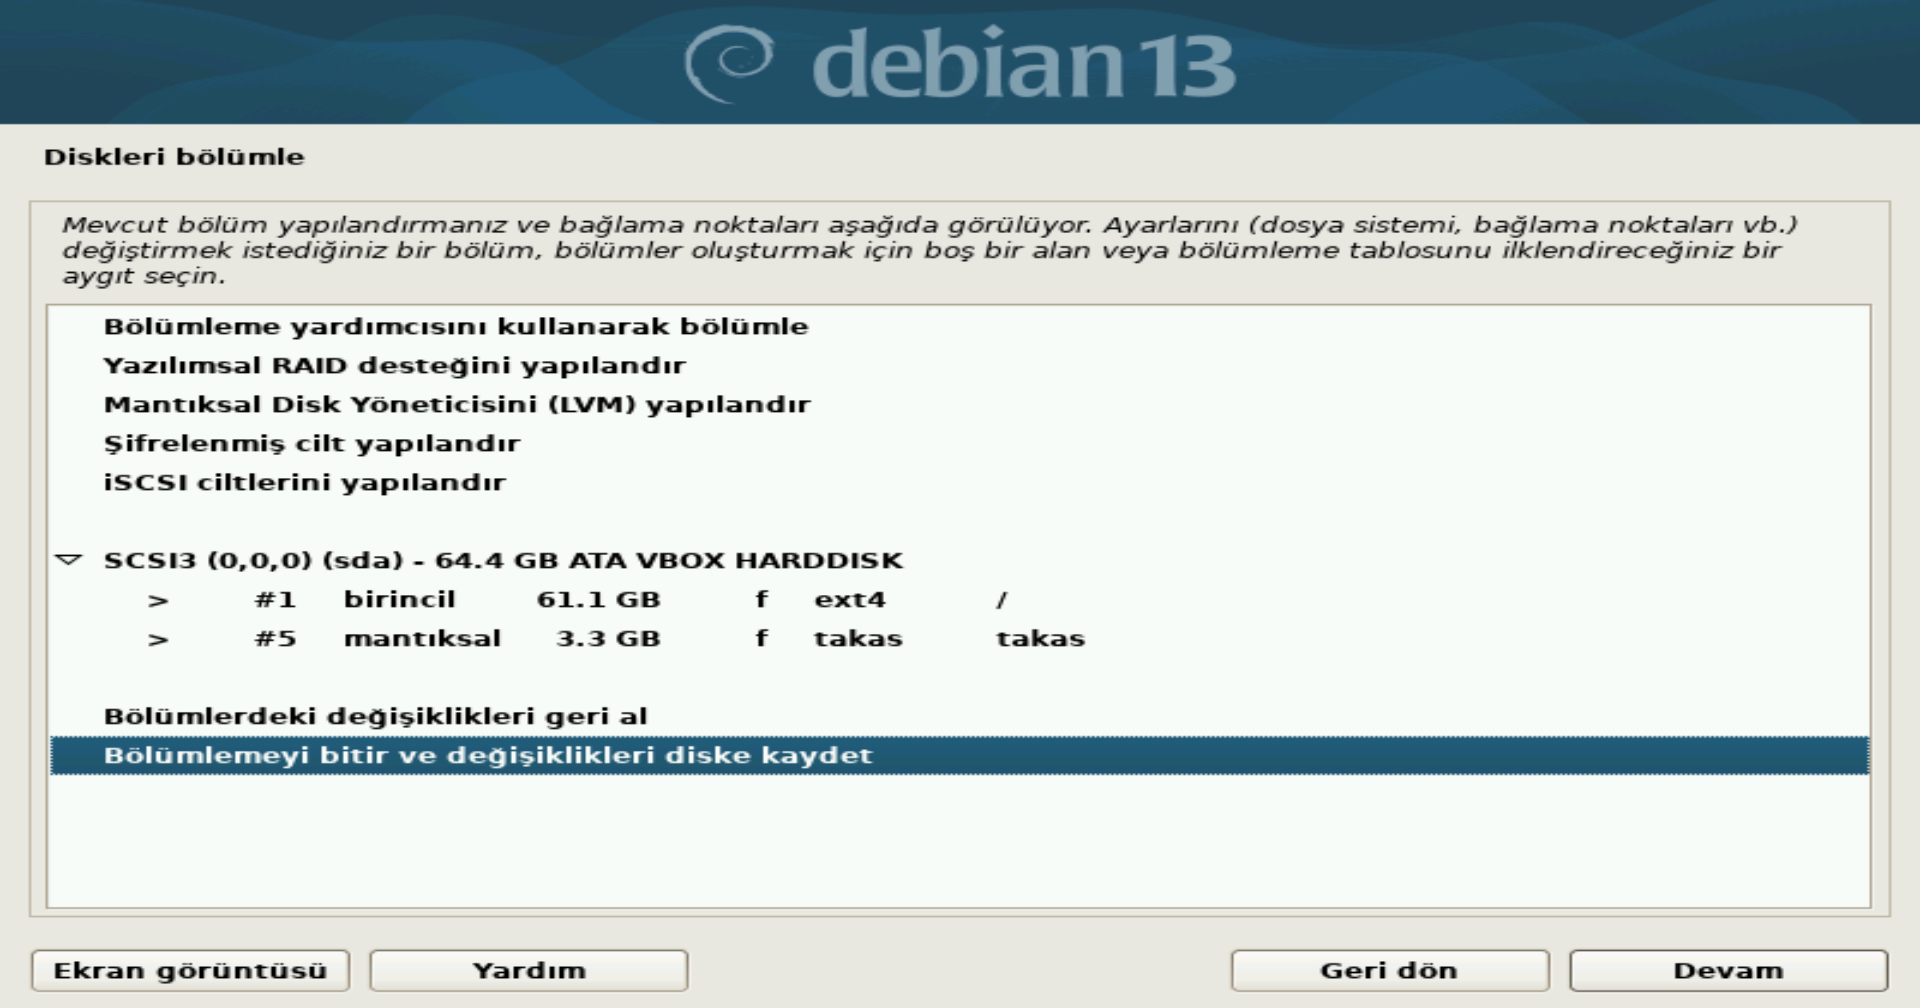
Finish Partitioning
Review your settings. If everything looks correct, select "Finish partitioning and write changes to disk" and click Continue.
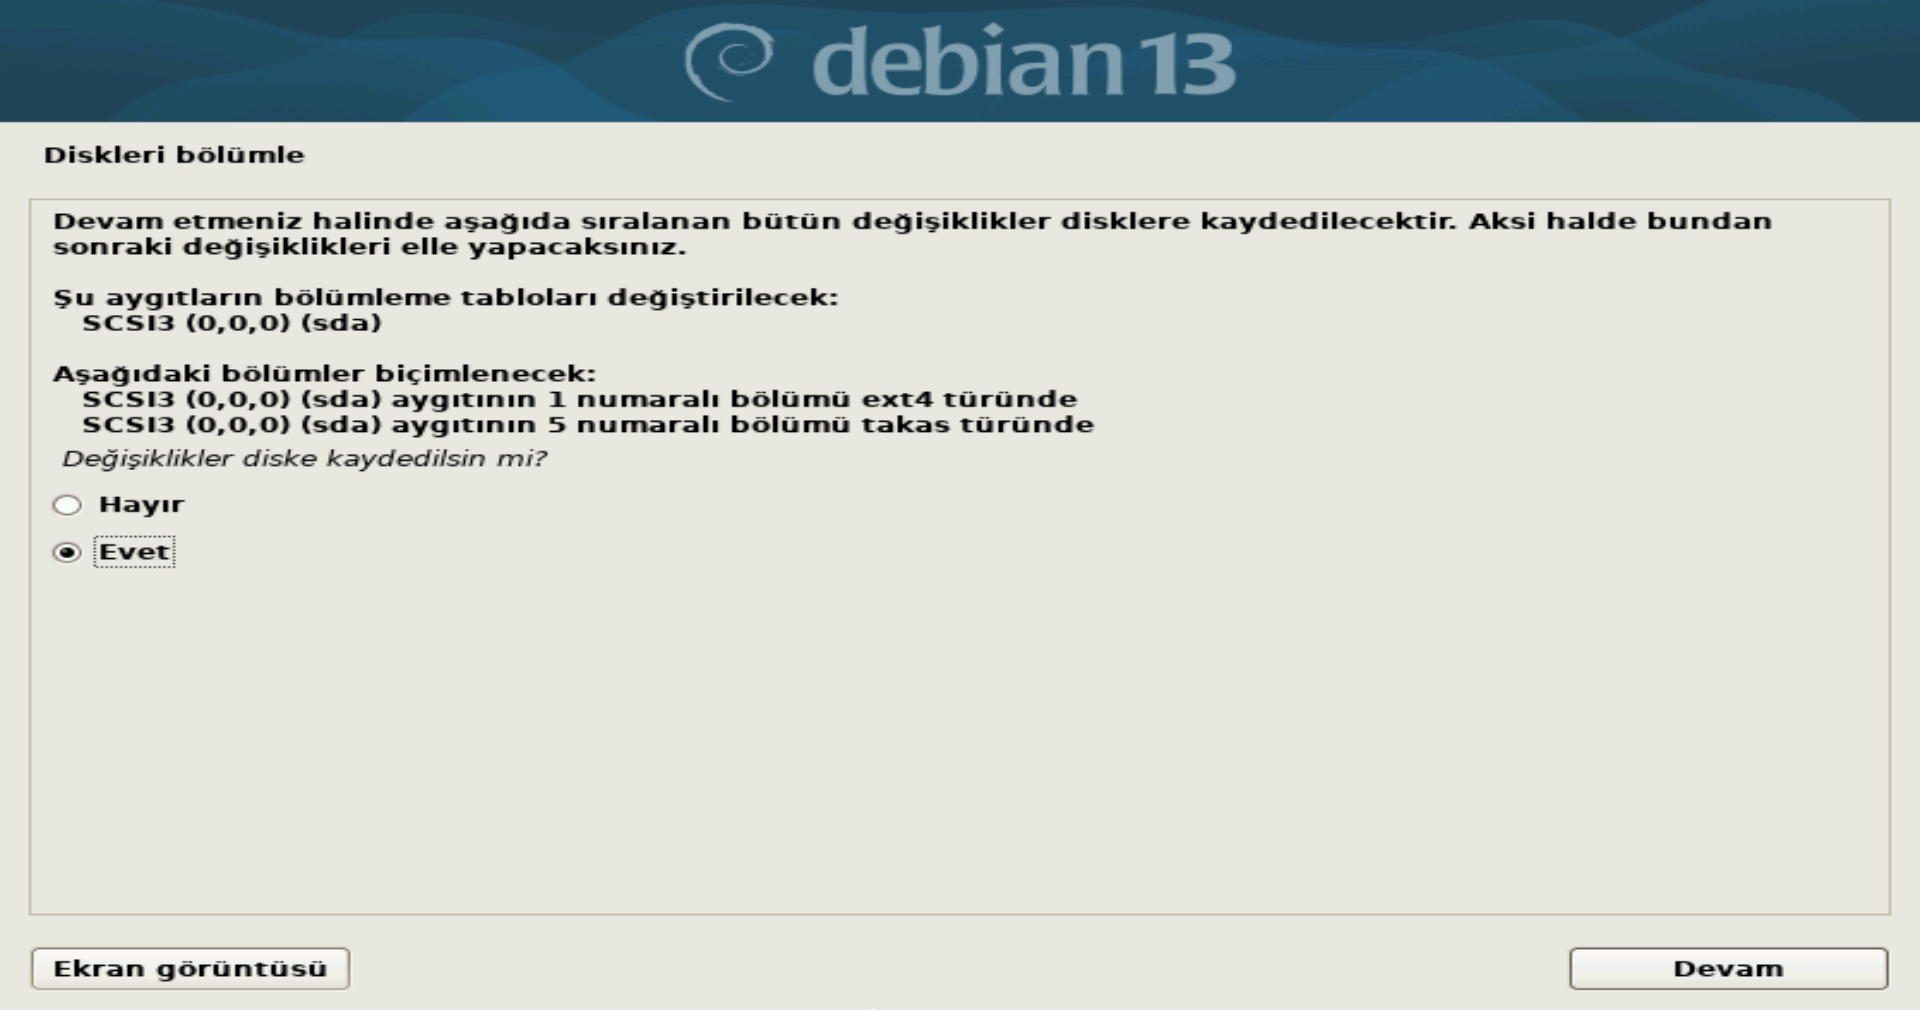
Write Changes to Disk
This is the final confirmation before formatting. Select "Yes" to proceed.
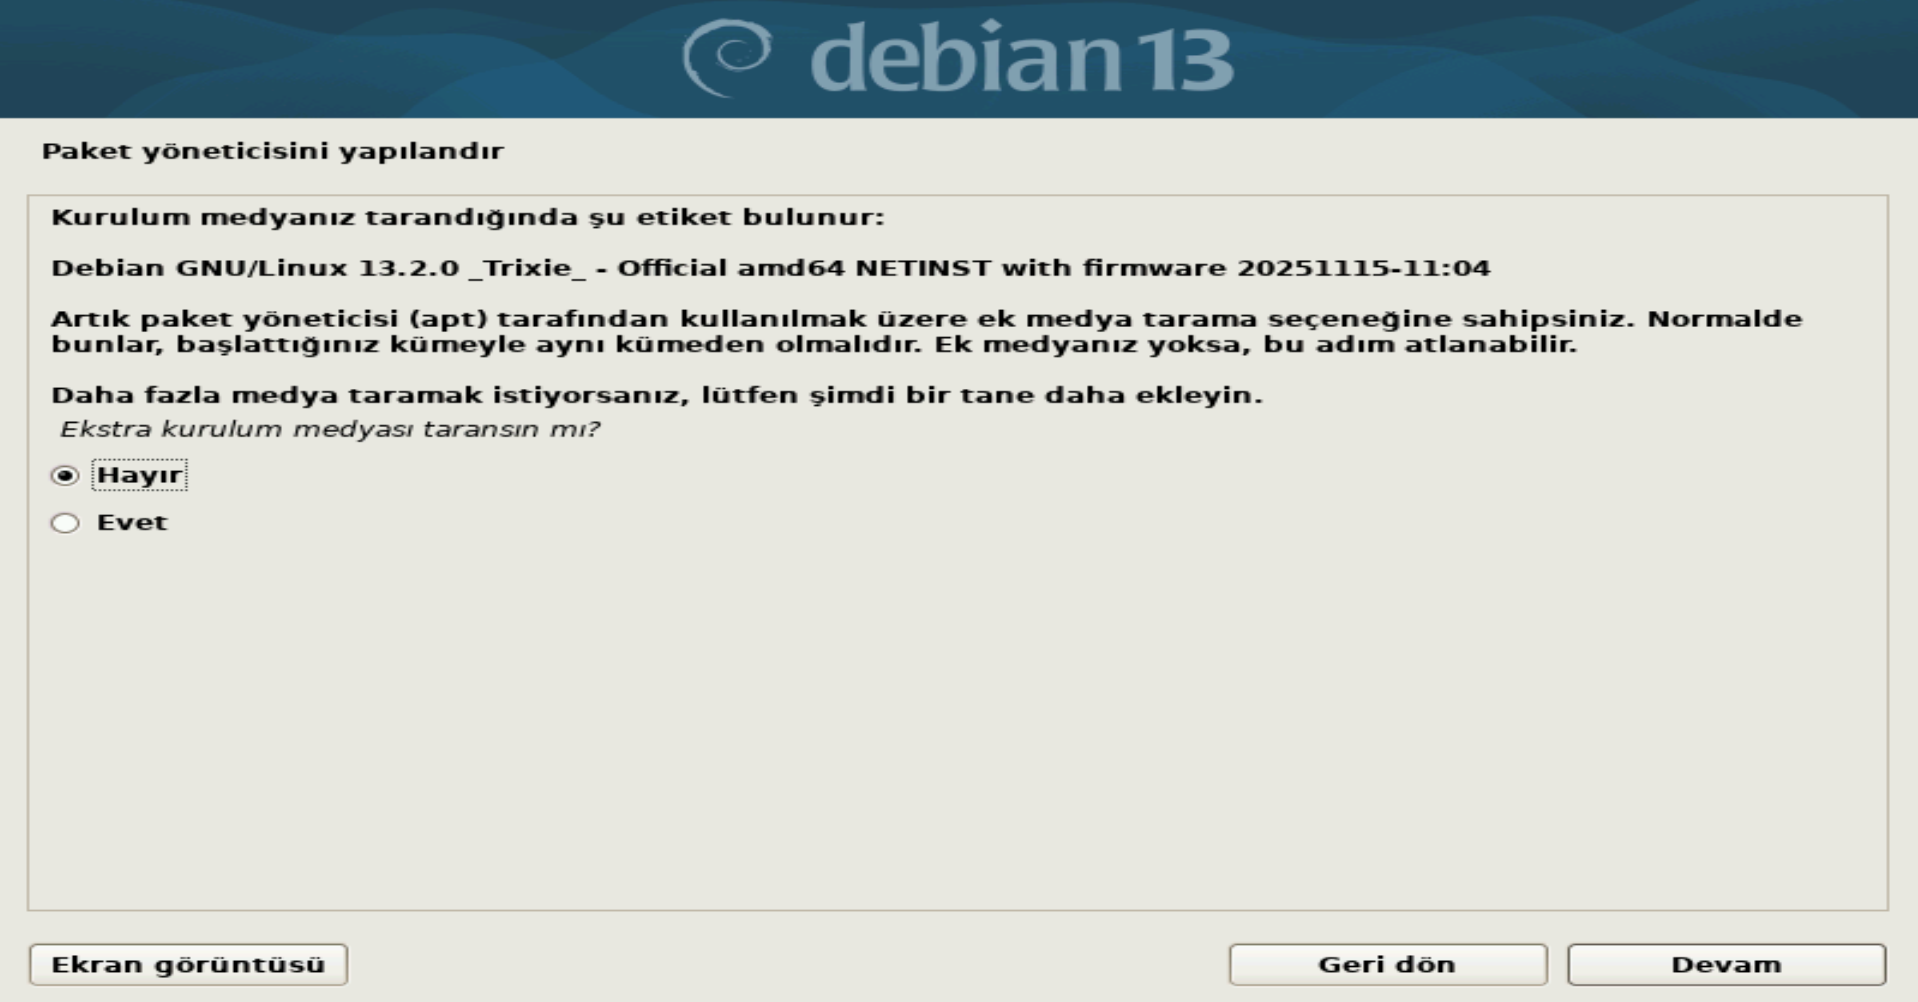
Package Manager
If you don't have another installation CD/DVD (which is common), select "No" to continue.

Network Mirror
Select your country (e.g., Turkey) to find a nearby server for faster downloads of software packages.

Archive Mirror
Usually, the default "deb.debian.org" is the best choice. Click Continue.
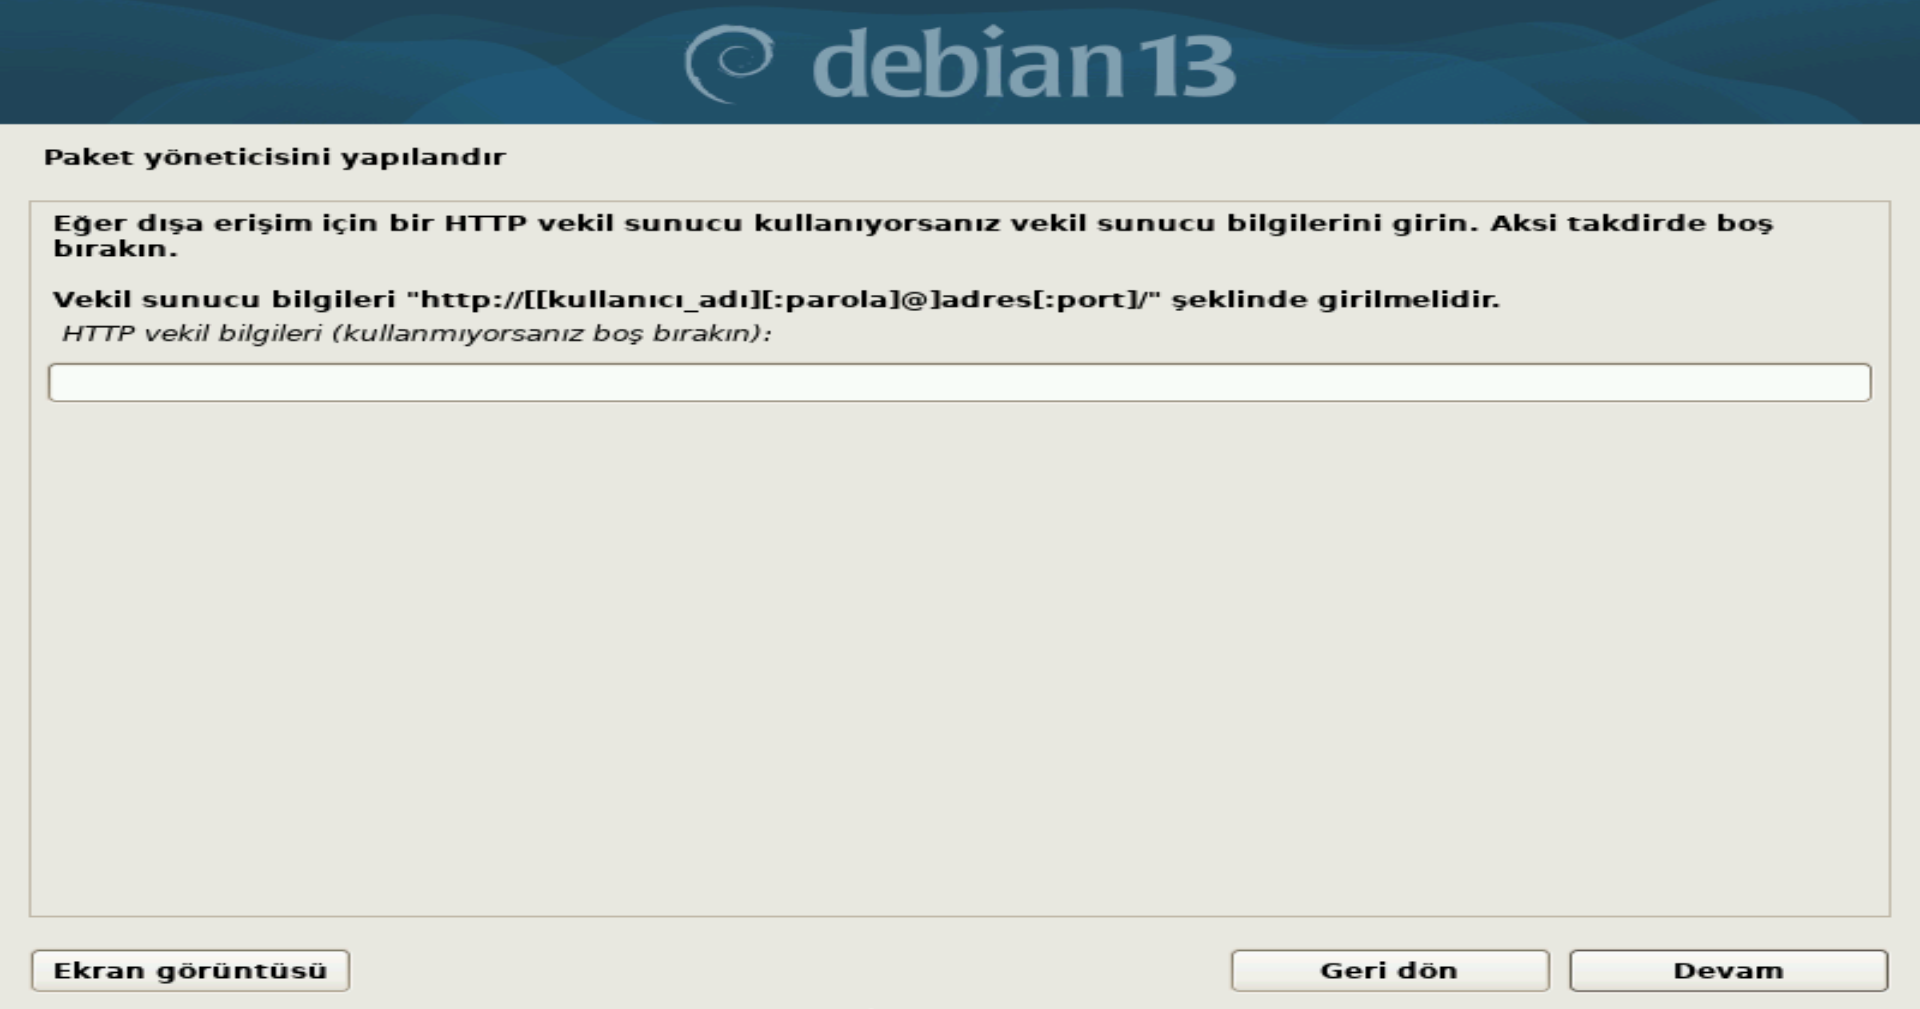
HTTP Proxy
If you are not on a corporate network requiring a proxy, leave this field blank and click Continue.
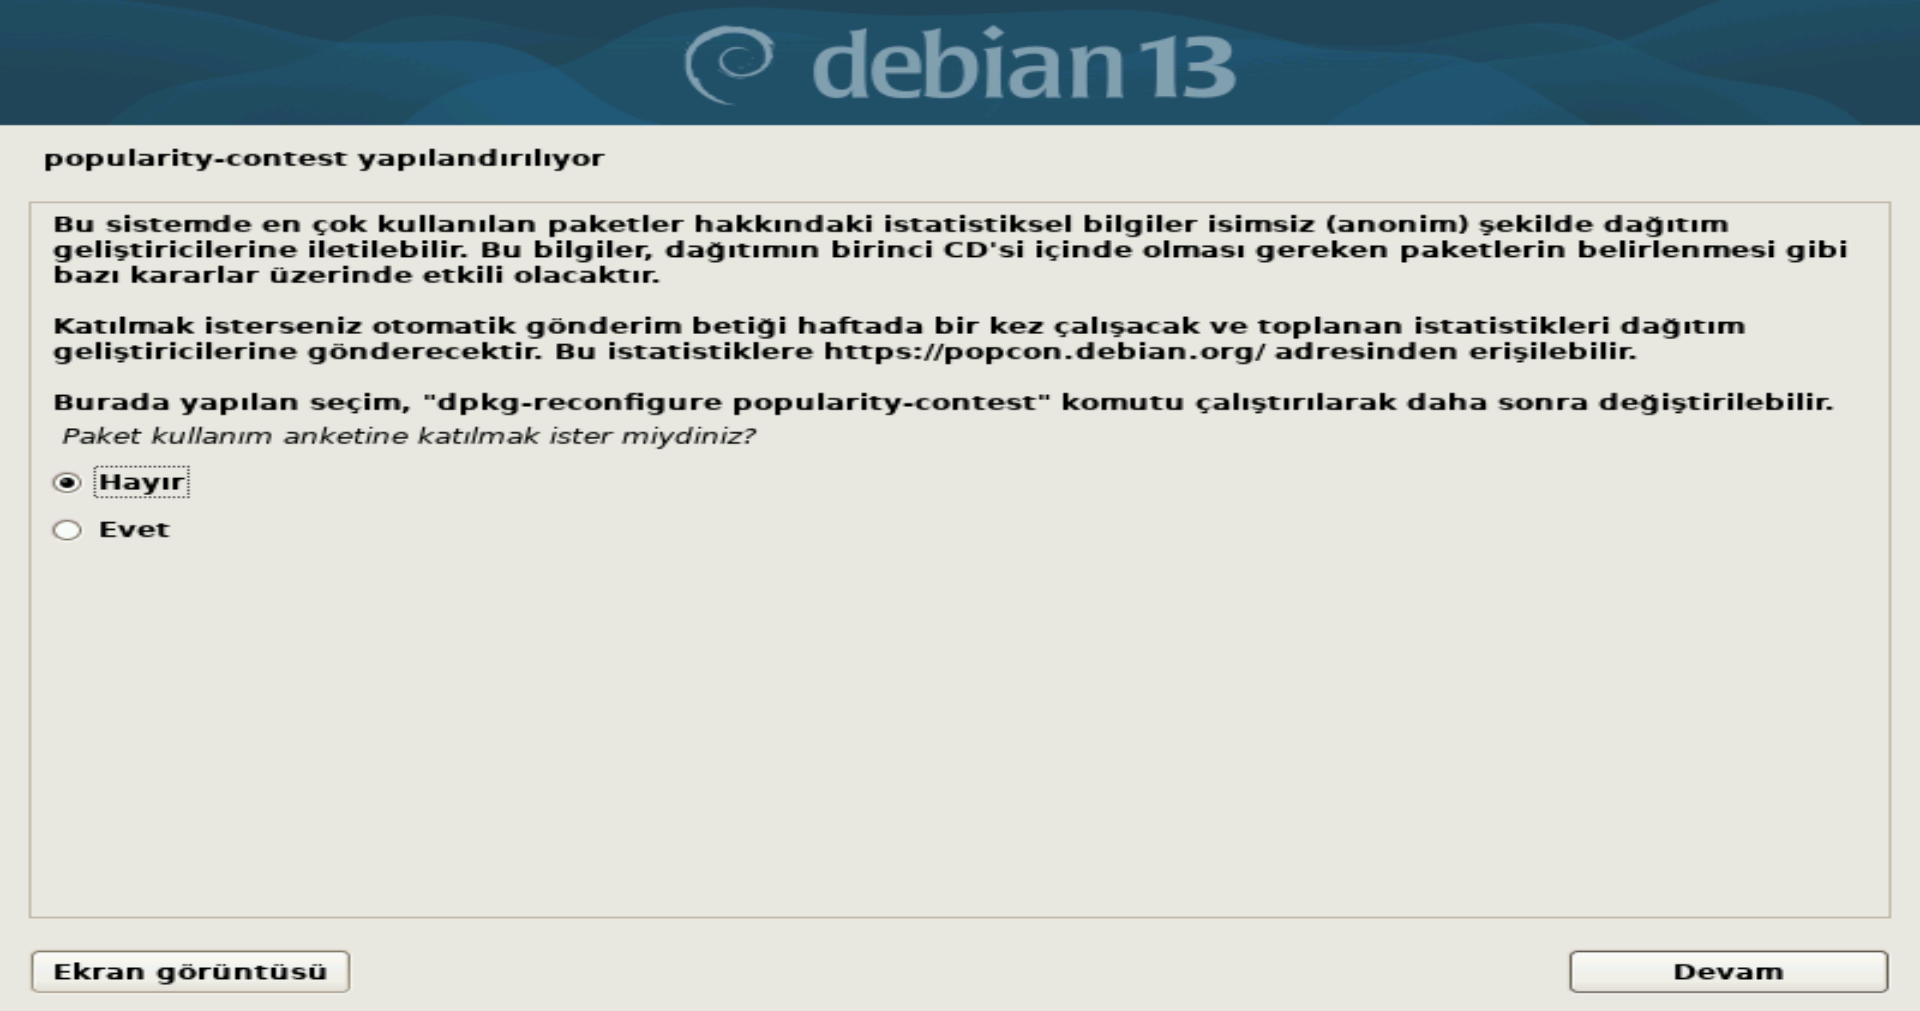
Popularity Contest
You can choose to send anonymous statistics about your package usage to developers. Choose Yes or No based on your preference.
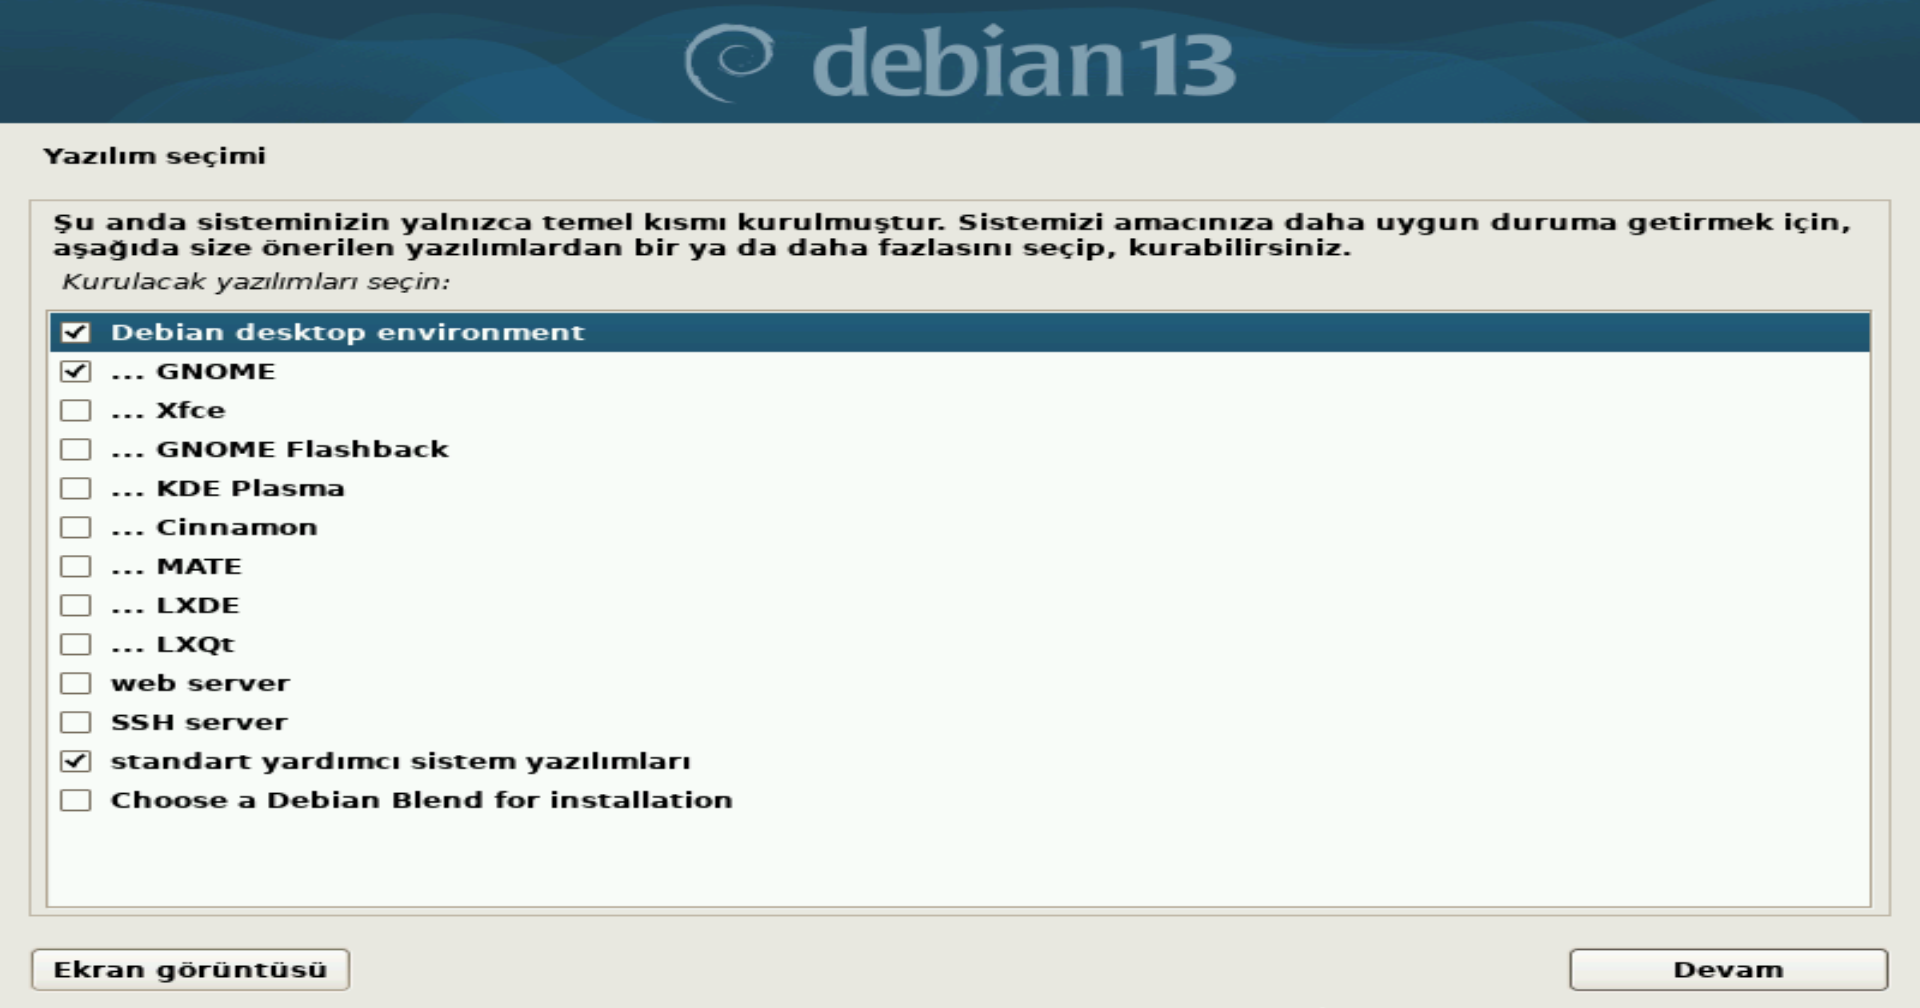
Software Selection
This is crucial. Ensure "Debian desktop environment" and "GNOME" (or your preferred desktop) are selected to have a graphical interface.
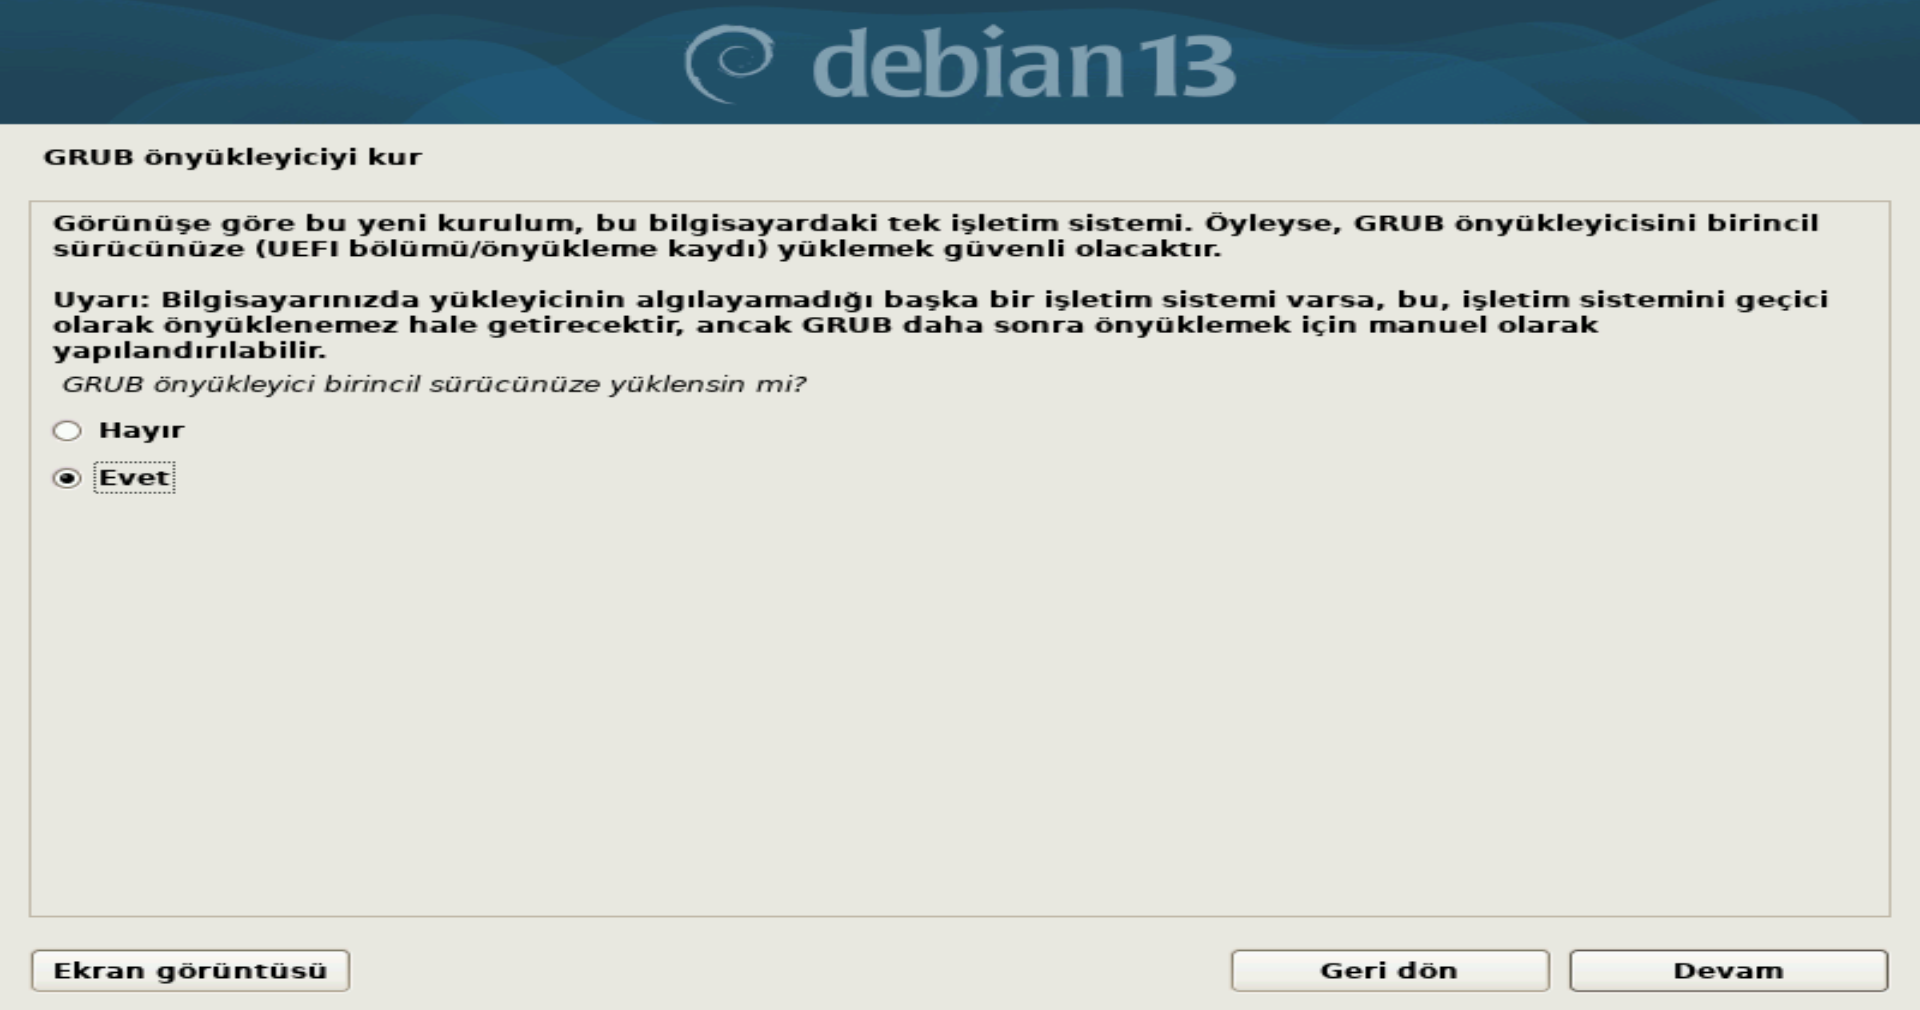
Install GRUB Boot Loader
Select "Yes" to install the GRUB boot loader to your primary drive. This is required to boot the system.
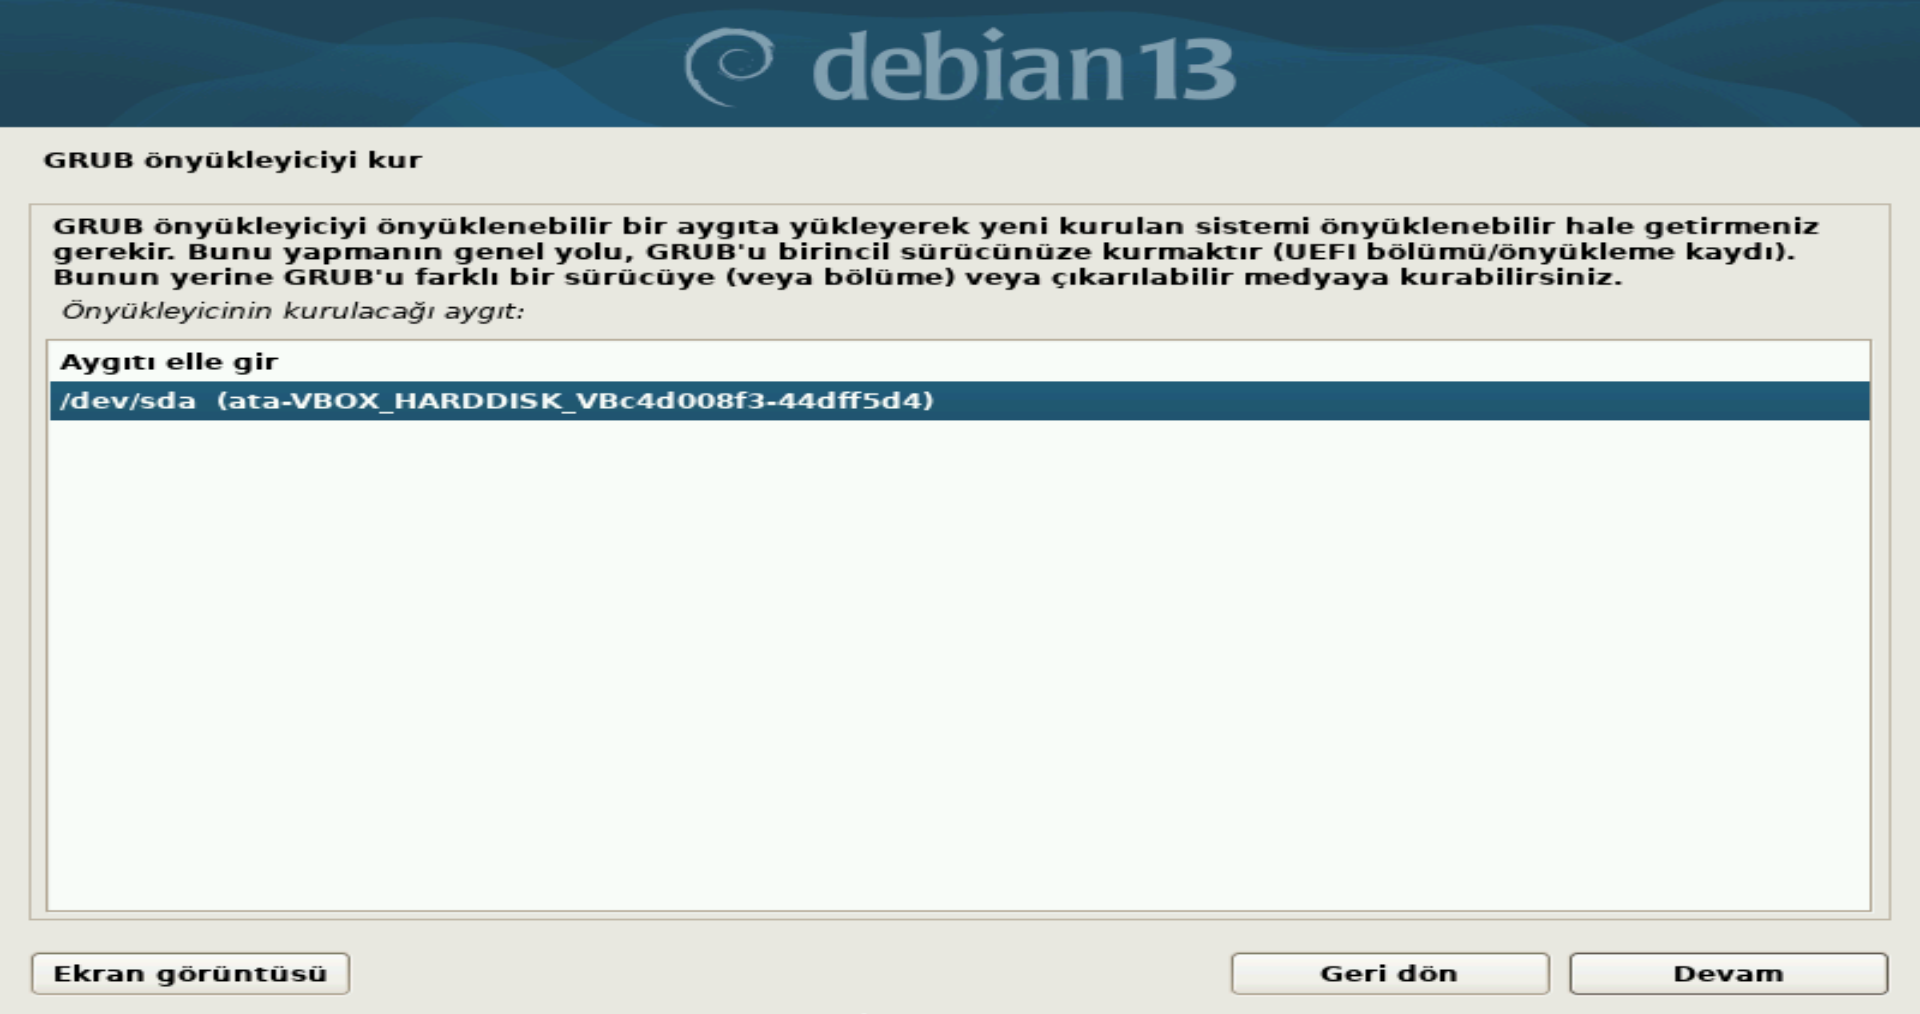
Select Device
Select the disk (usually /dev/sda) where you want to install GRUB.
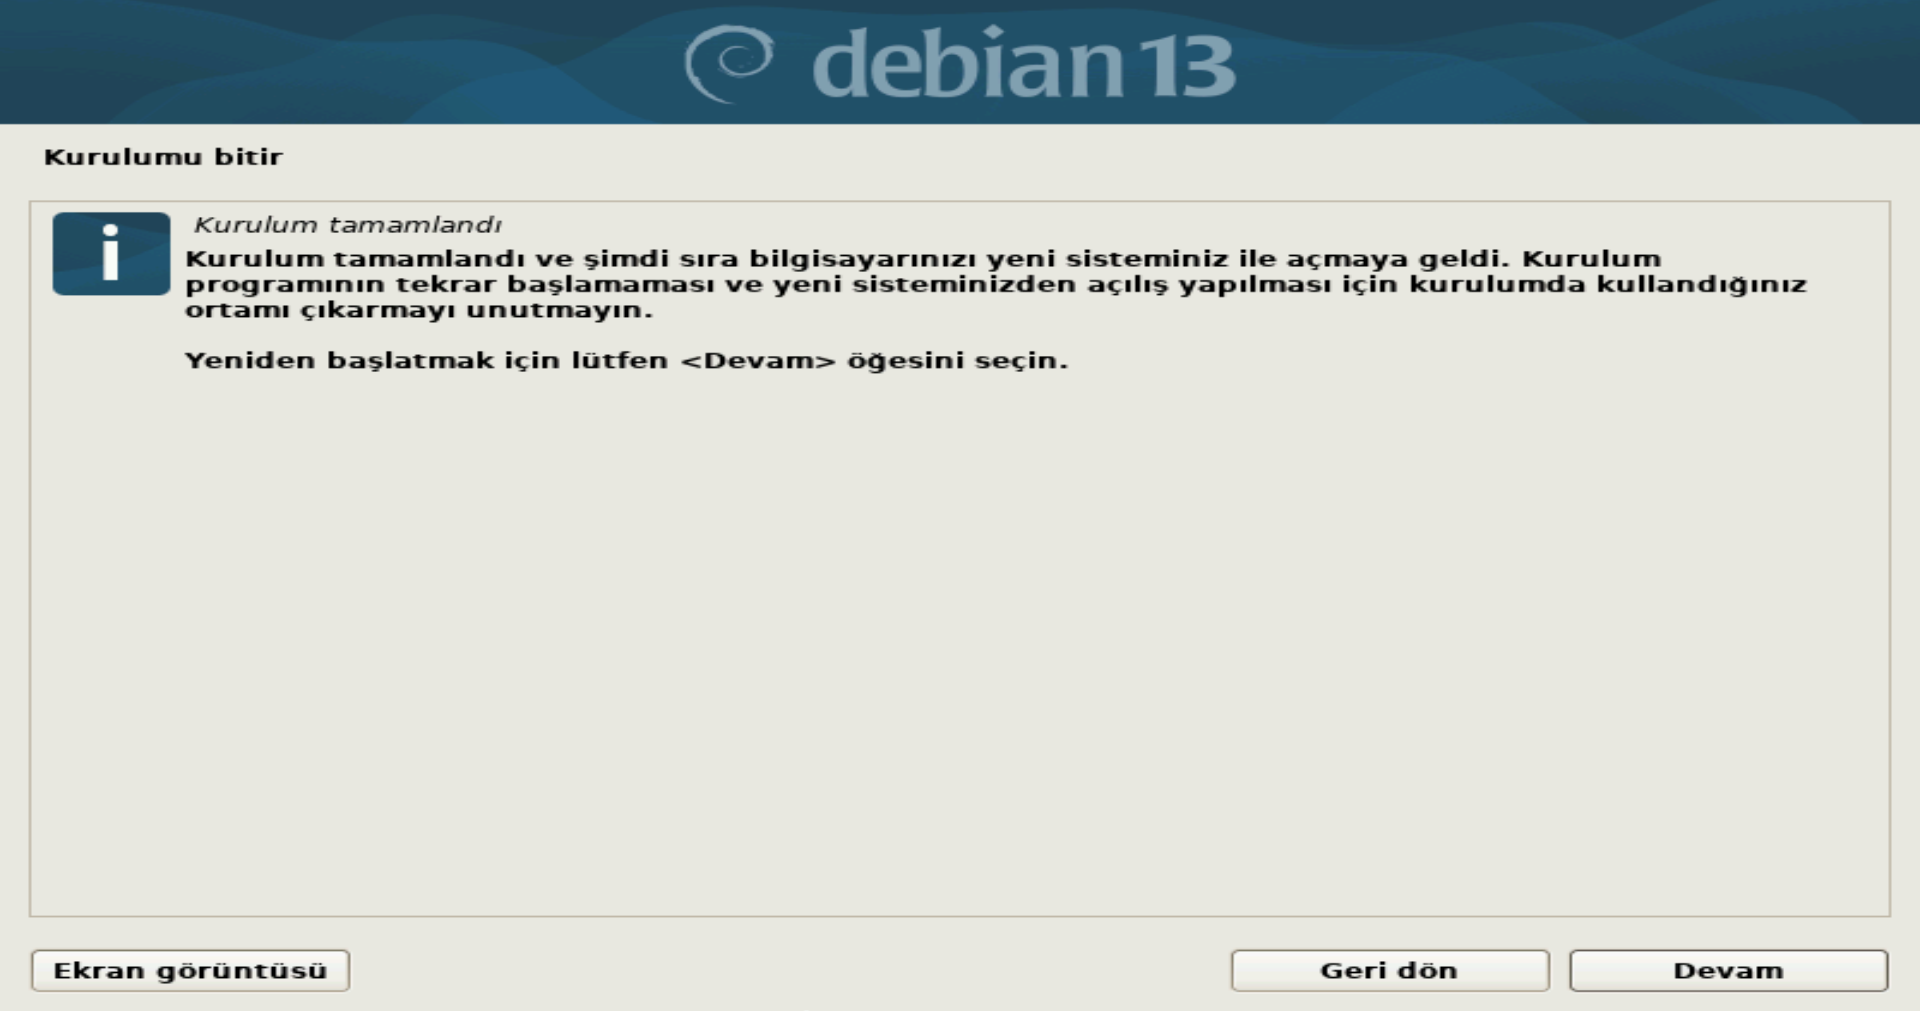
Finish Installation
Congratulations! Installation is complete. Remove your USB drive and click Continue to reboot your computer.
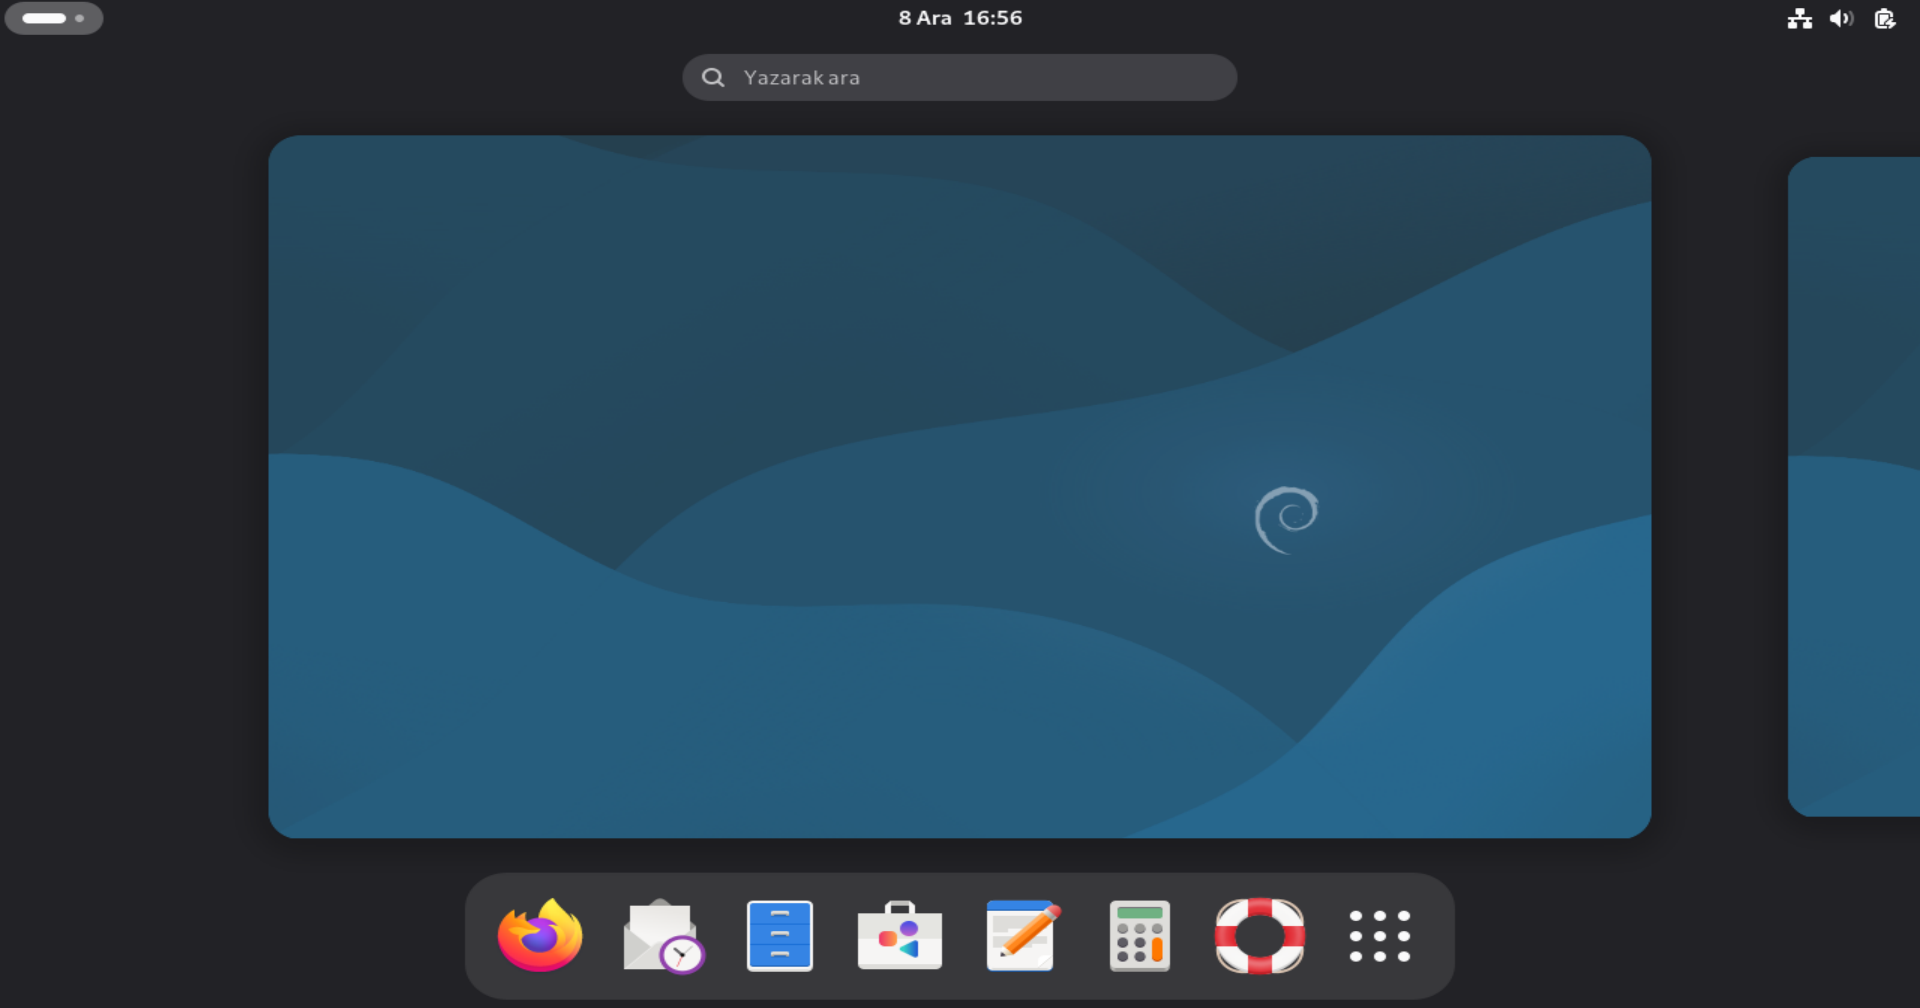
Welcome
And here is pure Debian! Fast, stable, and secure. Your system is ready to use.